This is going to be a controversial post so don’t say I didn’t warn you! In case you don’t know, I was an aesthetician (facialist) for 10 years prior to starting Jenni Raincloud. One of the most common treatment among aestheticians and skin care specialist is a glycolic peel. Glycolic is a fruit acid that burns the top layers of skin. They can do wonders for many skin types when used carefully and properly. Having a glycolic peel can give you immediate results when it comes to smoothing fine lines and wrinkles as well as fading sun spots and acne scars.
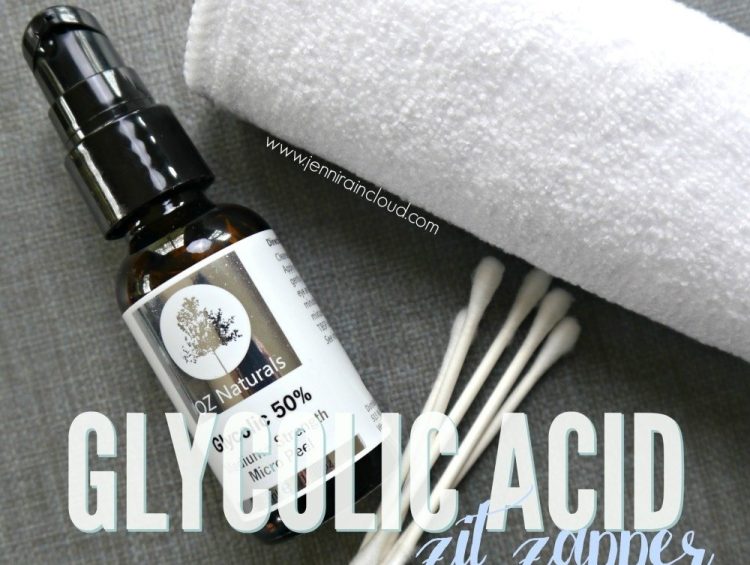
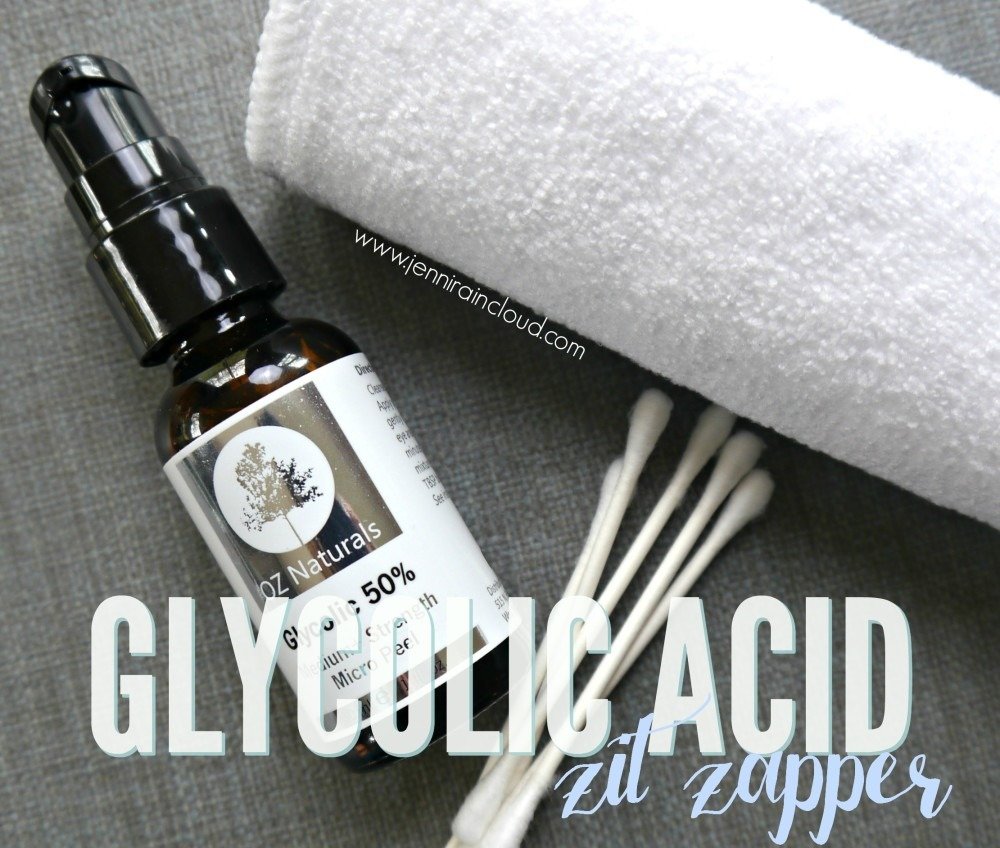
Last fall I posted THIS mask recipe using Oz Naturals 30% Glycolic. Since then, I’ve found more uses for this product. One being a sun spot zapper for the back of my hands and even chest. I’ve also started using it as a zit zapper which is what we are discussing today.
Just for a bit of reference on glycolic percentages, I would typically use a 10% glycolic gel on a very sensitive person, a 20% on normal skin types. 30% glycolic acid is quite strong so you’ll need to take extra care when using it. I was shocked that it is available to anyone on Amazon. The great thing about 30% is that you can see some great results in a short amount of time. The bad thing is that you can seriously burn your skin…. and I did-and I’m supposed to be the professional!
I’ve been getting big zits lately. Like the kind you get in junior high that sit under the surface and look awful but won’t come to a head. They last for weeks, sometimes months and if you squeeze them, you’ll inevitably end up busting capillaries or scarring yourself without getting anything from them. So my solution to this extremely annoying dilemma is glycolic acid. When done safely, a thin layer over a zit, left on for 2-5 minutes can bring a zit to the surface allowing for ease in draining. Plus, the glycolic encourages the cells to regenerate, minimizing scarring.
Wondering what I did wrong? Apparently I had a lot on my mind one day last week and applied my usual layer of glycolic then forgot about it. 15 minutes later my skin was burning away. Needless to say, everything was drained out of that zit but I have a burnt circle where I applied the glycolic! It will take weeks to heal, it’s that bad. The key is only leaving it on for 2-5 minutes tops! I’d rather the zit then what I have now. It will heal but it’s unsightly and incredibly hard to cover with makeup. You might be wondering how I forgot it if it stings-I have no clue except that I have a pretty good tolerance for pain and I guess I got used to doing skin treatments that sting from back in my facialist days! I will say, I know firsthand the power of lavender essential oil on burns because it is healing much faster then I thought.
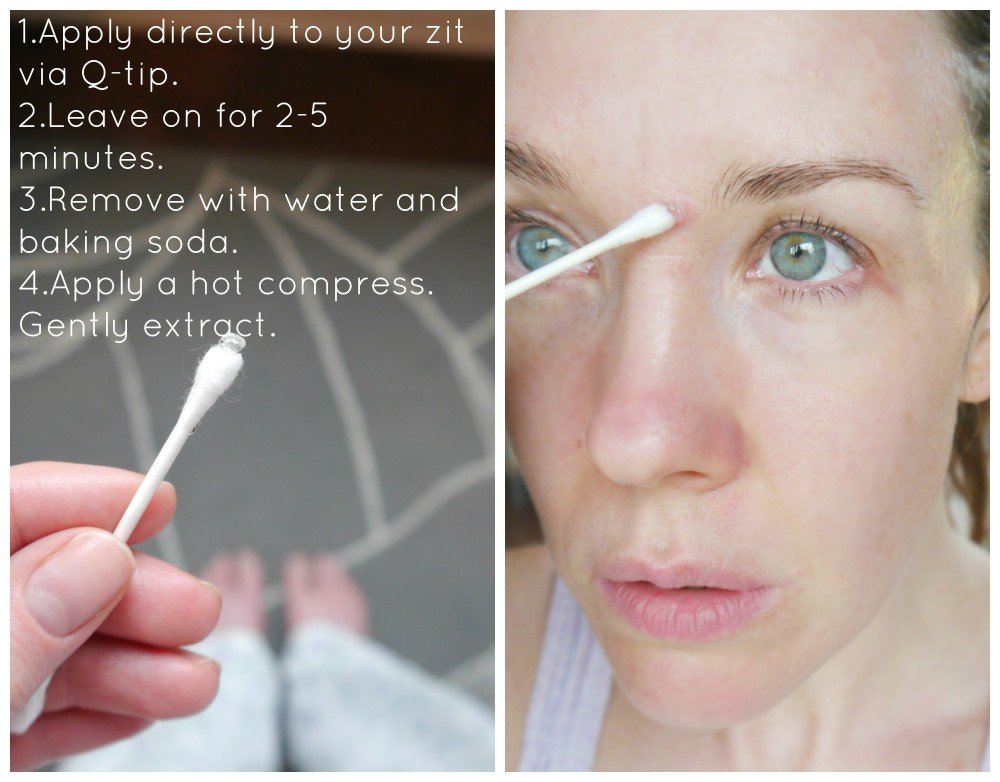
How to get rid of a zit with glycolic acid…
- Take a Q-Tip and pump less then 1/2 a pump of glycolic acid on the tip.
- Apply directly to the zit.
- Allow to sit on the zit for 2-5 minutes.
- Remove with a mixture of baking soda and water to ensure the acid is deactivated. (use 8 parts water to 1 part baking soda or 1 tbsp. per 4 ounces of water)
- If the zit does not have an obvious soft puss head on it, apply a warm wash cloth.
- Continue to apply heat until the zit is ready to be popped with minimal squeezing.
- Allow the zit to excrete puss and oil for at least 20 minutes after the main puss pocket has been drained gently squeezed.
- Apply a couple drops of lavender, tea tree, or frankincense directly to the zit. Find essential oils HERE.
I feel that while risky to advise you to use such a strong product, this method of healing a zit is so much more effective then squeezing. In the long run, scarring from the zit will be minimal at worst-most likely it will be non existent with use of glycolic acid and not squeezing.
As we age, our skin thins. Unfortunately many of us adults are still experiencing bouts with acne but unlike when our skin was younger, we now have to deal with more delicate skin tissue. I know from experience that squeezing a zit can result in a permanent broken blood vessel. By using glycolic acid, we can remove the dead skin that is layered on top of the zit, removing the need to squeeze. Remember also that heat draws out infection so applying a hot wash cloth can really soften the skin, open the pores and help the puss to rise to the surface.
Remember, a 30% glycolic is incredibly strong. It will burn your skin. There will be pain and possible scarring in extremely sensitive skin types if you do not follow Oz Natural’s direction and leave it on for only 2-5 minutes.
**I am not suggesting you use this glycolic all over the skin. Oz Naturals does however intend for it to be used all over the skin, undiluted so proceed at your own risk. It will be uncomfortable and will most likely cause a lot of redness and peeling for days after-even if you leave it on for the suggested amount of time. Do me a favor and read the reviews first. You can see that many people see great results from applying it all over but there are a small few that are just too sensitive. If you think you might be sensitive I would apply to a small area on your neck for 2-5 minutes. See how your skin handles it after 48 hours.**
So, as always-do your own research and BE CAREFUL-Don’t be a Debbie Dumb Ass like me and forget you applied it or think longer is better-It Ain’t!
Find Oz Naturals 30% Glycolic HERE.
xx, Jenni
P.S. I had originally bought the 50% Glycolic Acid but I believe it is way too strong and it is no longer available. 30% is still very effective and strong and will damage your skin if not used with extreme precaution.
[optin-form]