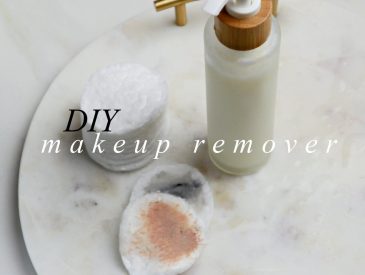
Making your own cleansers can be oh so fun and rewarding. That’s how I felt when I was new to the world of making my own skin care. I LOVED how Dr. Bronner offered so many variations of his oil based soap that was organic, fair trade and 100% natural. It was simple to add water and oils and have a legit cleanser within minutes! As I got deeper into the fascinating world of DIY skin care, I found out about a little thing called pH. I also realized that it wasn’t just lotions that were collectors of bacteria and fungus. It was everything that contained water!
As most of you know, I shied away from making a lot of my own products and Jenni Raincloud went down a different path. A path of fashion, makeup and product reviews. After a break from sharing DIY skin care recipes, I realized how much I missed it. So, I put my big girl panties on and started researching and experimenting. I got that passion back. Yes, I am no chemist, and yes, I HATED anything that had to do with science in school, but ironically and through much trial and error, I found that making proper, natural, skin loving products was possible.
So, let me get back on track-Cleanser recipes can be tricky. If the pH is too high you will strip your skin and possibly damage it. If it’s too low, you could burn your skin as well as have a very ineffective cleanser. Here’s the break down-Castile soap has a very high pH. That’s why it’s soap. In fact, when I first started using Dr. Bronner’s soap I didn’t understand that it was meant to be diluted. The thing is though, even diluting this soap, I find that it still burns in certain places if you know what I mean…. This is where citric acid comes in. Citric acid is a natural ingredient that helps lower the pH of products and I find it absolutely a must for any cleanser recipes.
Another ingredient that is necessary in a cleanser is a preservative. Cleansers are typically made in big batches and without a preservative, it won’t take but maybe 2 weeks and you’ll be cleansing yourself with bacteria-Uhhhhh? Yeah, not exactly what we were going for. So, after doing much research, I landed upon a preservative called Optiphen Plus. I chose it because it is considered a natural preservative that is actually still a legit preservative. It is formaldehyde and paraben free. Many blogs will tell you that Citric Acid, Vitamin E, and Grapefruit seed extract are all preservatives but they are not. Neodefend, which is my usual preservative of choice, is not the best option because it is not as effective in products that have a pH level of 7 and above. It still is a great choice for lotions. Optiphen Plus is a broad spectrum preservative which means it kills a variety of yuckies, including bacteria and mold. It is also affordable and only makes up 1% of your recipes.
The next thing we should talk about is a way to thicken up your cleanser. Once you add your oils, butters, aloe, water, soap etc. you will have a very watery cleanser. This is perfectly fine for the skin, it’s just a mess to deal with. I find I waste a lot of my DIY when it’s too thin. Most of it goes down the drain! To thicken a product up naturally, I use either xanthan gum or guar gum. They are typically used to thicken up food. They really aren’t the best thing to ingest but as far as I know, they are the only natural thickeners for DIY skin care. I tend to add about a teaspoon at a time. I blend my ingredients in a blender and check the consistency before adding another teaspoon. Sometimes I find that blending for longer amounts of time (with guar/xanthan gum added) can thicken everything up.
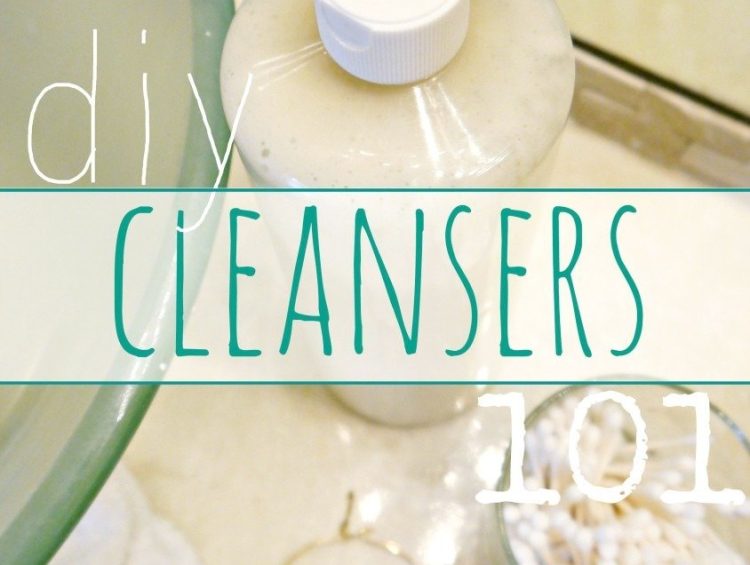
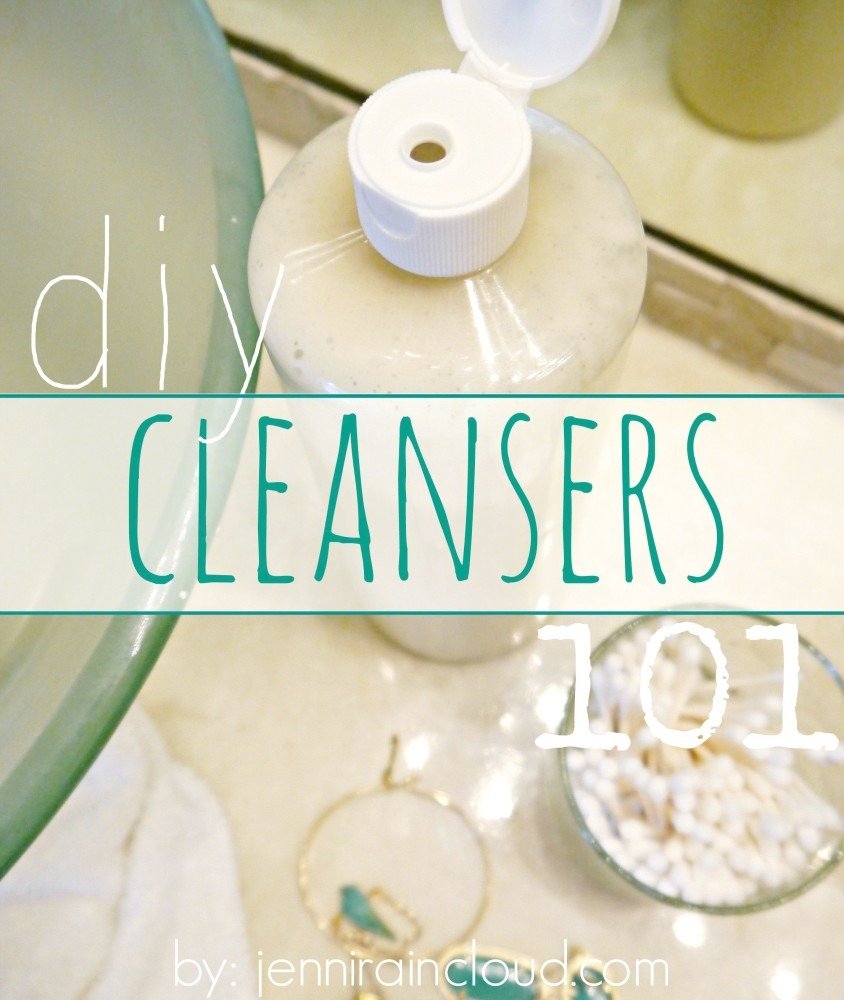
Ok, so now we have citric acid, castille soap, xanthan/guar gum and a preservative explained, let me share a basic facial cleanser recipe so we can put all this info. into action!
Basic Facial Cleanser Recipe
1 cup distilled water
1/2 cup castile soap (find it HERE)
1/2 cup jojoba oil (find it HERE)
1 tsp. Optiphen Plus (find it HERE)
1/2 tsp. Citric Acid (find it HERE)
1/2-1 tsp. guar gum or xanthan gum (find it HERE)
Mix all ingredients EXCEPT CASTILE SOAP into a blender and mix on and off for about 10 minutes. You can check the consistency at this time and add more of your thickener if need be. I typically add 1/2-1 teaspoon. Continue blending on and off. After an hour, double check that your mixture has not separated (oil and water). If it hasn’t, add your castile soap, give it a quick pulse or two with the blender and transfer your cleanser to bottles.
It’s really pretty simple.
Feel free to get creative with that 1/2 cup of oil. You don’t have to use jojoba-You could mix up butters, use different oils, add aloe vera gel or glycerin-Just make sure it all adds up to 1/2 a cup! Also, I didn’t include essential oils but you can always add them! For this recipe-I would add up to 20 drops.
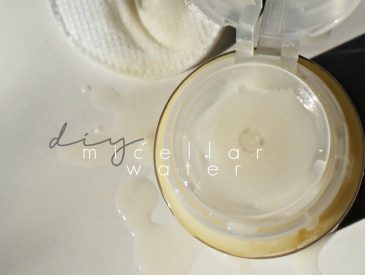
Also, always use distilled water in all your recipes. It will help keep your products free of bacteria/mold.
Be sure to leave me a comment if you believe I’ve gotten anything wrong-I’m always open to learning more and certainly don’t claim to know everything (not even close) about DIY skin care! There is much to learn! Also, please let me know if you have any questions!
xx, Jenni
[optin-form]
UPDATE: I originally suggested using NeoDefend for your preservative but have changed my mind and the post to reflect the new information I have found. Neodefend may or may not be as effective in preserving cleansers because it does it’s best job when the pH is around 3-6. Optiphen Plus is a better choice for cleansers if you are making large batches. It covers a much wider range and is formaldehyde and paraben free.