
This DIY has been a LONG TIME COMING. I’ve had so many requests for a DIY hyaluronic acid anti aging cream that I couldn’t refuse. This DIY, while is made in 2 parts-turned out to be less complicated then I thought it would be. This cream turned out light, fluffy and absorbs into the skin quickly.
Why would you want to make an HA cream, you ask?
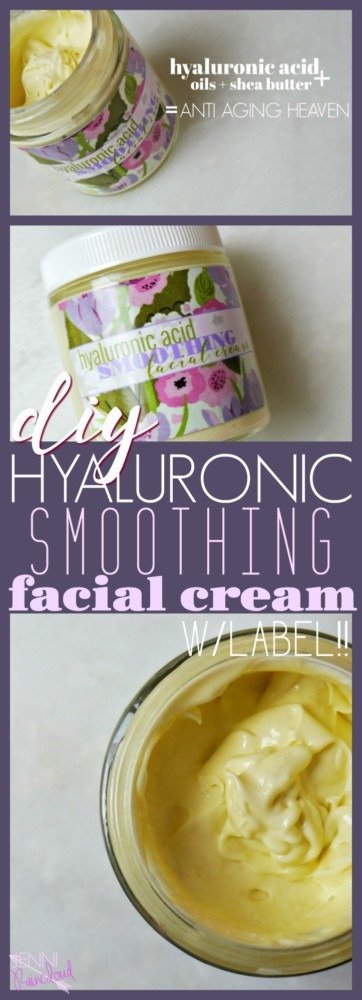
Well, Hyaluronic acid is a substance that gives the skin hydration. It plumps the skin leaving it looking youthful and smooth.
Because I use a high molecular HA, it does not penetrate to deeper levels so the HA results are more immediate then long lasting. By adding anti aging oils like rosehip seed, avocado and shea butter, we’re encouraging deeper repair and hydration which makes this cream the best of both worlds!
What You’ll Need:
- 2 medium sized pots
- 2 glass pyrex measuring cups
- 1-2 food thermometers
- 1 stick blender
- 1-2 condiment bottles
- 1 jar or pump bottle
- 1 cup hyaluronic acid in rose water (see below)
- 1/2 tsp. neodefend
- 3 tbsp. rosehip seed oil
- 2 tbsp. avocado oil
- 1 tbsp. shea butter
- 1 tsp. Vitamin E
- 1 tbsp. emulsifying wax
- 20 drops lavender essential oil
Part 1: Making Hyaluronic Acid Serum
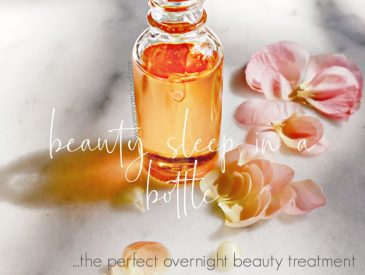
You need to make an HA serum before you start the cream. This is very easy to do, but it needs to sit in the fridge overnight to fully dissolve. Go HERE for the full post on how to make an HA serum but I will briefly explain here.
- Using a condiment bottle, fill it with 1 cup of rose water hydrosol.
- Add 1/2 tsp. leucidal liquid (preservative).
- Add 1/2 tsp. hyaluronic acid powder.
- Shake and leave in the fridge for at least 12 hours.
Part 2: Making a Cream
- Add your HA mixture to a glass pyrex cup.
- Fill a medium sized pot 1/2 way full with water and place the glass cup in the water.
- Place your “double boiler” on the stove top and turn stove to medium heat.
- Add 1/2 tsp. of NeoDefend to HA mixture.
- In another medium sized pot, fill 1/2 way full with water and place another glass pyrex cup in the water.
- Add rosehip seed oil, avocado oil, shea butter and emulsifying wax.
- Turn stove top to medium heat.
- Monitor your 2 pots with a food thermometer like THIS.
- Both mixtures need to reach around 160F.
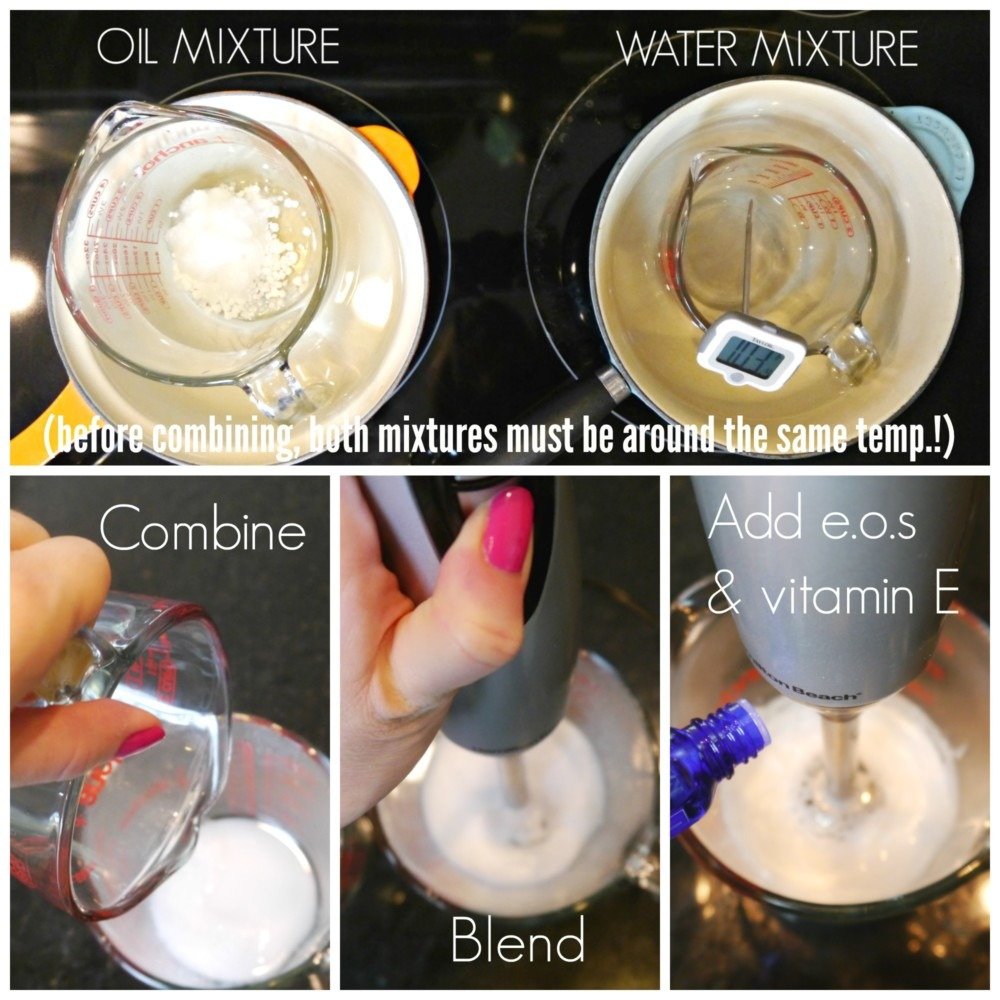
- Once both mixtures are around 160F at the same time, remove from heat.
- Add your HA mixture into your Oil mixture.
- Using a stick blender, blend for about a minute.
- Periodically blend mixture for the next 30 minutes-1 hour to ensure they emulsify.
- Once your cream has cooled, add essential oils and vitamin E oil.
- Transfer to a jar or using a condiment bottle, transfer to a pump bottle.

 Your cream will thicken over the next day. If you prefer a thicker consistency then a thin cream, you can do this by adding more then 1 tbsp. of emulsifying wax. Adding 2 tbsp. will make your cream thicker, but remember, emulsifying wax has no benefit to the skin and will make your cream less effective.
This recipe makes about 12 ounces of cream. You could easily divide it and share with friends and family. I suggest bottling 4 oz. at a time and storing the rest in the fridge until needed. Find 4 oz. jars HERE and pumps HERE.
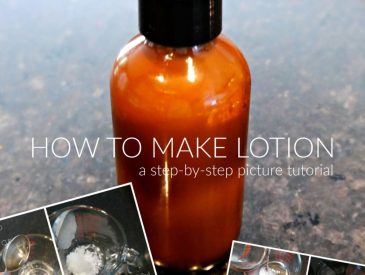
If you are confused on the process of making a cream see THIS post where I explain it in more detail and provide lots of pictures.
This seems like a lot of equipment and directions but if you’re somewhat familiar with making a cream, this is really no different except that instead of water, you’re using hyaluronic acid. The main difference in outcome when it comes to using HA in a cream is that your cream will be thinner then if you were using water. Strange but that’s what happened in my case.
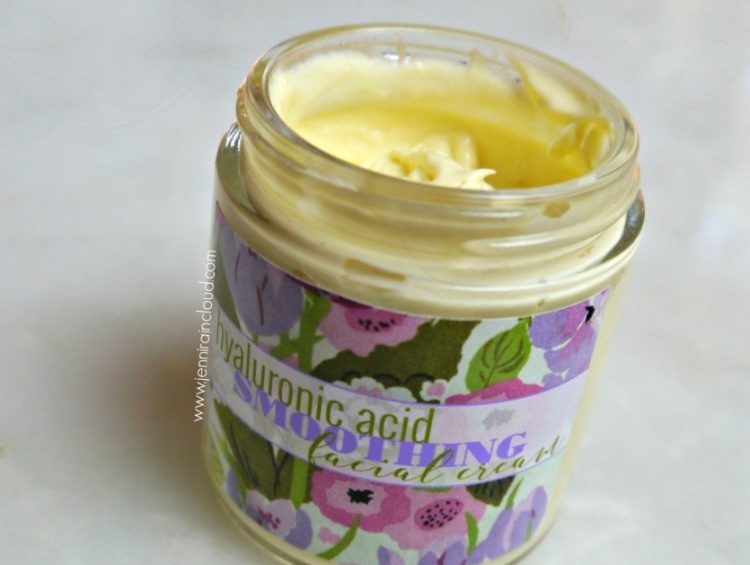
I have been using my cream on and off in the morning. It smells so good and makes my skin look smooth and ready for makeup. In my opinion, this DIY is worth making. It takes about an hour from start to finish but the results are so rewarding. There’s something so exciting about creating a lotion!
Any other DIYs you all would like to see?
xx, Jenni

P.S. I created a label in case you’re interested! You can save this image and have Sticker You make waterproof/restickable labels or just print them yourself by using THESE labels and uploading the below picture to the Avery website! Learn more about Sticker You plus get loads more label designs HERE.
PIN IT!!!