Jump to Recipe
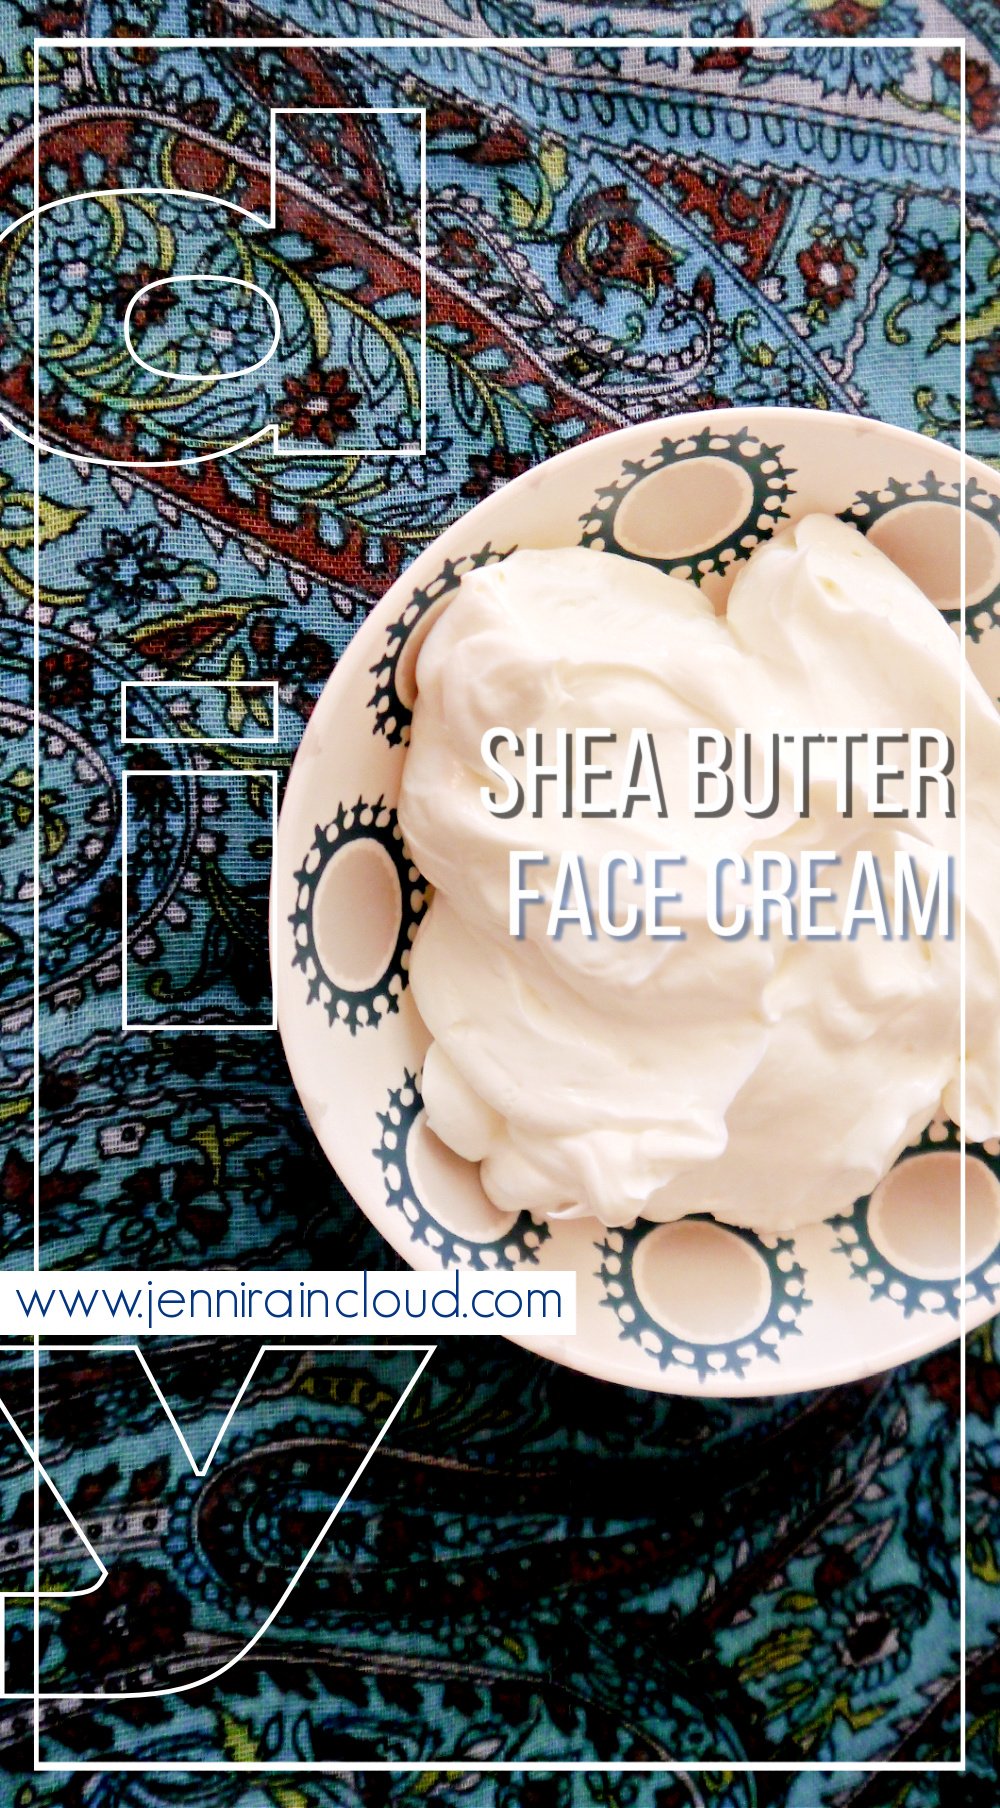
 I’ve been making DIY face cream for my mother for a while now, but my “experiments” are never moisturizing enough for her skin. She gets dry patches on her cheeks and getting a cream that addresses that issue has not been easy. I have made over 10 different formulations trying to get something that works for her! I finally did it-I finally formulated this DIY shea butter face cream that is nourishing and thick but not greasy!
With winter coming, we all get a little drier. With heaters in our homes and cars, skin is bound to get dehydrated! In order to keep your skin from premature aging we must always thoroughly moisturize our skin. One quick and easy way to do this is by drinking A LOT of water!
Of course, the other way is to have a simple, pure, nourishing face cream!
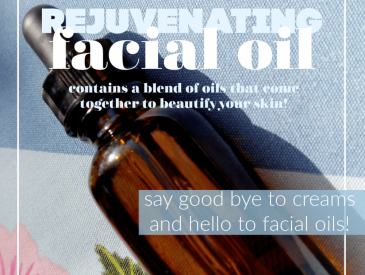
**For those of you in need of skin replenishment but don’t have the time or interest in making a cream, a face oil is a fantastic alternative. They are simple to make and contain no water which is incredibly effective when healing dry skin.
DIYs for Replenishing Dry Skin:
- coQ10 Sea Buckthorn Face Oil
- Dry Skin Stick
- Rose Hydrating Spritzer
- Dry Skin Mask
- Anti Wrinkle Eye Roll On Serum
DIY Face Cream Ingredients:
I used Jojoba oil which has a high amount of ceramides. Ceramides cover skin cells and are responsible for regulating their hydration. Jojoba oil quickly gets absorbed into the skin and does not leave behind any oil residue and creates a powerful barrier against moisture loss. It softens dry and pesky patches and restores the skin to a healthy condition. Jojoba oil is also very beneficial to those suffering from eczema. It has anti-inflammatory properties which help in reducing redness caused by dryness and other skin condition like rosacea.
Shea butter reduces fine lines, contains antioxidants, is anti-inflammatory, helps cell turn over, and stimulates collagen production.
Frankincense essential oil has amazing skin regenerating properties. It helps to improve skin tone and condition. It is an astringent which means it balances the skins pH.
Lavender essential oil is soothing to the skin. It reduces inflammation and redness. It is anti fungal, antimicrobial and antibacterial.
Vitamin E oil is excellent for nourishing the skin as well as prolonging the life of your cream. It can be found in any health food store and even grocery stores. You can even get the capsules and break them open to put in your cream!
Distilled water must be used in order to keep your cream fresh longer.
Neodefend is considered a certified organic, non-GMO preservative. It is antioxidant and very gentle to the skin. Those of you weary of using a preservative must remember that it only makes up .75-1% of your product. You can read more about NeoDefend HERE.
Your cream should always be stored in glass bottles preferably dark glass. This will also keep your cream bacteria free longer. Any container that allows you to pump out your lotion is a good idea-this keeps you from depositing bacteria from your hands into your lotion.
This DIY face cream is easy to make and you will not find anything this pure and nourishing for your skin that you won’t pay an arm and a leg for. I have linked all my products to the exact products I use and love. As always, using quality ingredients makes a big difference in the results and when working with essential oils you must always use PURE high quality oils.
So, let’s get ready for colder weather and make a super nourishing and luxurious face cream!
DIY Shea Butter Face Cream
- 1/4 cup jojoba oil (find it HERE)
- 2 TBSP shea butter (find it HERE)
- 1 TBSP. emulsifying wax (find it HERE)
- 1 tsp. vitamin E oil (find it HERE)
- 1 cup distilled water
- 1/2 tsp. NeoDefend (find it HERE)
- 15 drops Frankincense Essential Oil (find it HERE)
- 15 drops Lavender Essential Oil (find it HERE)
How to Make Shea Butter Face Cream:
- Fill a medium pot half way full with water.
- Place a glass pyrex measuring cup in the pot.
- Heat wax and oils.
- Heat water and neodefend in another double boiler.
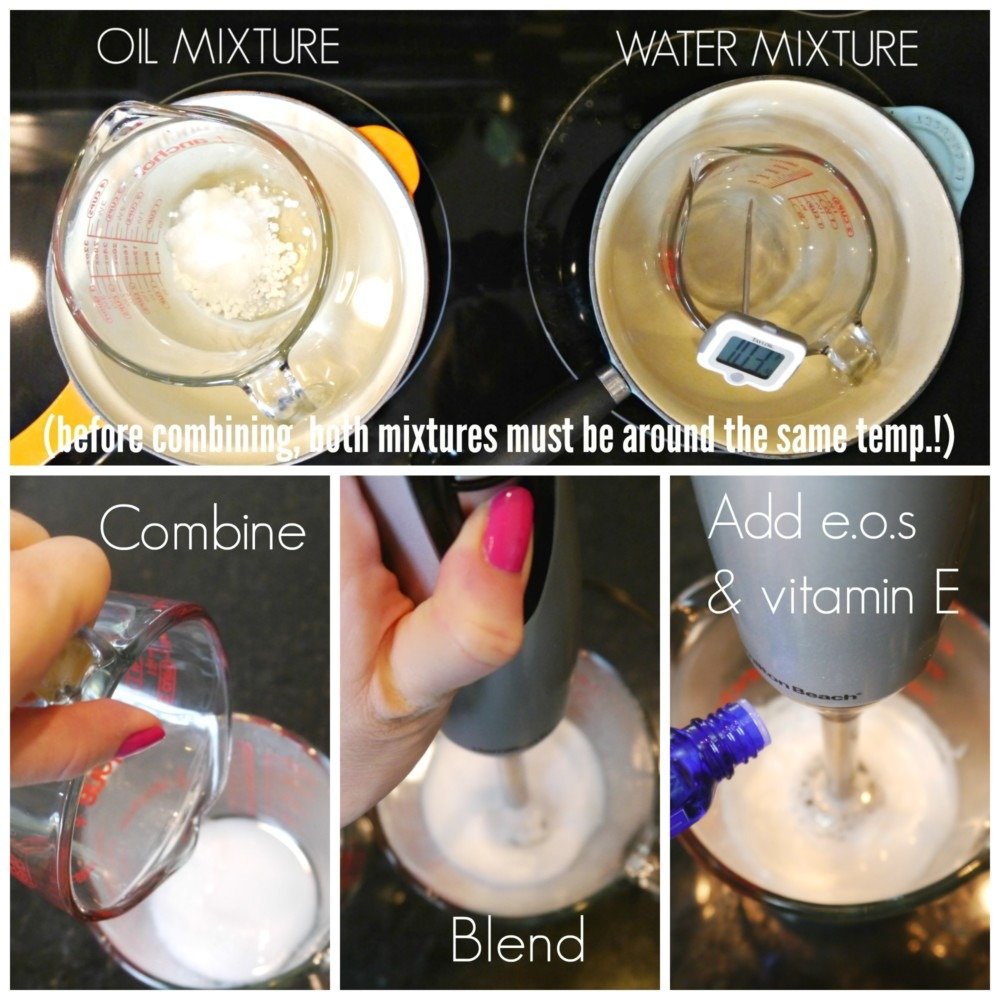
- Once the emulsifying wax is melted and once neodefend has dissolved you must get the two mixtures temps around 160 before mixing them together. This takes a lot of attention!
- Once both mixtures are the same temp-pour the water into the oil.
- Take a hand blender and mix your water/oil mixture for about 40 seconds to 1 minute. Let stand for 15 minutes then mix for about 30 seconds again. Once you notice that the water isn’t separating at the bottom of your bowl after not mixing for a few minutes, you are done mixing.
- Once your mixture is no longer hot, add your essential oils then pour into containers.
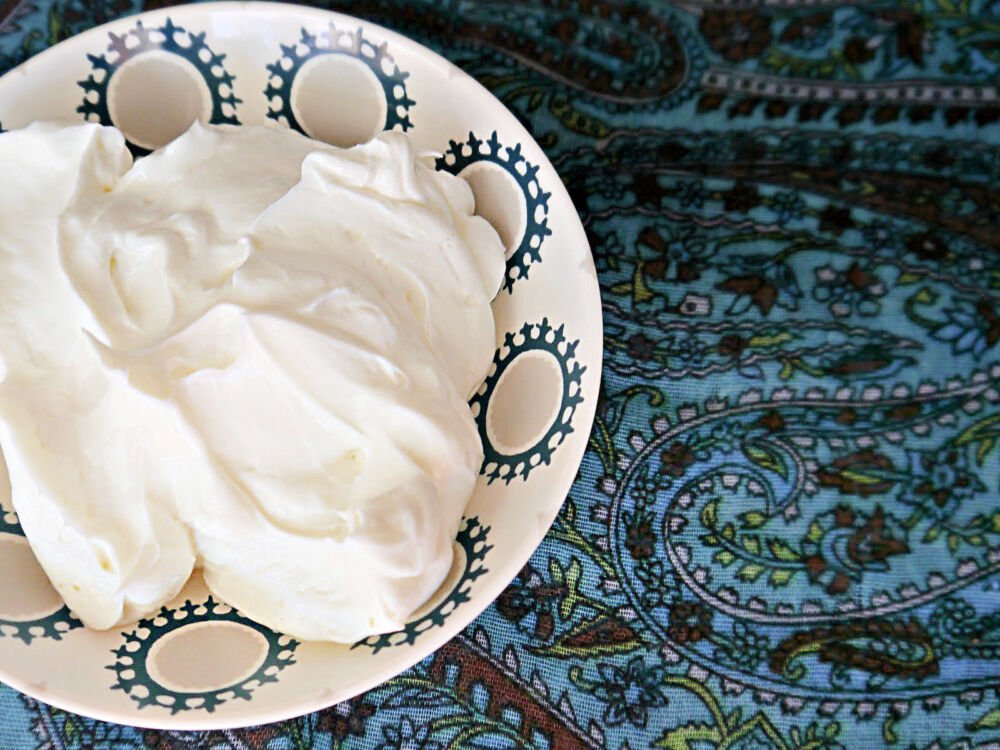
- Let containers set for 24 hours. Your cream will thicken in this time.
This recipe makes about 10 ounces.
I like to keep my lotions in a pump bottle so that I don’t contaminate it by dipping my fingers into a jar. I recommend getting 3 4 ounce pump bottles. You can give away the others or store them in your fridge until you are ready to use them. You could even do 6 2 ounce pump bottles but those types of bottles typically come with treatment pumps and I can not guarantee that this lotion will pump through a treatment pump.
Make sure you pour into containers while your cream is still a bit watery or else it will be next to impossible to get them in pump bottles.
For a picture tutorial and more in-depth instructions, read my guide to making lotion.
Continue to Content
DIY Shea Butter Face Cream
Yield: 10 ounces
Learn how to make a thick, creamy face lotion with shea butter. This recipe will relieve the driest of skin and it contains only natural ingredients that you can feel good about! Making a cream can be challenging but I find it oh so rewarding!
Ingredients
- 1/4 cup jojoba oil
- 2 TBSP shea butter
- 1 TBSP. emulsifying wax
- 1 tsp. vitamin E oil
- 1 cup distilled water
- 1/2 tsp. NeoDefend
- 15 drops Frankincense Essential Oil
- 15 drops Lavender Essential Oil
Instructions
- Fill a medium pot half way full with water.
- Place a glass pyrex measuring cup in the pot.
- Heat wax and oils.
- Heat water and neodefend in another double boiler.
- Once the emulsifying wax is melted and once neodefend has dissolved you must get the two mixtures temps around 160 before mixing them together. This takes a lot of attention!
- Once both mixtures are the same temp-pour the water into the oil.
- Take a hand blender and mix your water/oil mixture for about 40 seconds to 1 minute. Let stand for 15 minutes then mix for about 30 seconds again. Once you notice that the water isn’t separating at the bottom of your bowl after not mixing for a few minutes, you are done mixing.
- Once your mixture is no longer hot, add your essential oils then pour into containers.
- Let containers set for 24 hours. Your cream will thicken in this time.
Notes
This recipe makes about 10 ounces.
I like to keep my lotions in a pump bottle so that I don’t contaminate it by dipping my fingers into a jar. I recommend getting 3 4 ounce pump bottles. You can give away the others or store them in your fridge until you are ready to use them. You could even do 6 2 ounce pump bottles but those types of bottles typically come with treatment pumps and I can not guarantee that this lotion will pump through a treatment pump.
Make sure you pour into containers while your cream is still a bit watery or else it will be next to impossible to get them in pump bottles.
Did you make this recipe?
If you find you are having trouble with your homemade face cream, you might read my post on “troubleshooting lotion making“.
DIY shea butter face cream is one of my favorite DIYs of all times. It’s a tried and true recipe that is a favorite amongst many that have tried it. There’s just something rewarding about making a light, fluffy cream from oil and water. Don’t knock it until you’ve tried it! I think you’ll agree!
xx, Jenni
PIN IT!!