Jump to Recipe
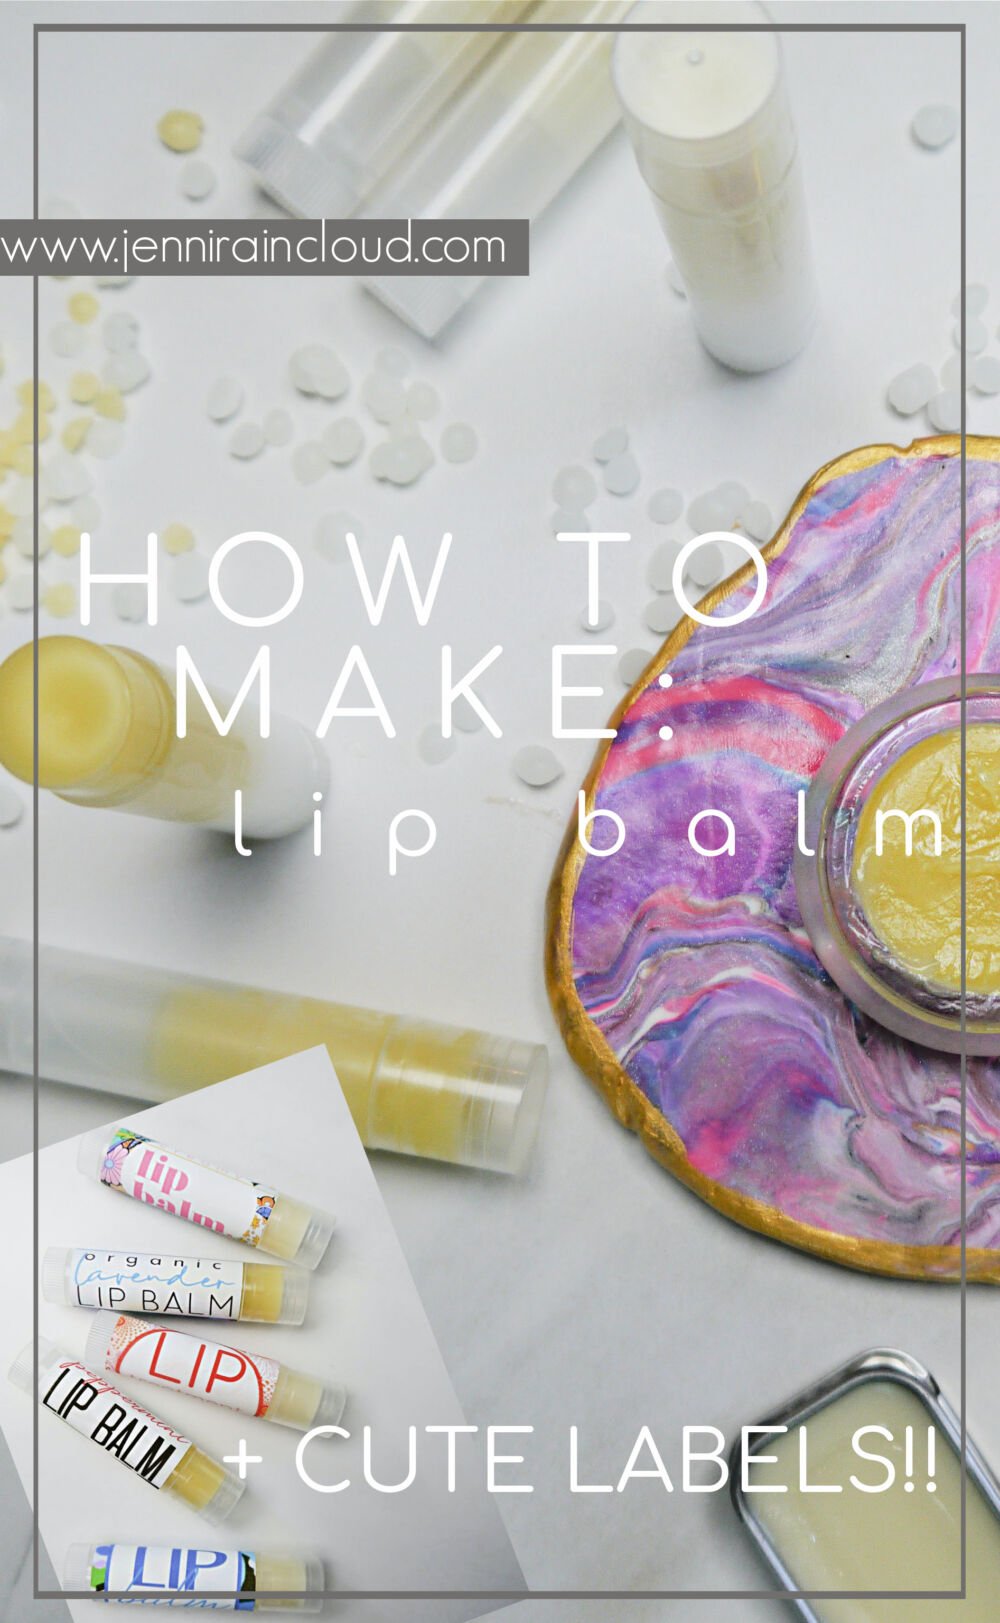
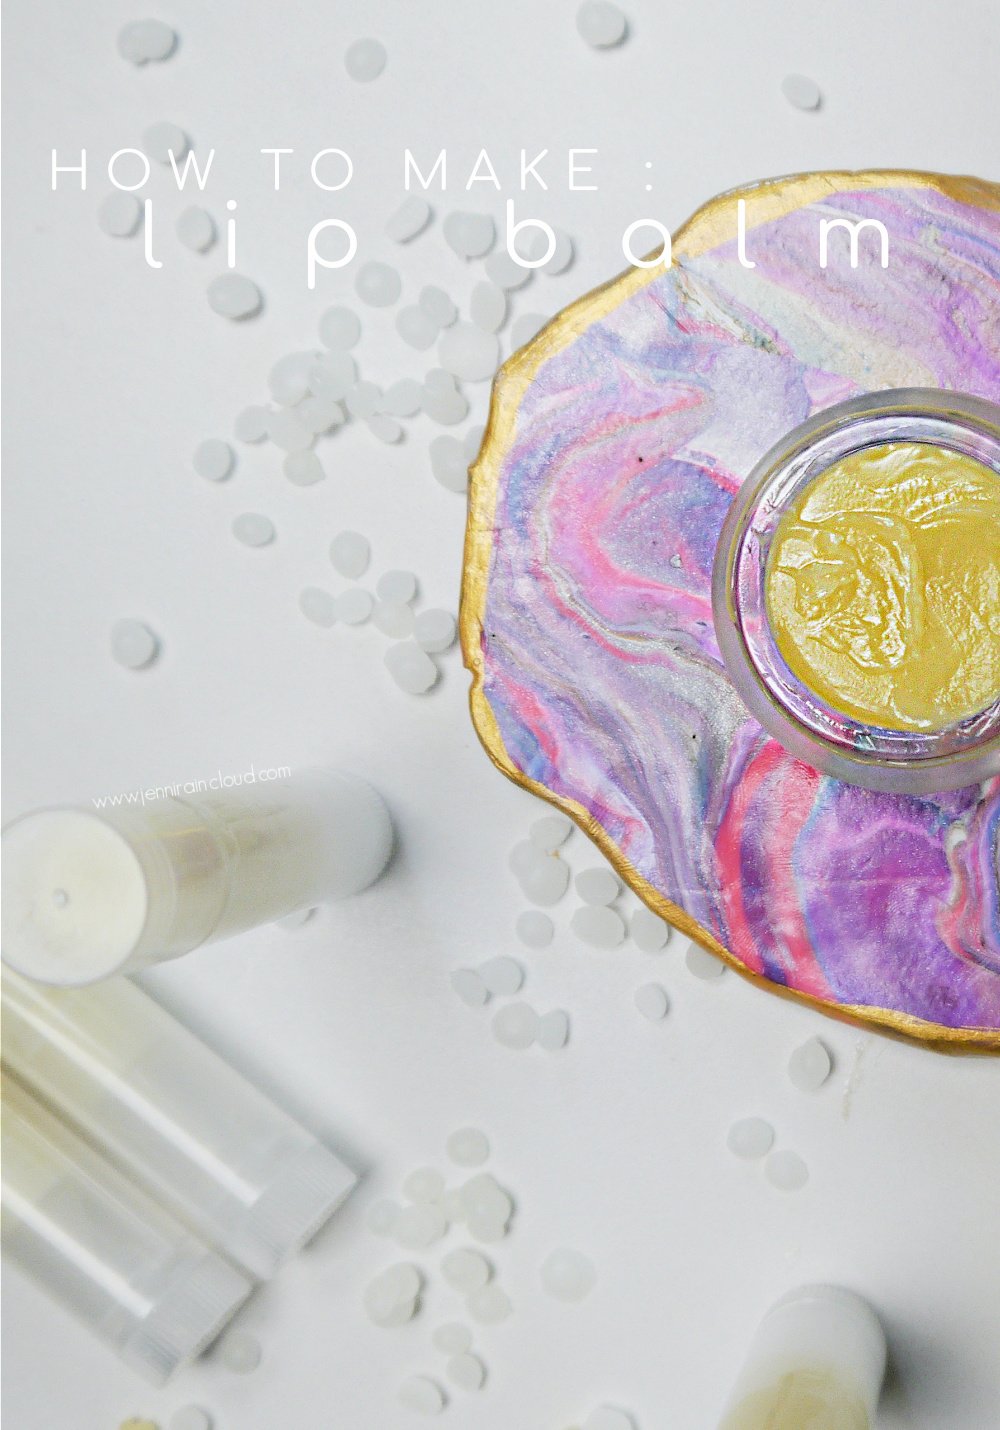
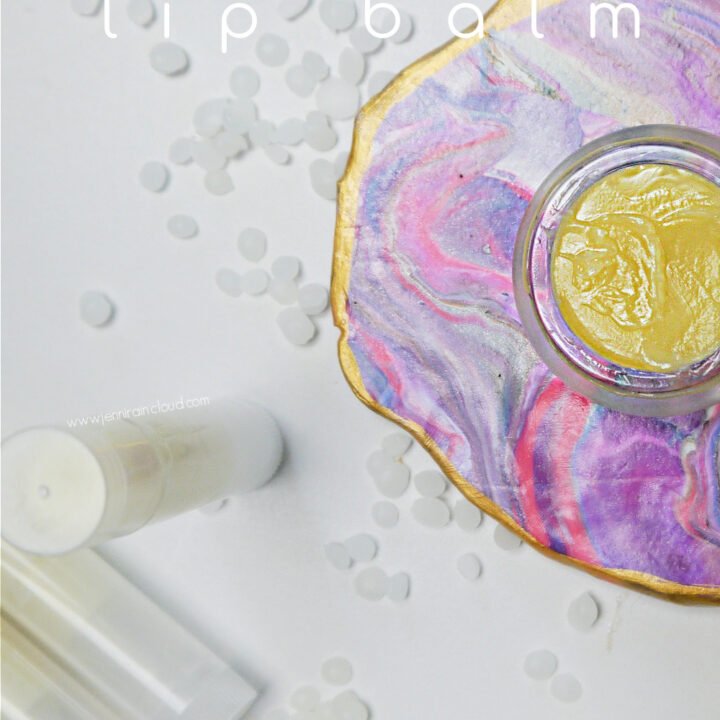
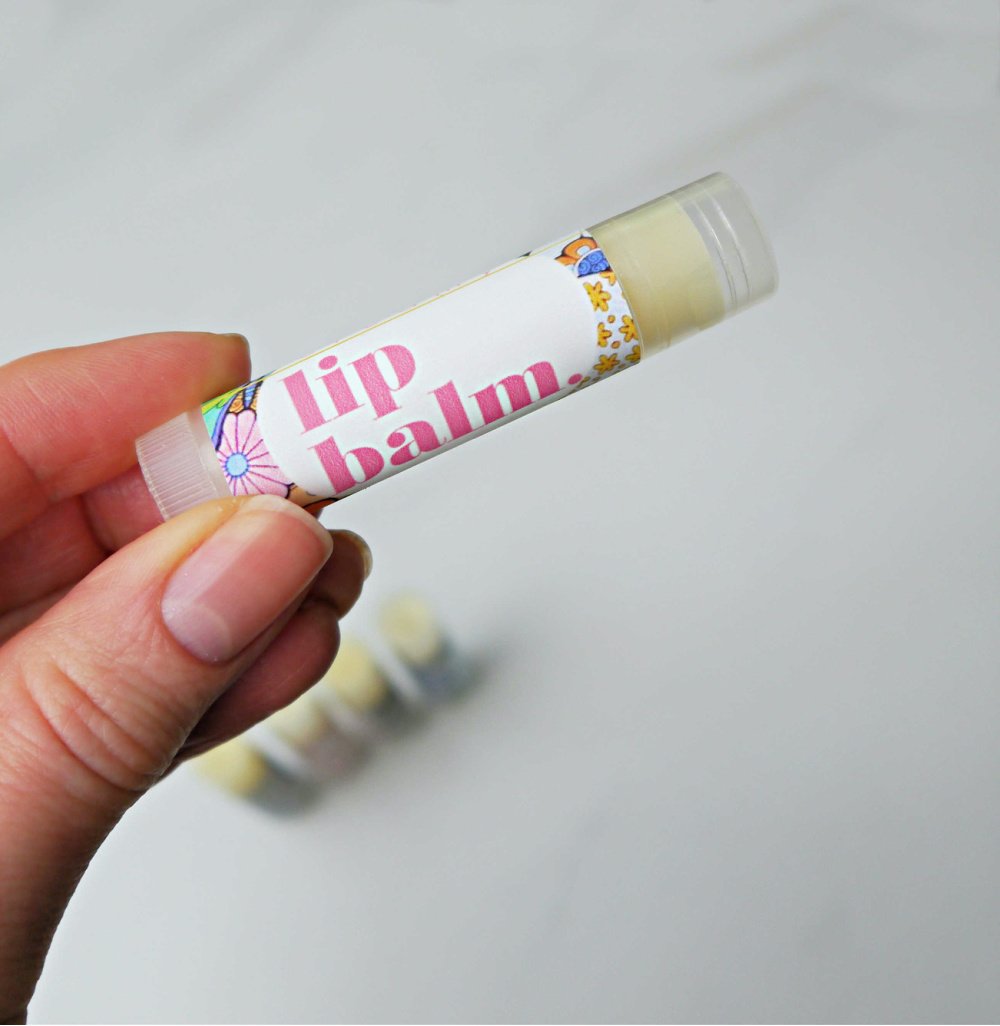
Dry, chapped lips are a thing of the past once you learn how to make DIY lip balm! Using a few simple ingredients like a carrier oil, beeswax and essential oils, you can make a nourishing , natural balm in a few minutes! Plus, lip balms make great gifts, especially if you add a fun label. I will walk you step by step on how to create the cutest labels for your homemade lip balms!
 DIY lip balm is like the gateway to DIY Skin Care. It’s typically the first thing many of us seek out when thinking of creating a beauty product. For one, making lip balm is easy without being too easy. It’s not like a facial oil where you just add ingredients to a dropper bottle and you’re done. A lip balm requires melting, cooling and changes in consistency. You start out with oil and wax and end up with a solid balm. You’ve taken a couple of ingredients and created something useful!
I wanted to write an in-depth post on lip balms at this time in the year because we are nearing the holidays and I think handmade skin care is a fantastic gift. Especially if you create labels. Lip balms are great for teachers! Add a homemade toner like THIS and you’ve got a lovely handmade gift anyone would love to get!
Beeswax:
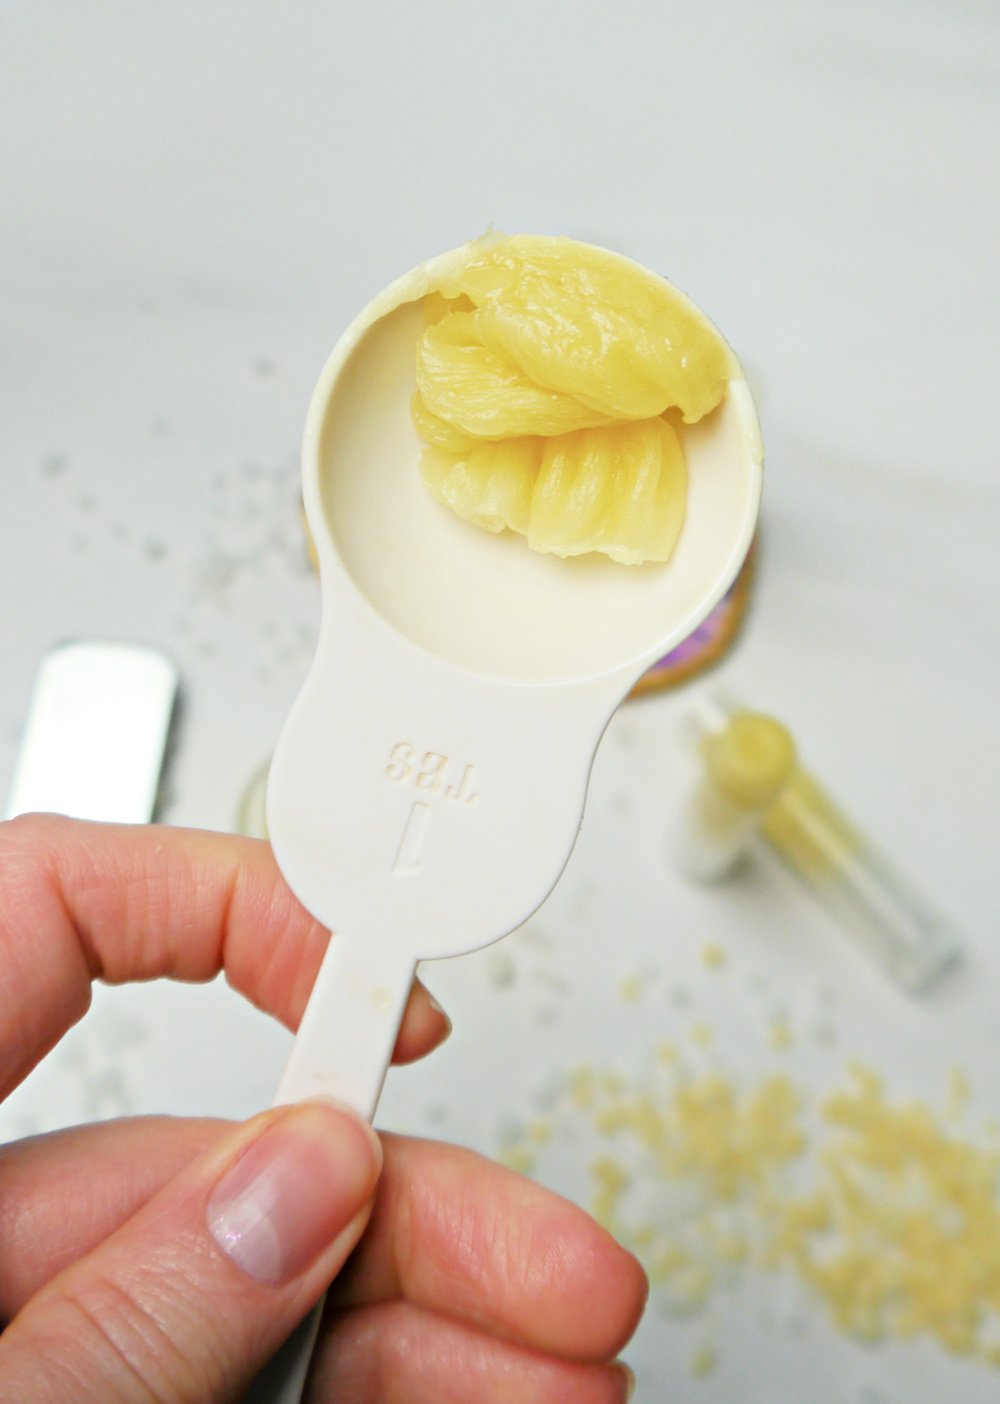
Beeswax is what turns and oil into a balm.The more beeswax you use, the harder the balm. If you are wanting to make lip balm in tubes, you need a hard balm so that it doesn’t collapse when you apply it. However, if you are going to put your lip balm in a tin or jar, you might want to lessen the amount of beeswax so it’s softer for your finger to apply it to your lips.
Typically, my recipes contain 1 TBSP. of oil to 1 tsp. of beeswax. However, I prefer to double the beeswax when planning on lip balm tubes just to make sure it’s the right consistency.
There are 2 types of beeswax-white and yellow. Both work great. Typically, white beeswax is highly refined and bleached. I have THESE white beeswax pastilles that are naturally bleached. They have no scent. I use them when I want my balm to be white rather than yellow. Yellow beeswax pastels are more natural and retain more of beeswax’s protective and nourishing qualities. I use THESE and they have a lovely honey like scent.
Choosing a Carrier Oil:
Since a lip balm is meant to nourish and replenish the lips, a highly emollient oil should be used. This is why I don’t add coconut oil to recipes meant to cure dry skin. Coconut oil is not rich enough. However, if it is all you have and are excited to make lip balm today, go for it! The beeswax will add a lot of quality to your balm as well as protection.
My favorite carrier oil to use is avocado oil. My second favorite is cold pressed olive oil! I love the way olive oil and beeswax smell together-add lavender and it’s heavenly! I also like jojoba oil and sweet almond oil.
Easy DIY Lip Balm Recipes:
- Mint Chocolate Lip Balm
- DIY Burt’s Bees Lip Balm
- Team Edward Tinted Lip Plumper
- Pumpkin Pie Lip Balm
- Sugar Cookie Lip Balm
- Peppermint Lip Balm
- Matcha Vanilla Lip Balm
How to Make Homemade Lip Balm:
What You’ll Need to Make Lip Balm:
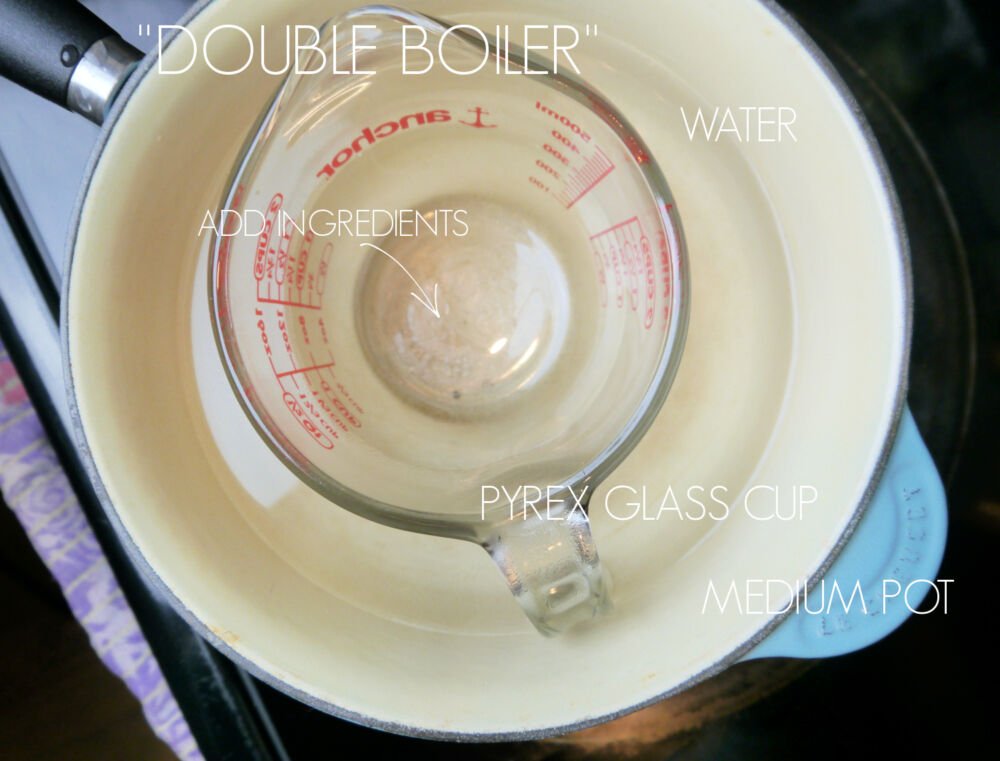
- Stove top or hot plate
- Double Boiler-Or a medium sized pot 1/2 way full with water with a glass bowl or pyrex measuring cup placed in the pot.
- Beeswax pastiles
- Carrier Oil-Jojoba, olive oil, sweet almond oil, apricot seed oil etc. Any oil works.
- Essential oils or Flavoring (optional)
- Vitamin E (optional)
- Shea Butter (optional)
- Lip balm tubes, tins or jars.
- Avery 2 x 2 blank labels *optional*
DIY Lip Balm Recipe:
- 1 TBSP. carrier oil
- 1-2 tsp. beeswax pastilles
- 5 drops essential oils *optional* OR 15-20 drops of flavor
- 1 tsp. shea or cocoa butter *optional*
- 1 tsp. vitamin E oil *optional*
Add 2 tsp. of beeswax if you are using lip balm tubes. Add only 1 tsp. of beeswax if you are using a pot, jar or tin.
*Butters make a lovely addition to lip balms. They add a soft texture and make your lip balm even more nourishing. However, they are not necessary.
*Vitamin E helps keep your lip balm fresh. It also is a powerful antioxidant which gives your lip balm anti aging action. It is not necessary to making lip balm.
Flavoring is a fun additive that I used when creating my DIY bubble gum lip oil. Keep in mind that these flavorings are sugar free so the lip balm will only smell like the flavoring you choose.
The shelf life of DIY lip balm is about 6 months.
Directions:
- Set up a double boiler or a pot 1/2 way full with water and a glass pyrex measuring cup.
- Turn on stove top heat to medium.
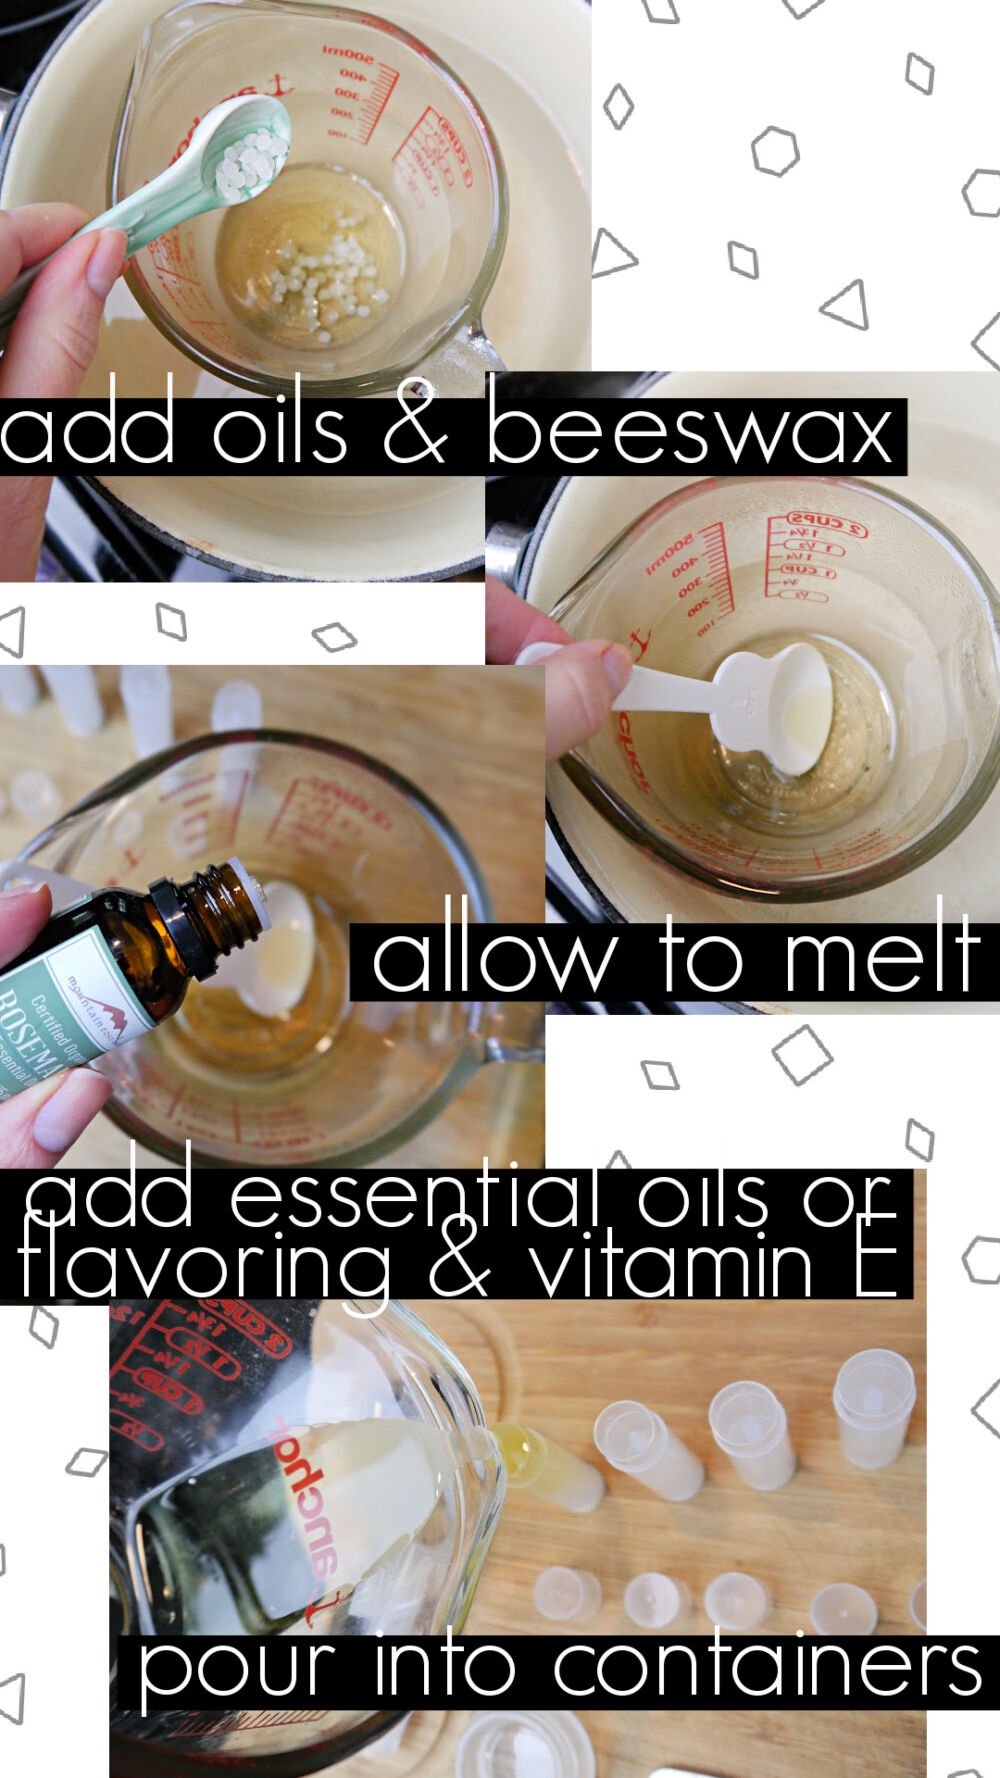
- Add oil and beeswax to the glass cup.
- Allow to melt.
- Once melted, add essential oils.
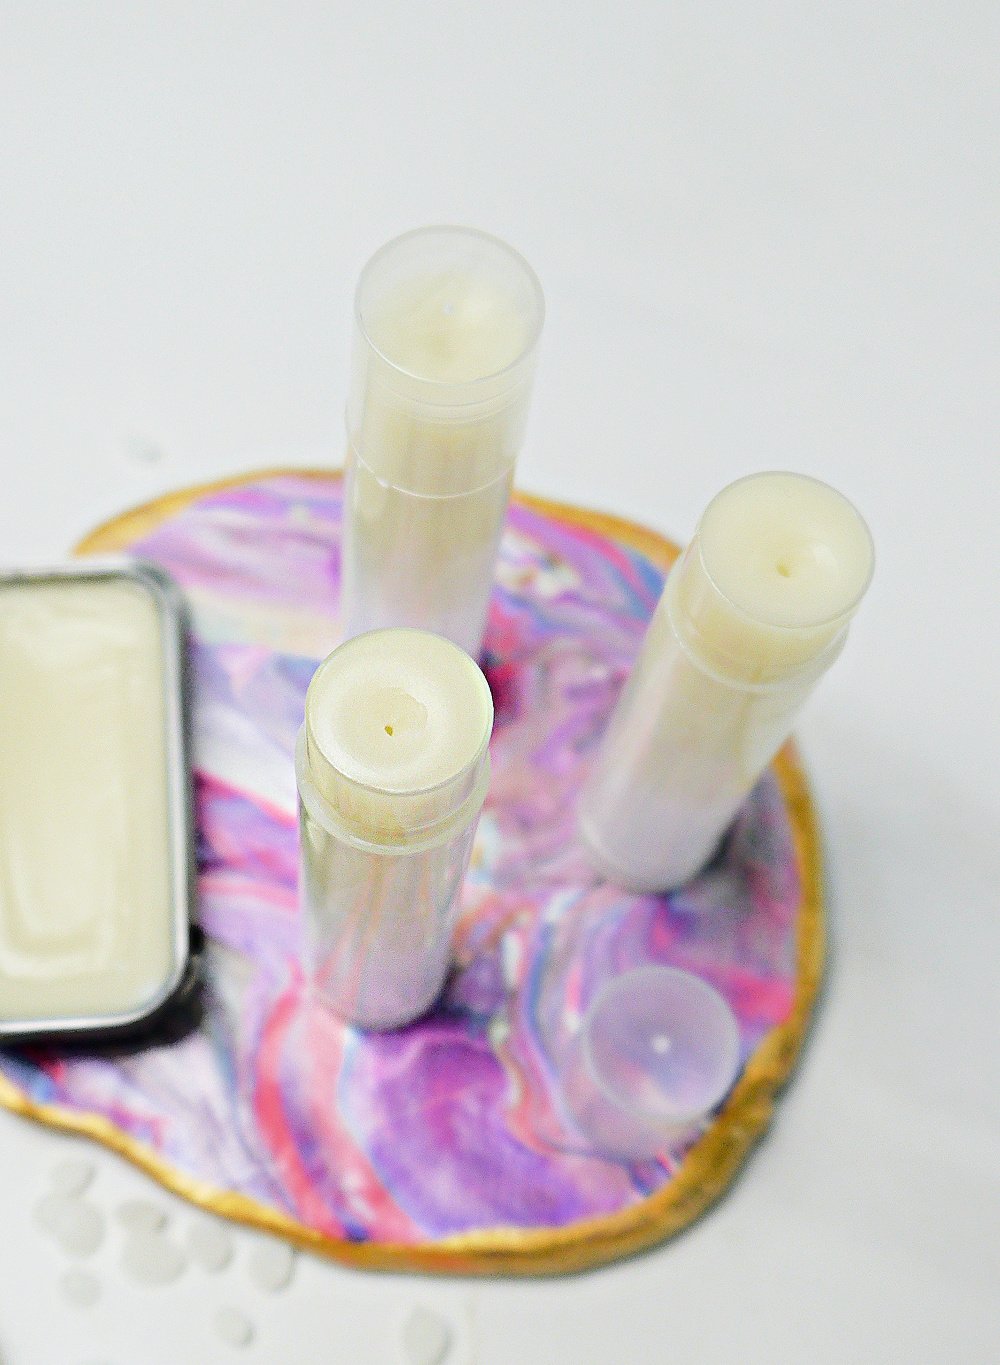
- Pour into containers.
- Allow to cool.
In order to find out how many lip balm tubes you can fill with this recipe you must find out how many ml your lip balm tube hold. The above recipe makes 25ml. I’ve found that some lip balm tubes contain 5.5 ml and some contain 4.4 ml so it depends on which ones you buy.
Feel free to double the recipe as many times as you need.
Continue to Content
How to Make DIY Lip Balm
Yield: 25 ml
Learn how easy it is to make DIY lip balm that will banish dry, chapped lips!
Ingredients
- 1 TBSP. carrier oil
- 1-2 tsp. beeswax pastilles
- 5 drops essential oils *optional* OR 15-20 drops of flavor
- 1 tsp. shea or cocoa butter *optional*
- 1 tsp. vitamin E oil *optional*
Instructions
- Set up a double boiler or a pot 1/2 way full with water and a glass pyrex measuring cup.
- Turn on stove top heat to medium.
- Add oil and beeswax to the glass cup.
- Allow to melt.
- Once melted, add essential oils.
- Pour into containers.
- Allow to cool.
Notes
Add 2 tsp. of beeswax if you are using lip balm tubes. Add only 1 tsp. of beeswax if you are using a pot, jar or tin.
*Butters make a lovely addition to lip balms. They add a soft texture and make your lip balm even more nourishing. However, they are not necessary.
*Vitamin E helps keep your lip balm fresh. It also is a powerful antioxidant which gives your lip balm anti aging action. It is not necessary to making lip balm.
Flavoring is a fun additive that I used when creating my DIY bubble gum lip oil. Keep in mind that these flavorings are sugar free so the lip balm will only smell like the flavoring you choose.
The shelf life of DIY lip balm is about 6 months.
In order to find out how many lip balm tubes you can fill with this recipe you must find out how many ml your lip balm tube hold. The above recipe contains 25ml. I’ve found that some lip balm tubes contain 5.5 ml and some contain 4.4 ml so it depends on which ones you buy.
Feel free to double the recipe as many times as you need.
Did you make this recipe?
Adding Essential Oils to DIY Lip Balm
I like to add 5 drops of essential oils in the above recipe. It doesn’t take much to over power a lip balm.
A few essential oils to try are peppermint, lemon/orange, lavender and vanilla. Vanilla essential oil can be pricey but you can use a few drops of vanilla extract as shown in my peppermint vanilla lip balm recipe.
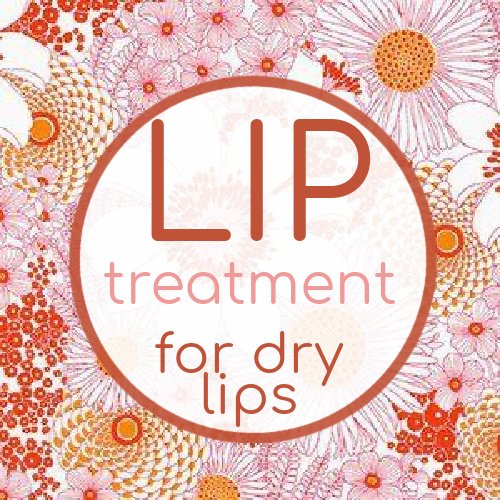
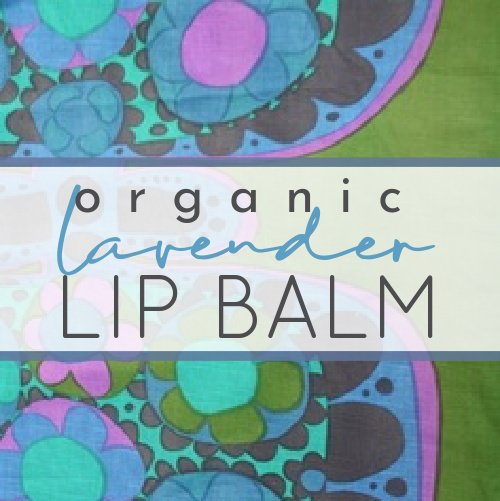
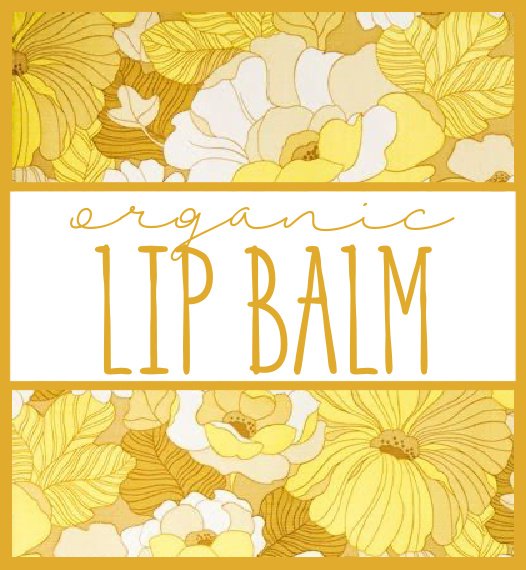
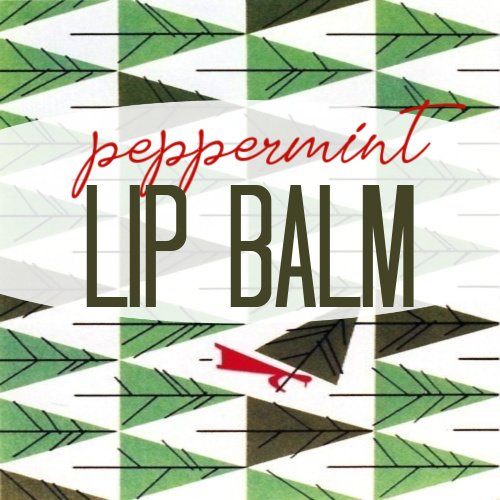
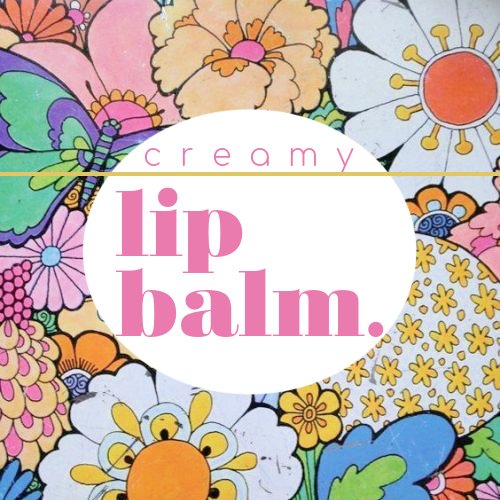
How to make DIY Lip Balm Labels:

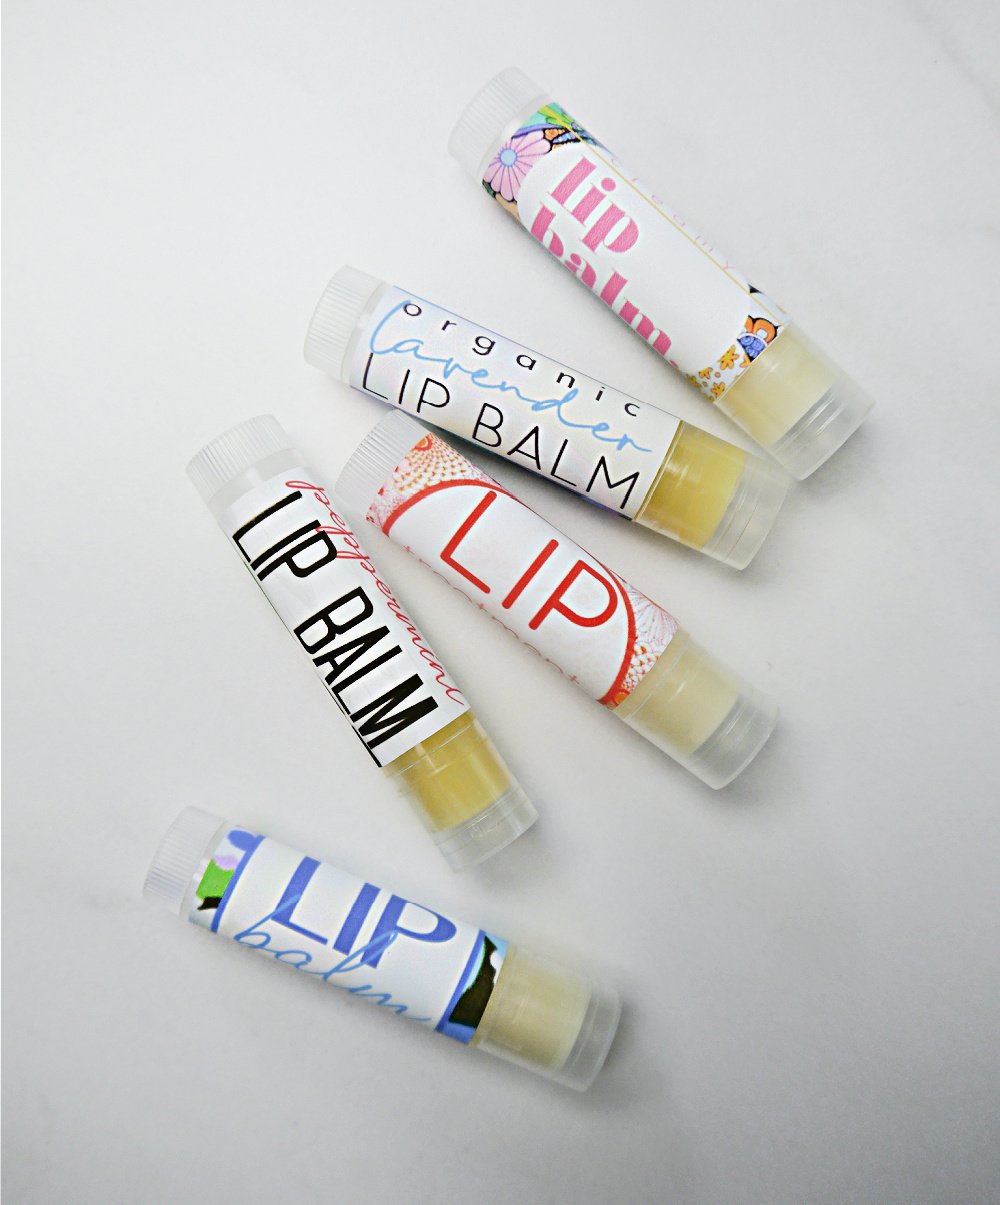
I’ve had a heck of a time trying to figure out the right size and label template for lip balm labels. I bought lip balm labels only to find that there seems to be no way to upload my label designs. I ended up using THESE labels which are the same I use for the Free custom designed labels I offer when you sign up for my newsletter. I have lots of experience with these labels plus they are waterproof. The problem is, they are about 1/4-1/2 an inch too big. I ended up redesigning my labels so that I could cut the tops and bottoms to fit the tubes. This turned out to be very easy and the labels look great!
How to Print Lip Balm Labels At Home:
- Click on the label pictures above and save the ones you like to your computer.
- Order Avery labels 64503 HERE.
- Go to www.avery.com and select TEMPLATES —> Find Template
- Enter 64503 in the search bar.
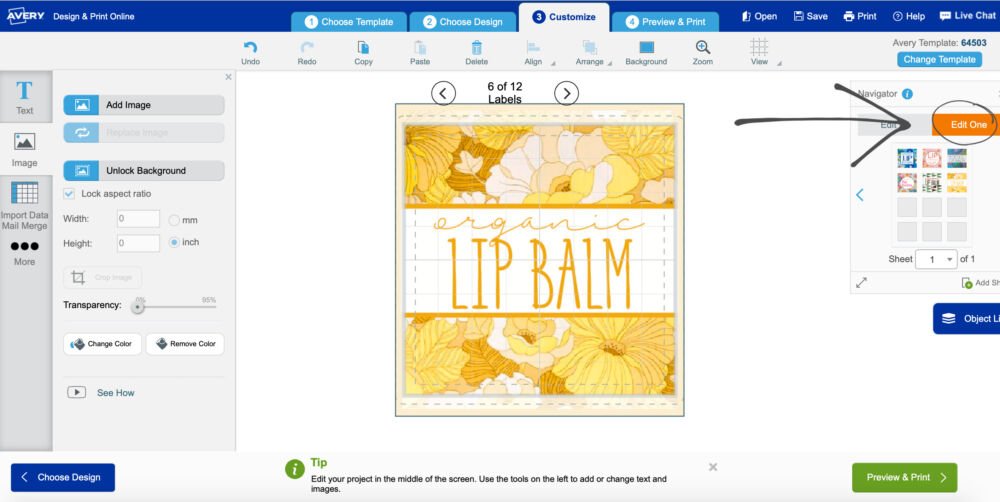
- Click on “Start Designing”
- Choose the first blank template.
- On your right side, choose “Edit One” then click on the first label.
- Select Image (on the left) —>Add Image—>Browse for file.
- Upload
- Set as Background.
- Repeat for the 2nd label.
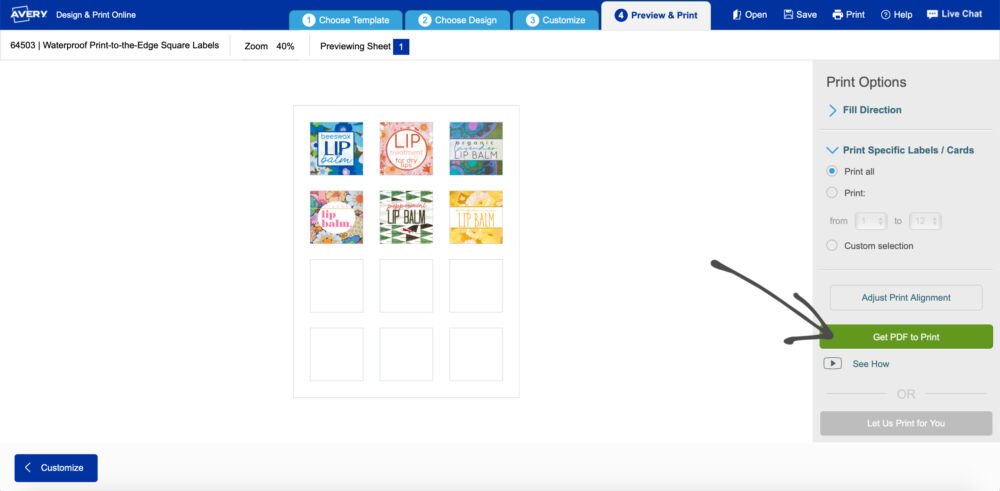
- Once you’ve got all your labels added press the green Preview & Print button.
- Then press the green Print it Yourself.
- Next press Get PDF to Print.
I highly recommend adding raw shea butter to your lip balm recipe. You’re going to love making your own DIY lip balm! It’s quick and easy and your lips will greatly benefit.
I hope this post has cleared up any questions you may have had about making your own homemade lip balm. It’s a fun project for all ages plus it’s completely safe, healthy and effective! For more lip DIYs go HERE.
xx, Jenni
PIN IT!!!