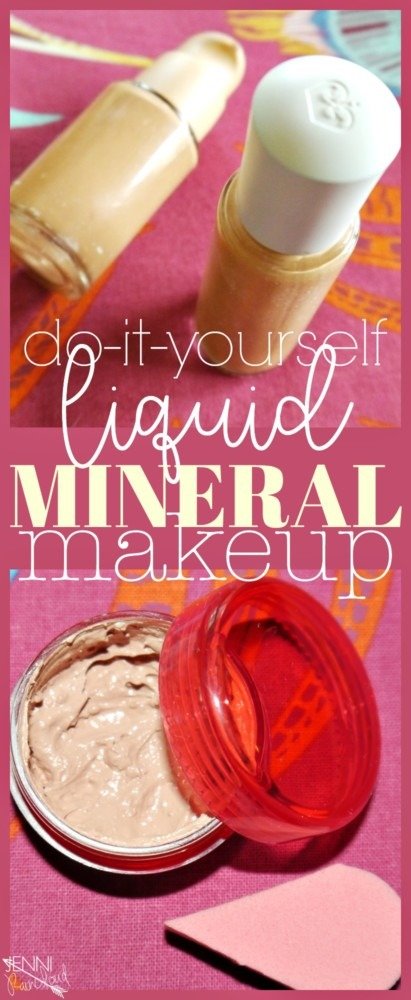
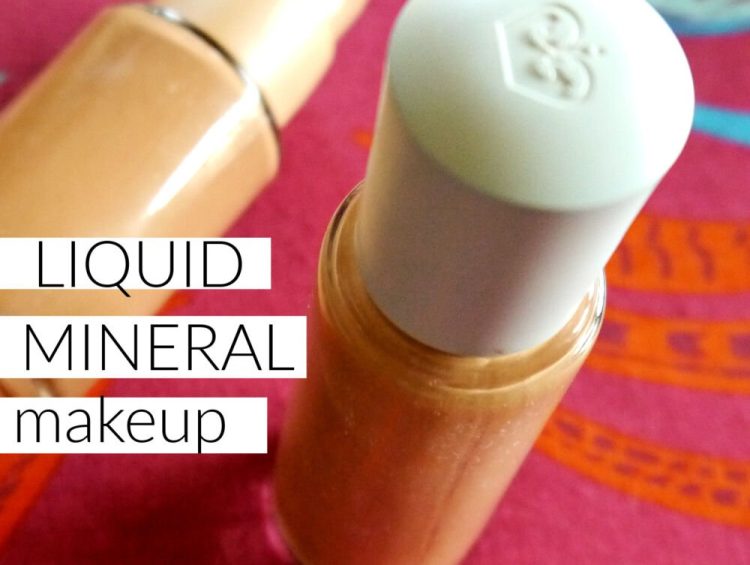
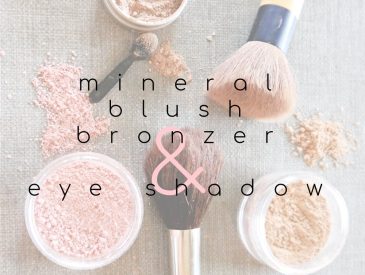
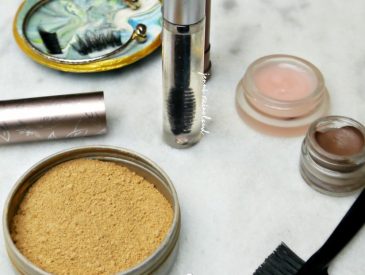
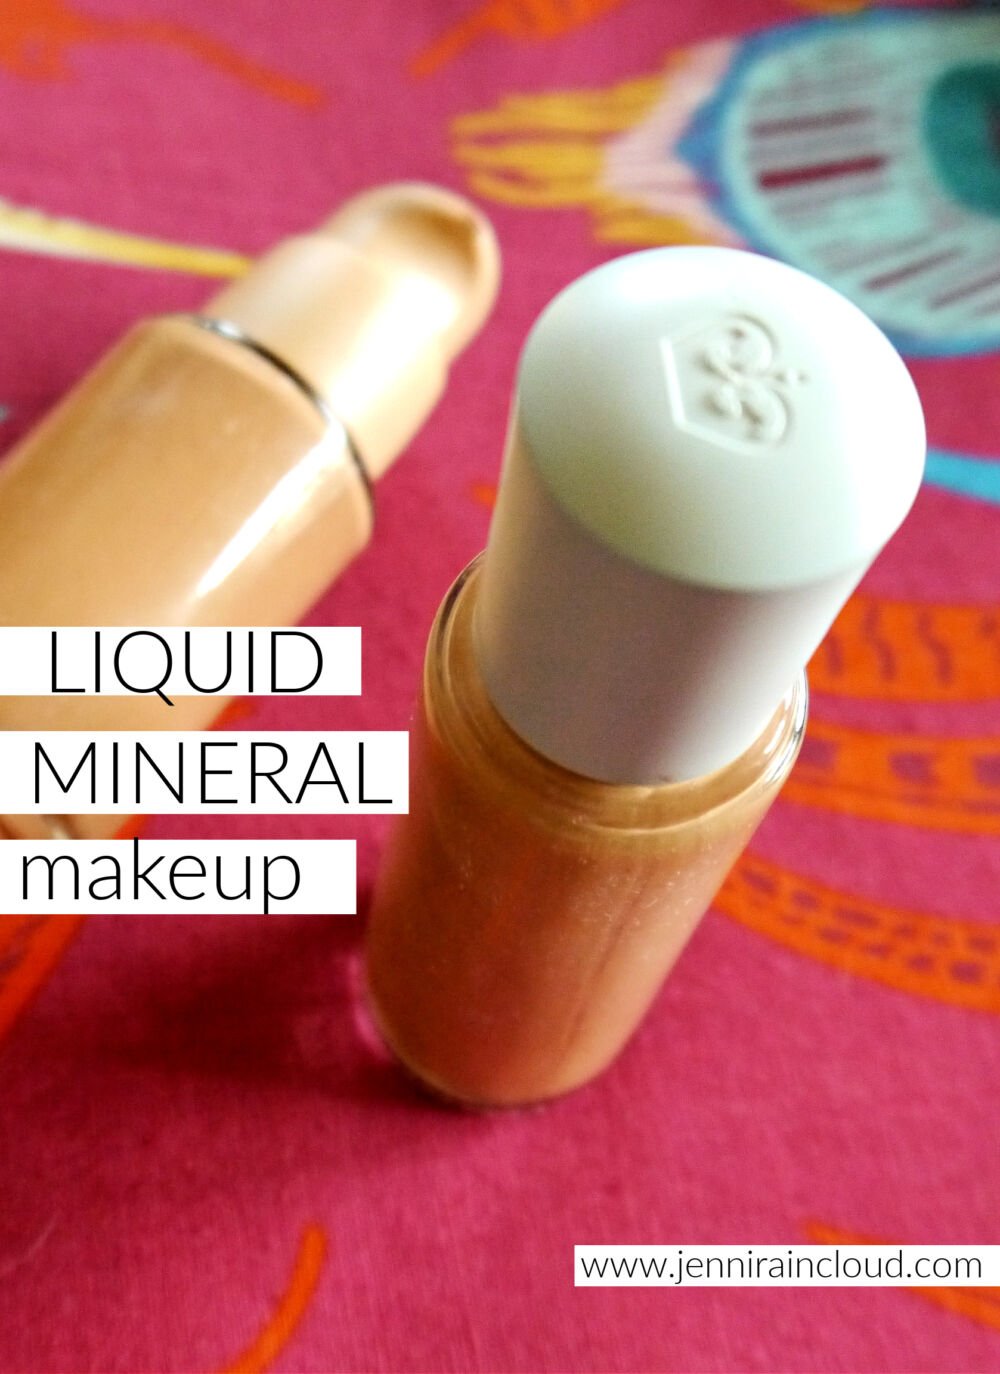
 Did you catch last week’s tutorial on how to make your own basic mineral make up? I’ve been using mineral makeup for years now and making my own proved to be one of the most effective, money saving and easy DIYs to date! Today, I’m going to teach you how to turn your powder mineral makeup into DIY Liquid Mineral Makeup! This cream foundation will not only provide great coverage, it will also benefit your skin. It’s so simple and looks so amazing!
I’ve always loved mineral make up but lately I’ve noticed that it looks cakey-so not attractive. One solution is my finishing spray. This has helped to give me a healthier, less pasty look, but for many of us with dry skin, a cream foundation is just a better option. Read on to make your mineral make up into a luxurious skin treatment that will give your skin that creamy, healthy look!
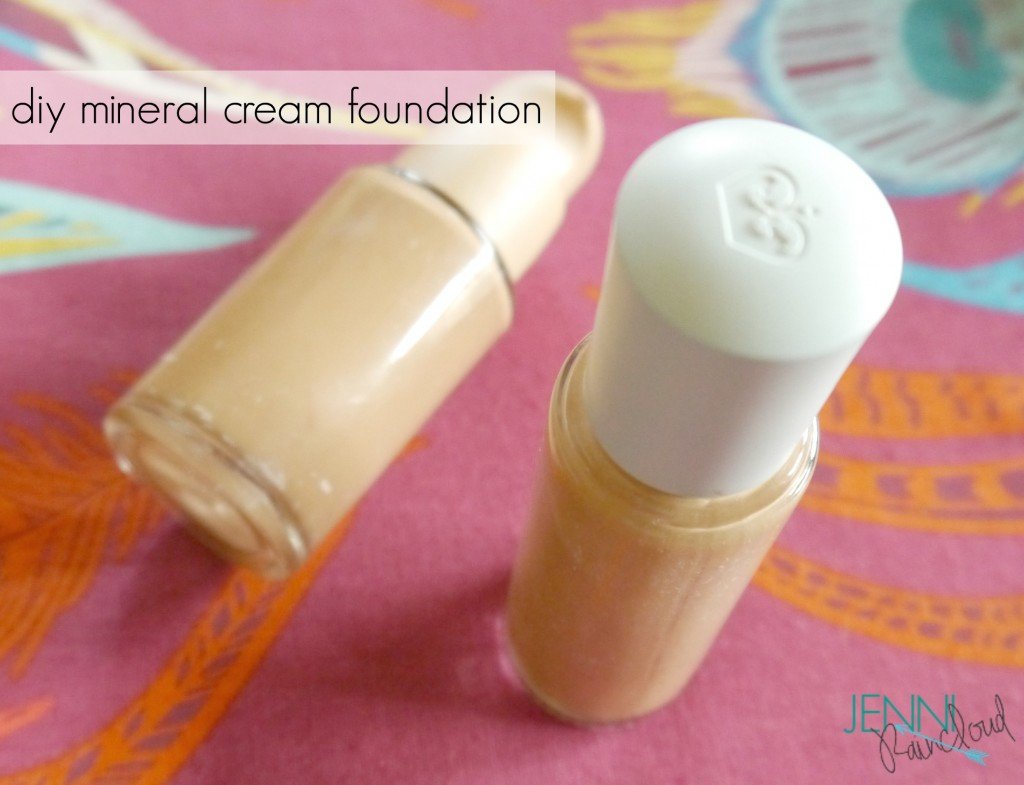
Turning your mineral make up into a liquid foundation could not be easier. You simple add your favorite organic carrier oil!
Dry &/or Aging Skin Recommendations:
- Sweet Almond Oil
- Rosehip Seed Oil
- Macadamia Nut Oil
- Jojoba Oil
Sensitive Skin Recommendations:
- Apricot Seed Oil
- Sweet Almond Oil
Don’t forget essential oils!
- Lavender-Reduces Inflammation
- Frankincense-Tightens and nourishes
- Chamomile-Calms
- Geranium-Evens skin tone and increases circulation
*I would add 4-6 drops of essential oils per 1 ounce.
I don’t have recommendations for oily skin types-Mineral make up in it’s powder form is your best option! However, you can add essential oils to your powder! As usual, lavender is my go-to oil. Sometimes the kubuki brush would irritate my skin, so lavender was so helpful to reduce any inflammation. If you prefer a cream foundation, mixing a light moisturizer would be your best option. In my experience I would start with equal parts of lotion and make up and then add lotion until you get the right coverage.
Now, let’s talk proportions.
For maximum coverage-Mix equal parts of oil and make up. This will give you a very thick, flawless coverage. 2 TBSP of oil to 2 TBSP. make up.
For medium coverage-Mix 2 TBSP. of oil to 1.5 TBSP of make up.
For light coverage-Mix 1 1/2 TBSP. of oil to 1 tsp.
These proportions are assuming you will transfer your cream foundation to a 1 ounce bottle. I found a perfect glass pump on Amazon but I did not order it because of slow shipping. I ended up running to Walmart and buying some foundation and emptying it. Let me tell you, it was not easy to get the foundation out. I ended up getting out what I could with super hot water, then soaking the insides in TKO Orange, an awesome green cleanser I’ve used for years. When undiluted it will remove almost anything. Plus, you could drink it, it’s that safe. You will also need a small funnel to transfer your cream into your bottle. I used THESE.
Directions:
- Using a small bowl, mix your oil and mineral make up with a small spoon. This can be tedious. You will need to really mash the make up into the oil. It doesn’t have to be perfectly smooth though. When you apply it, your fingers or applicator will smooth it.
- Transfer to your bottle.
I absolutely love this DIY-my skin has never looked better. Not only did I ditch the cake face, but my skin is enjoying the benefits of rosehip seed oil, geranium and lavender oil all day long! My skin truly has never been so soft!!
BONUS Concealer!!
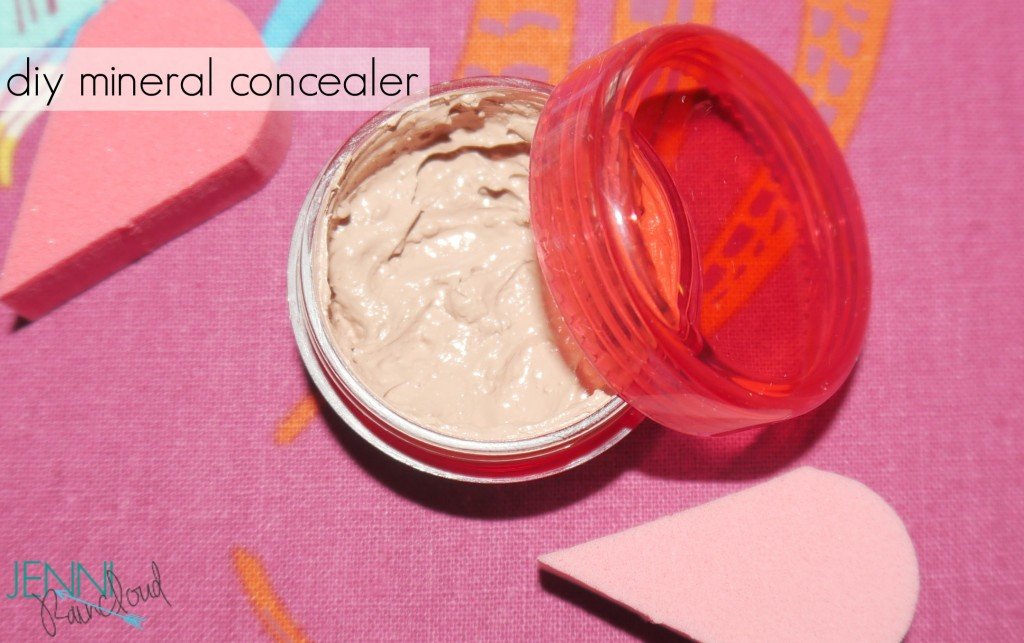
- Measure 1 TBSP. of make up to 2 tsp. of oil.
- Mash, mash, mash and stir, stir, stir.
The proportions are subjective-You might need to tweak the oil if your make up is too lumpy. This concealer will be very thick and cover anything. Remember, the more make up you add, the more coverage you’ll get.
I have to say, I really love these 2 DIYs. It gives a very healthy look. There’s nothing I can’t stand more then looking pasty! Plus, by using healthy, natural oils, you are actually nourishing your skin!
For more DIY makeup recipes go HERE!
xx, Jenni
[convertkit form=2502210]
PIN IT!!!
