 I always say that one of my talents is lighting candles. LOL. I’ve been burning candles from the very moment my mother granted me permission back in my early teen years. There’s just something beautiful about candlelight. I find burning candles is intentional and grounding. You are engaging more of your senses and taking charge of your ambiance. Since I work from home, lighting a candle or 20 in the evening, helps me differentiate between work and downtime.
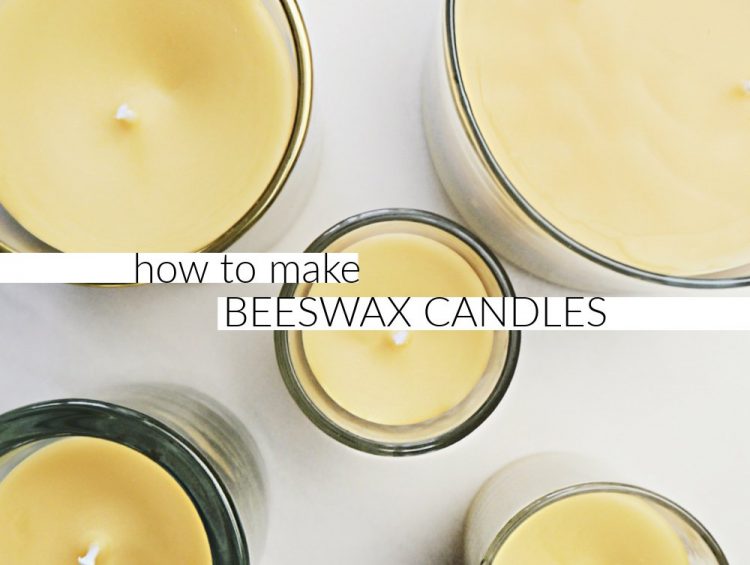
I have posted how to make soy candles so candle making is not new to Jenni Raincloud. I’ve even posted how to make citronella beeswax candles. Today, I want to simplify and perfect making plain ole’ beeswax candles because of the long list of benefits in burning beeswax!
Did you know beeswax is even beneficial to the skin?!
Benefits of Burning Beeswax Candles:
When beeswax burns, it releases negative ions. Pollutants like dust, dirt, animal dander and pollen have a positive charge and are mainly found suspended in the air. When the negative ions of the beeswax are released, they attach to the positive ions of the pollutants and neutralizes them. Once the dirt, pollen etc. is neutralized, they are no longer an issue and typically fall to the ground therefore, leaving the air cleansed.
Because beeswax candles reduce indoor pollutants, they can often have a very positive effect on people suffering from allergies and even asthma!
If you’re interested in more information, I’ve written an in-depth post on how beneficial it is to burn beeswax candles in your home!
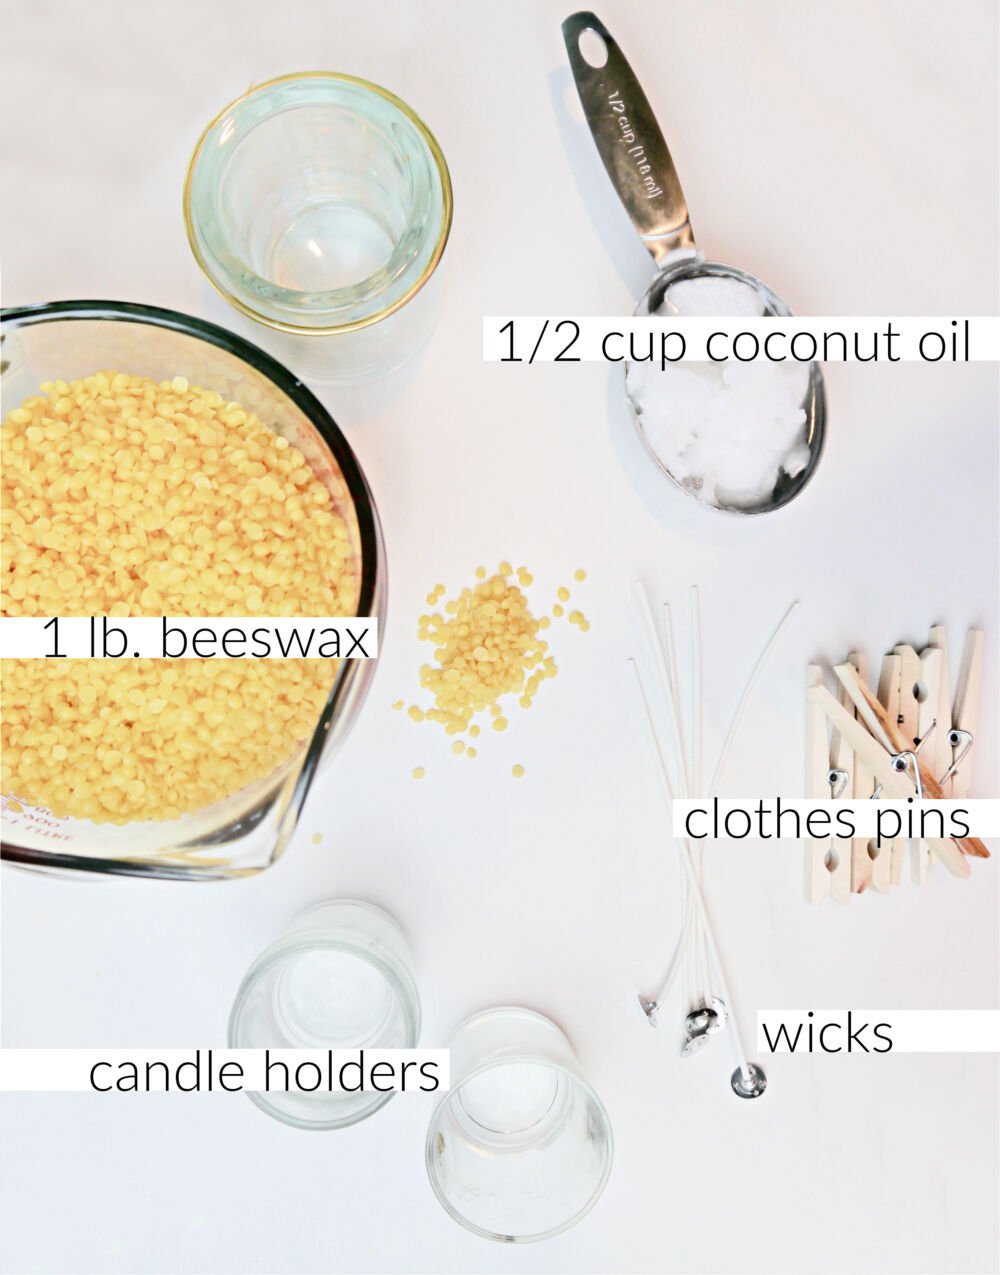
What You’ll Need for Homemade Beeswax Candles:
- 6 in. wicks
- 1lb bag of beeswax
- Unrefined coconut oil
- Candle holders
- Clothes pins
- Popsicle sticks for stirring
- 4 cup Glass bowl or measuring cup
- Medium sized pot (sauce pan)
- Scissors
- Lighter
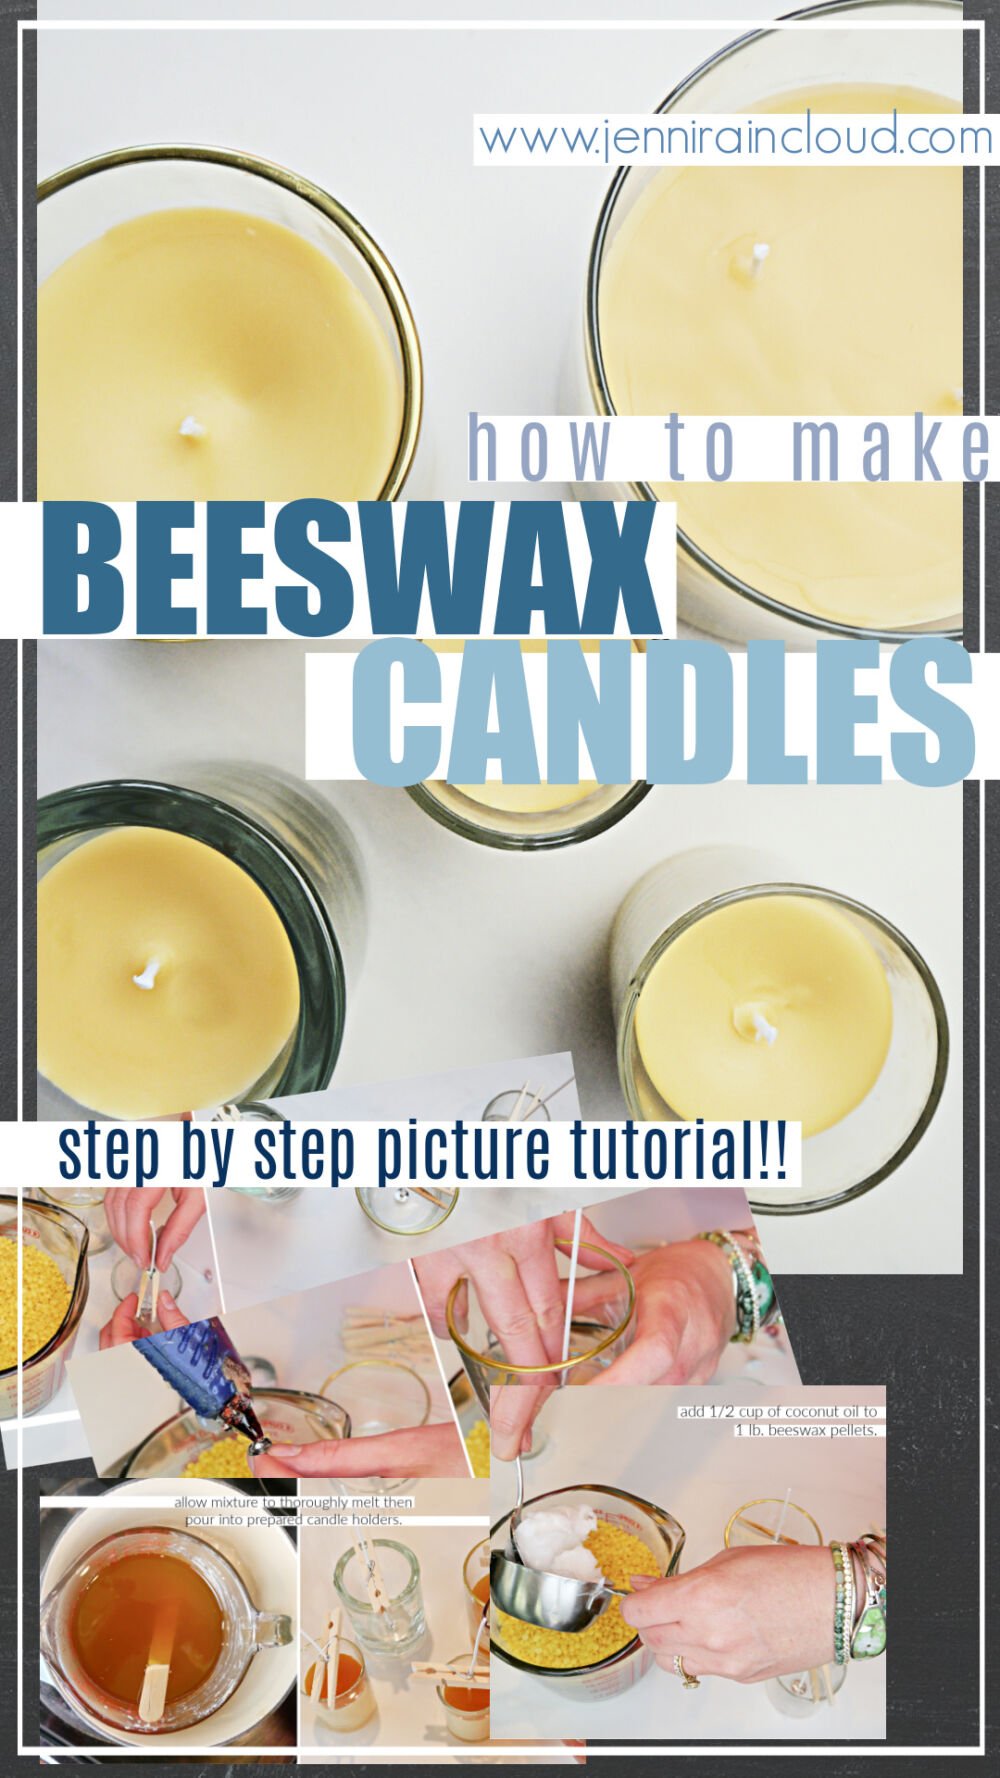
How to Make Homemade Beeswax Candles:
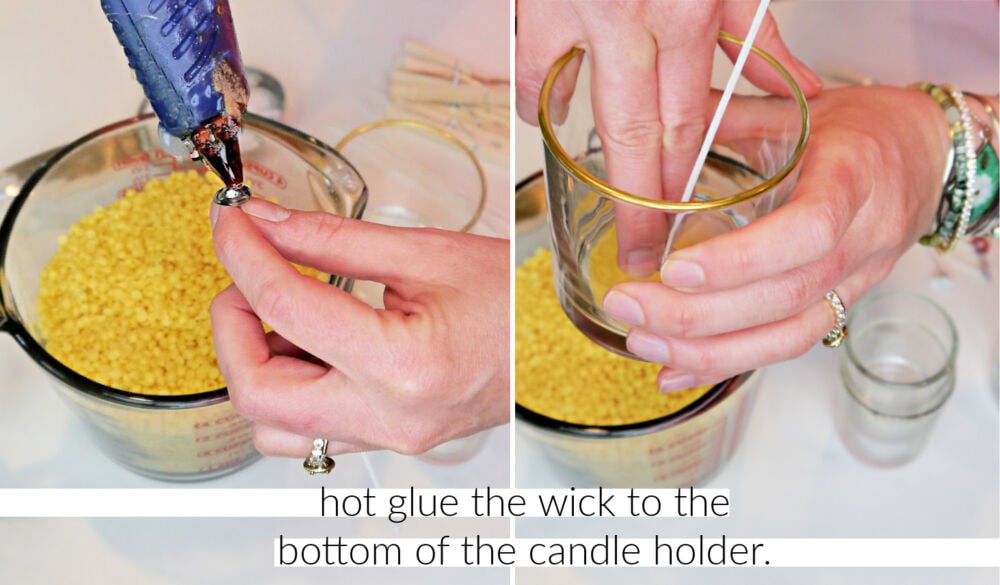
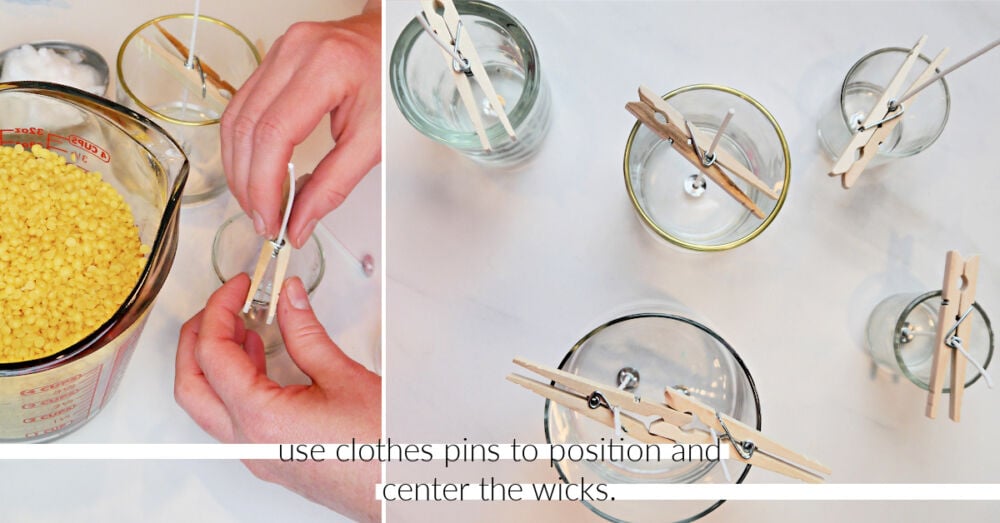
- First we need to prepare your candle holders. I like to use hot glue to glue the wick to the bottom center of the candle holder. For larger containers, you might want to use 2 wicks.
- I’ve used 2 straws or pencils tied together in order to steady the wick so it stays in the exact center of your container but now I’m using clothespins and can’t recommend them enough. Clothespins made steadying the wick so fast, effective and simple. I found my clothespins in the craft section at Walmart btw.
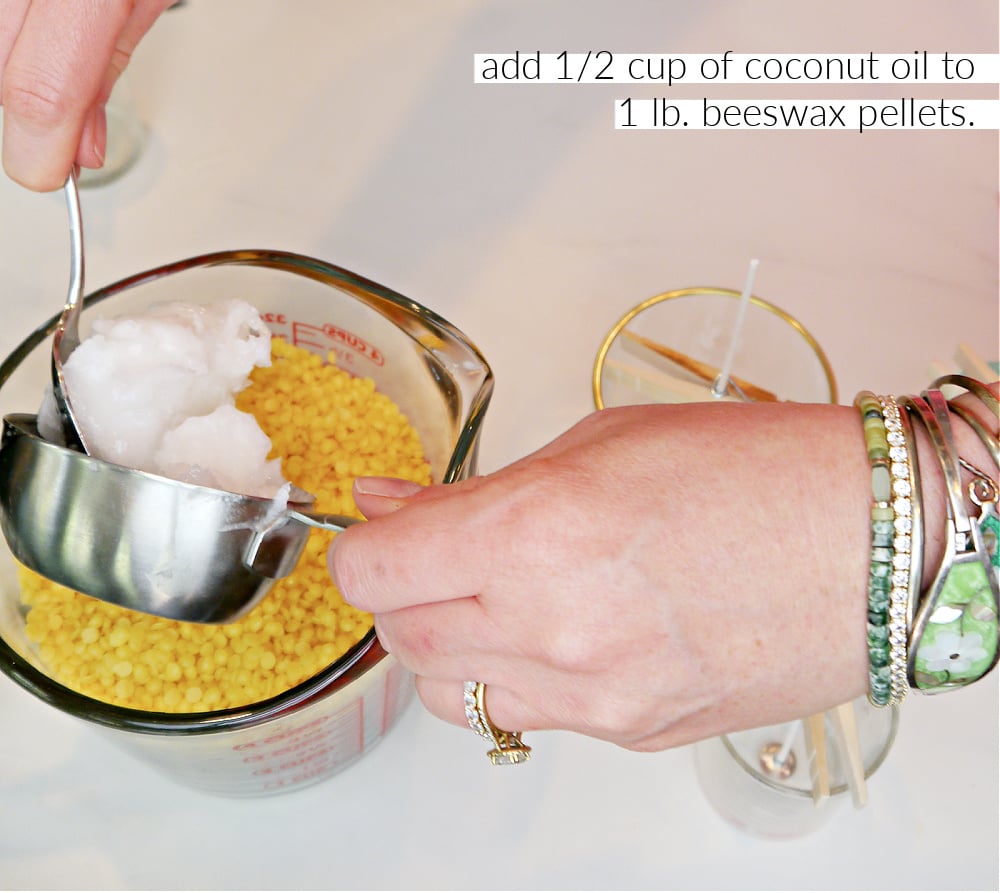
- Pour you 1lb bag of beeswax pellets into a large glass bowl or Pyrex measuring cup.
- Add 1/2 cup of coconut oil.
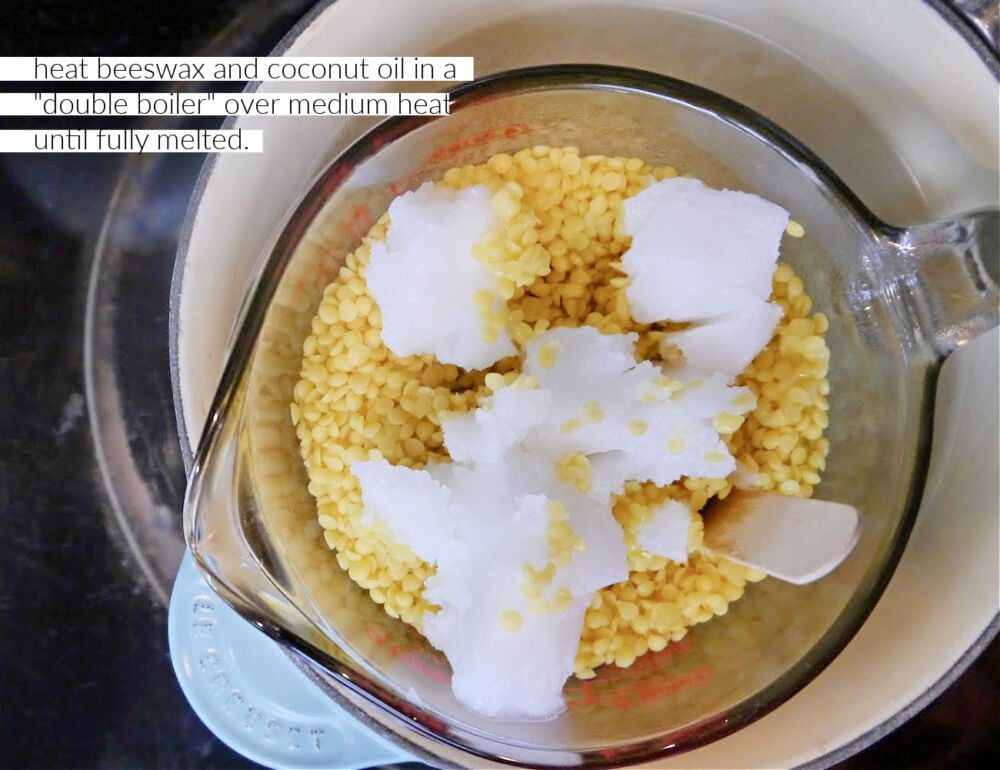
- Fill a medium sized pot 1/2 way full with water and place your bowl with beeswax and coconut oil in the water in the pot. (see pictures)
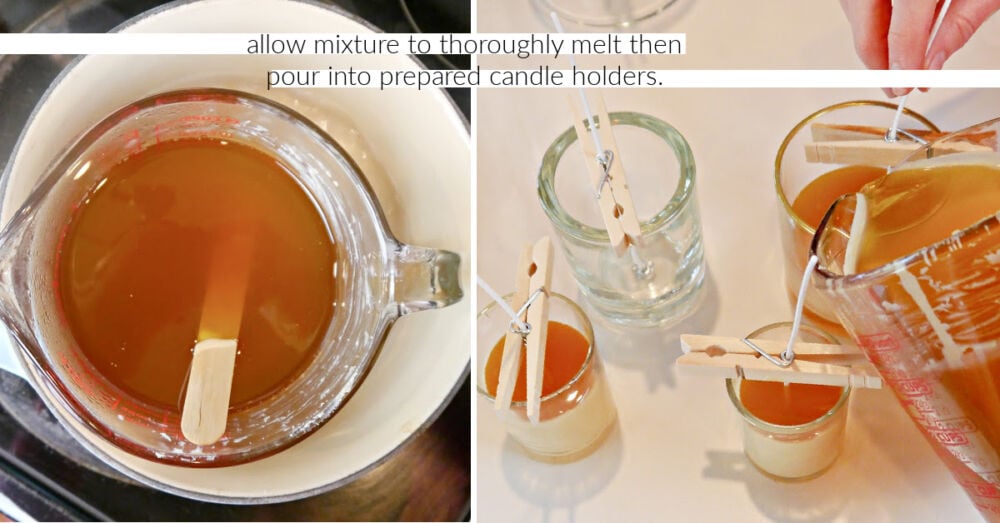
- Heat the beeswax and coconut oil on medium heat and allow it to thoroughly melt.
- Pour into prepared glass candle holders making sure the wick is steadied in the middle.
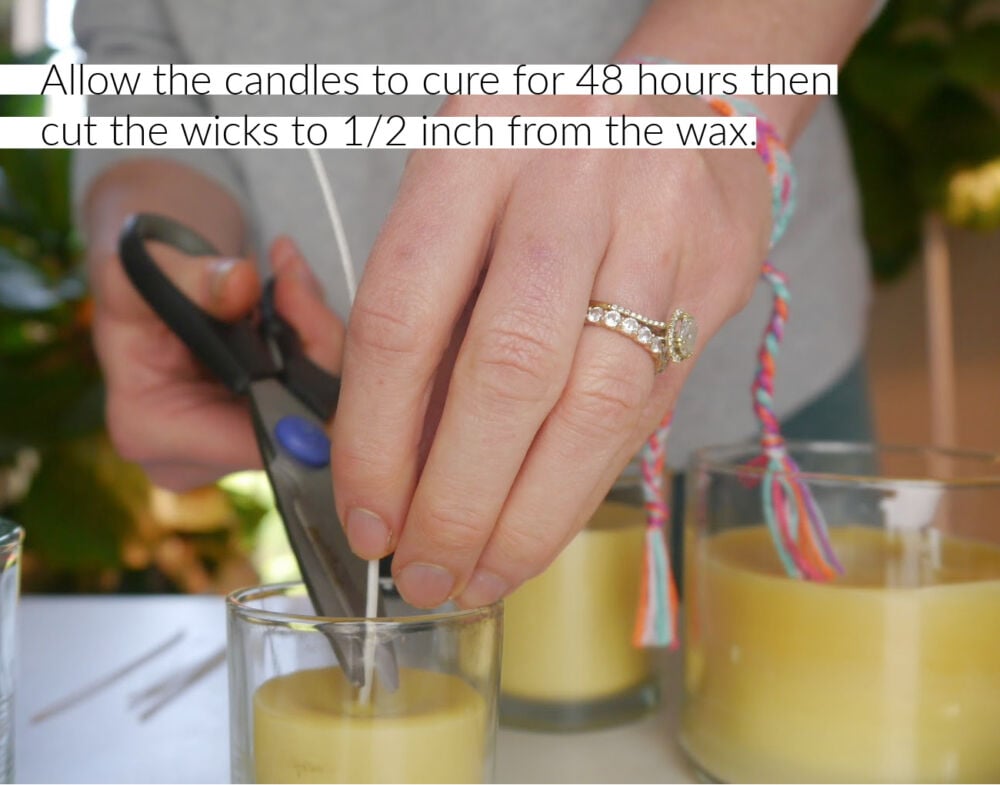
- Allow candles to cool and let cure for 48 hours.
- Cut wicks 1/2 inch above the beeswax.
- Light your candle by pointing the lighter at the base of the wick.
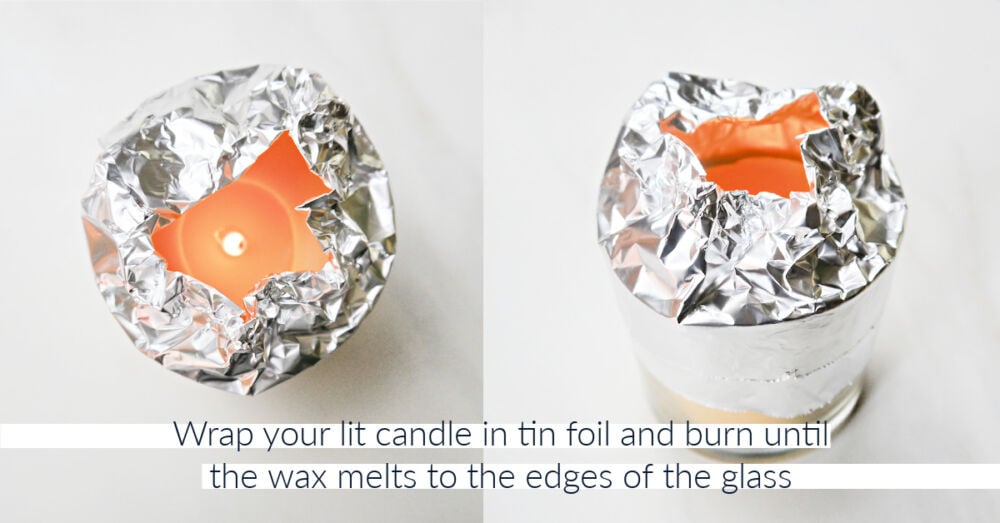
- Wrap your candle in foil leaving a small opening at the top so smoke, soot and heat can escape. This helps the candle to heat faster and more evenly.
- Burn your candle until the wax melts evenly all across the top of the candle to the edge of the container.
- You have now trained your candle and can burn it any way you like!
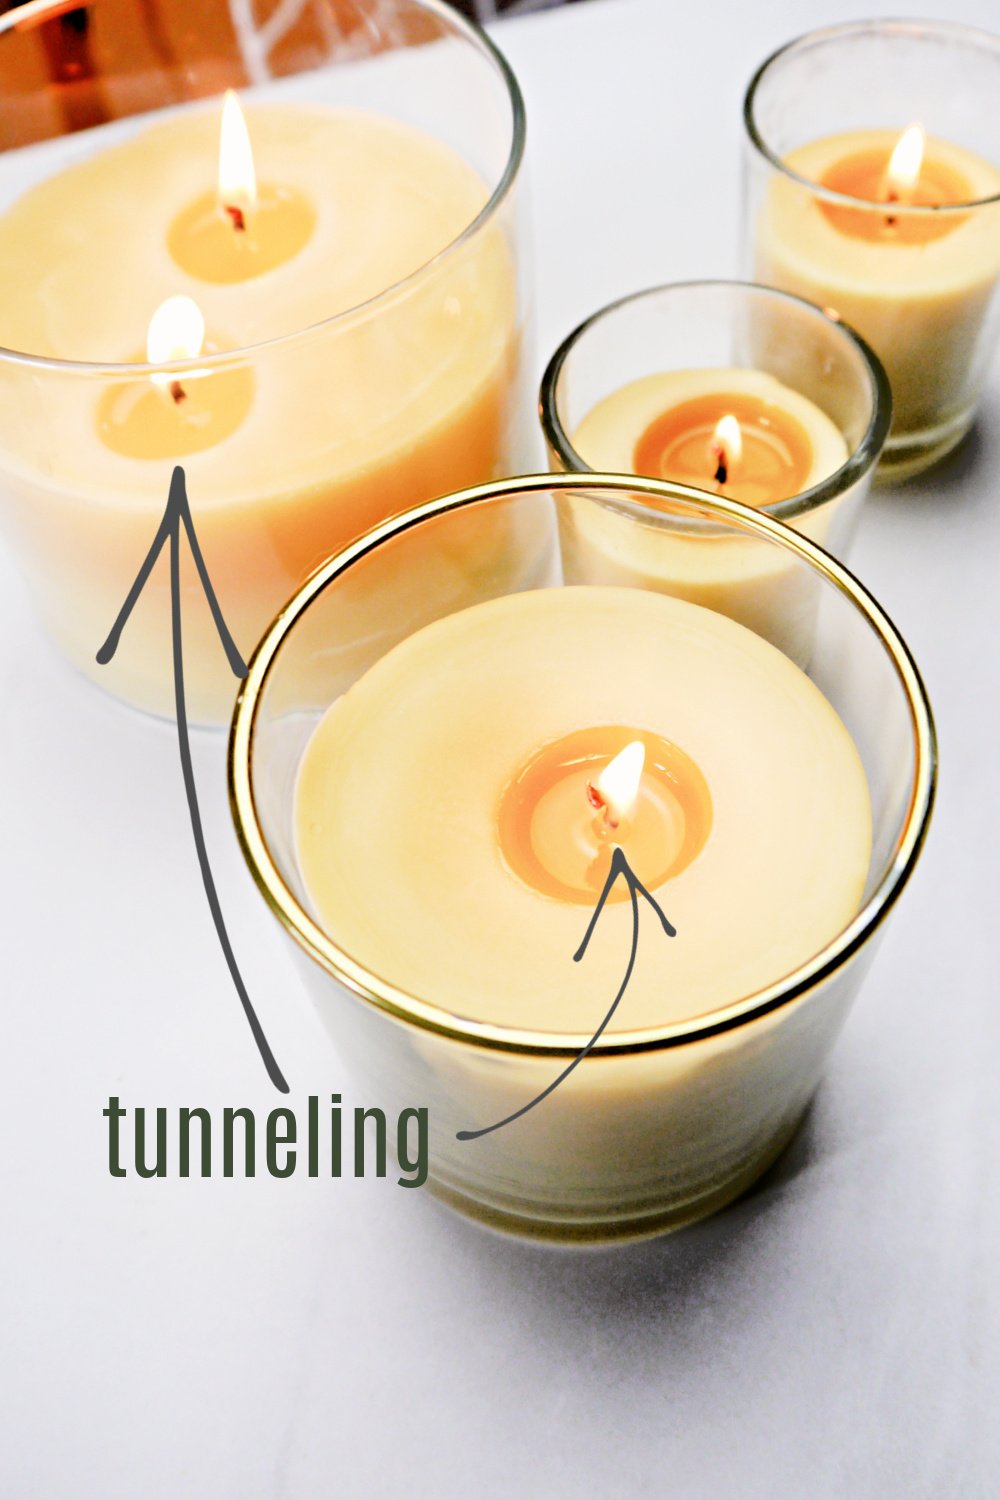
Beeswax candles like behaving very badly. They tend to burn in a tunnel down the middle of the wick which wastes tons of beeswax. If you don’t complete steps 8-12, you will end up wasting your wax and your time.
Scroll down to my Tunneling & Beeswax Candles section for more tips on “training” your beeswax candles the first time you light them.
Wick recommendations:
- For a 3 inch wide candle I suggest you use 2 wicks.
- For a 4 inch wide candle I suggest you use 3 wicks.
Cleaning Up Beeswax:
- Take it from my experience, beeswax is a bear to clean up. I’ve found that the more you can limit what the beeswax touches, the better.
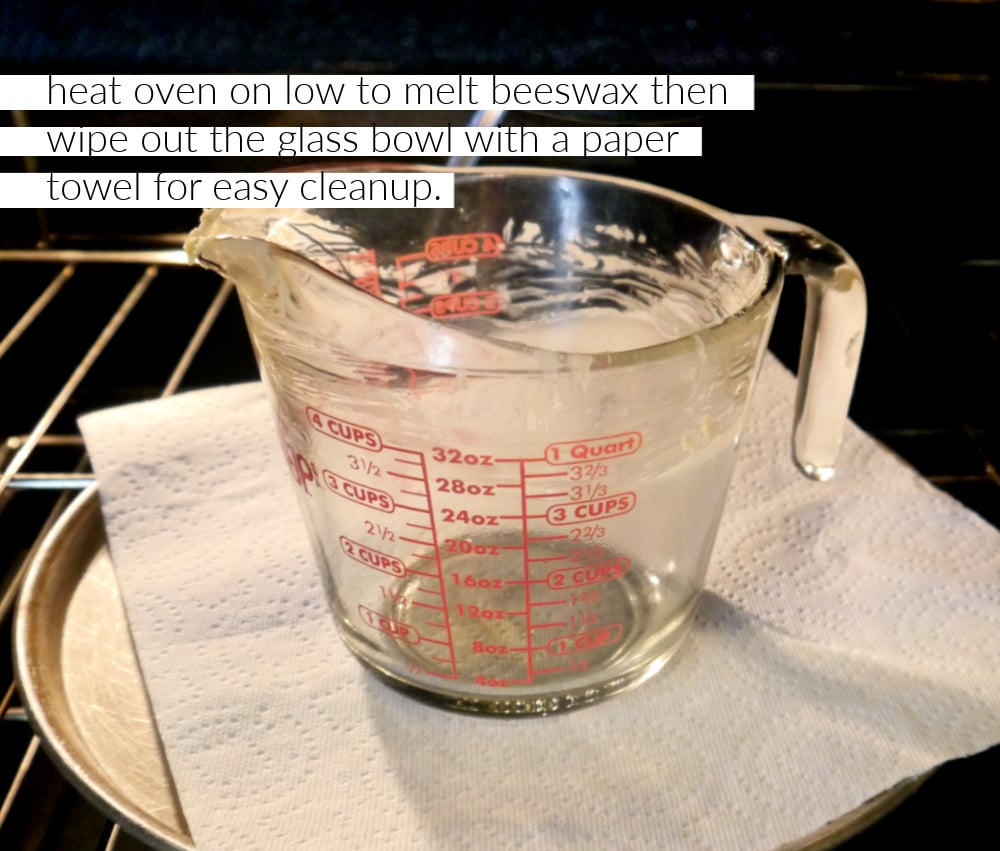
- After I’ve poured all my candles, I put my glass bowl into an oven that is heated on low. This will melt the remaining beeswax so that I can easily wipe it out with a dry paper towel.
- This is imperative because there’s not enough time in the history of life to scrape clean your bowl-plus, you’ll want to kill me. :/
- I saw a tutorial where a woman used a cleaned out popcorn tin that she melted the beeswax in so that she could throw away the whole tin once she was done. A coffee tin would work great as well.
Essential Oils & Beeswax Candles:
I simply do not recommend that you add essential oils to your candles. The heat of the wax tends to burn off the smell and you end up wasting your oils.
Tunneling & Homemade Beeswax Candles:
Tunneling is a huge issue for beeswax candles. I continue to experiment with beeswax candle making in order to try to conquer the dreaded tunneling issue. I’ve researched and researched but never quite found a way around the candle burning improperly.
I recommend you stick with votive sized candles. This helps. If you want to do a larger container, use multiple wicks.
The first time you burn your candle, it is imperative that you burn it long enough to melt the beeswax all the way to the outer edges of your container.
I’ve also found that wrapping the candle in foil the first time you burn can help to evenly melt the wax all the way to the outer edge of the container. I’ve added this to my instructions but it is not necessary when making other types of candles such as soy.
Leaving 1/2 an inch of wick when you cut it helps to burn the candle hotter so that the wax will melt more evenly. After the first time of burning (and training) your candle, you can cut the wick a bit shorter to cut down on soot.
When lighting your candle, direct the flame at to base of the wick so that some of the wax melts and is drawn up into the wick. This helps it burn properly.
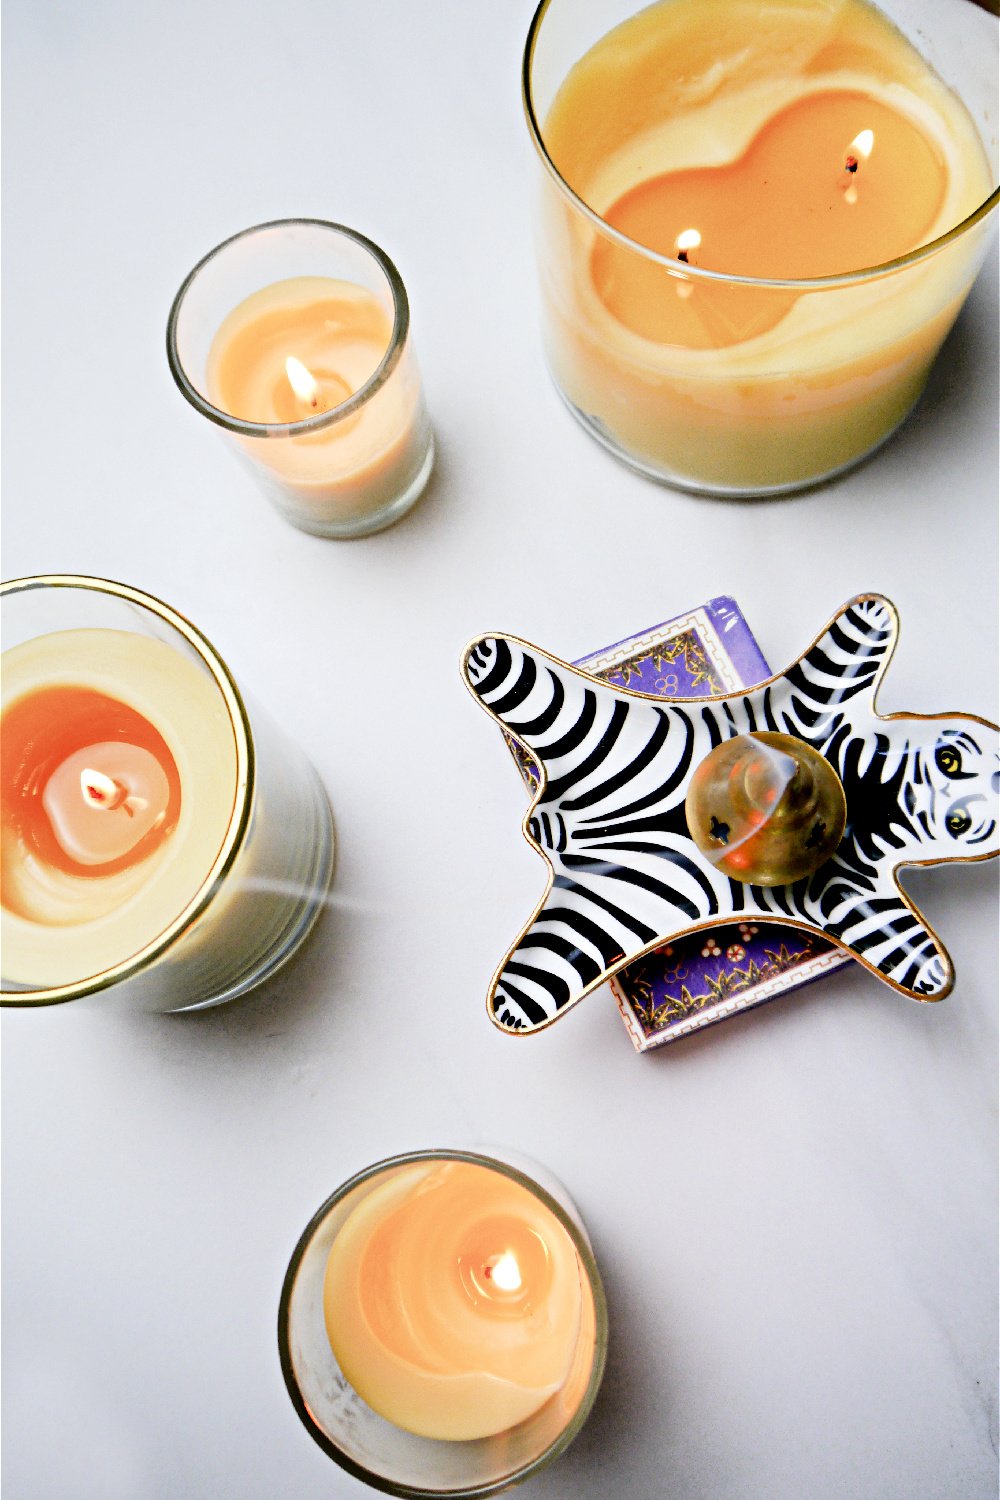
My New Homemade Candles:
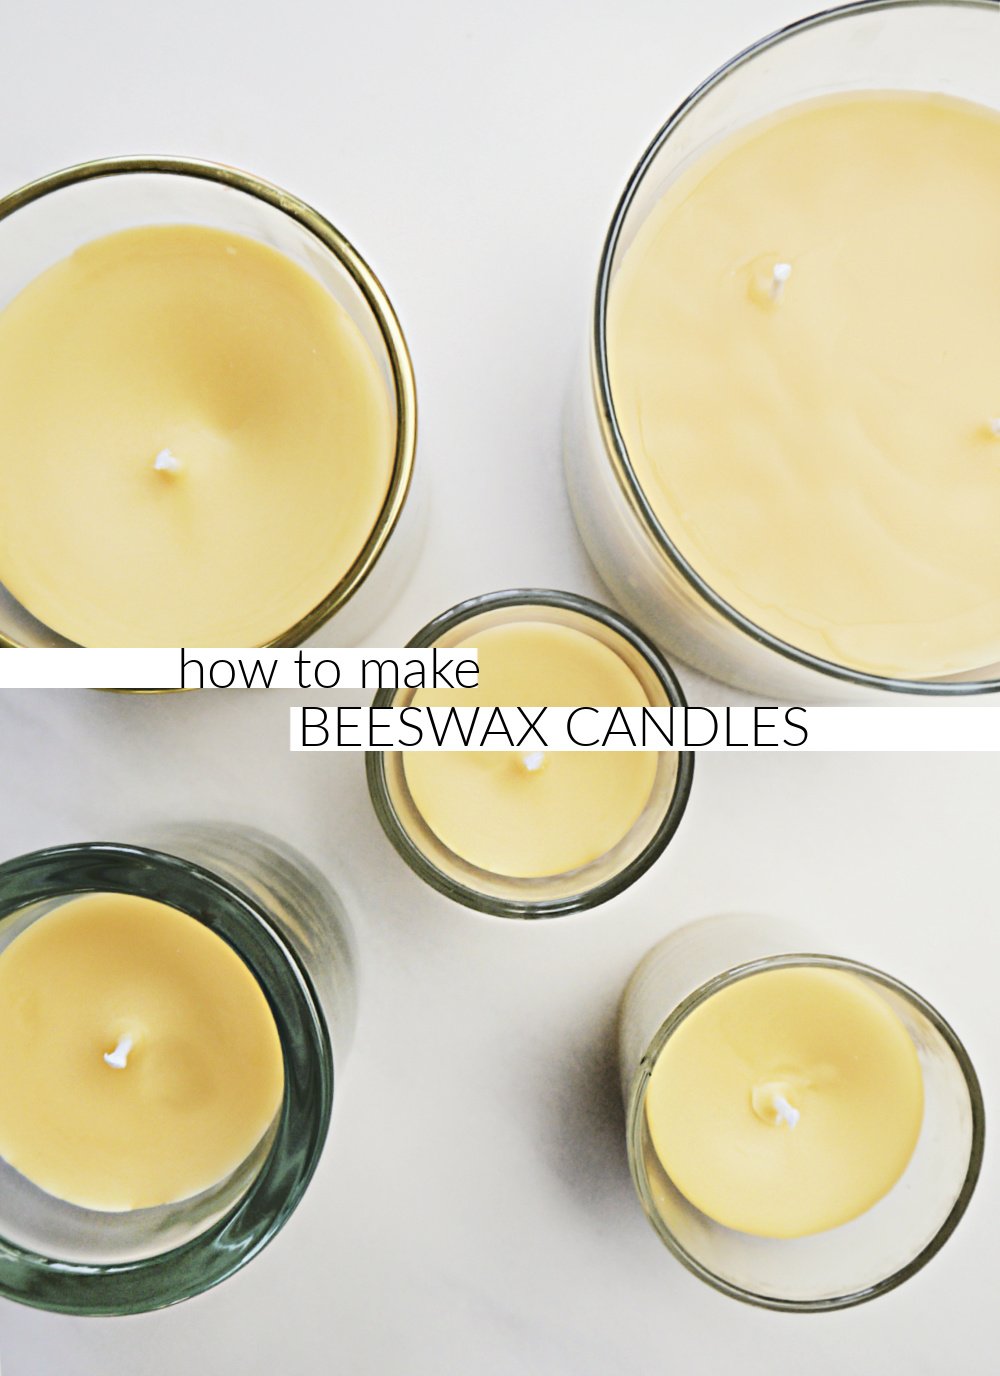
As you can see below, my candles are still tunneling somewhat. However, from this go round I learned even more and next time I’ll use more wicks for my bigger glass containers and I will use the foil trick the very first time I light them. This is a technique I learned thanks to this batch tunneling before the wax could evenly melt over the top. However, I’m still quite tickled with my new candles and plan to enjoy them tonight with a glass of wine and some reality TV!
Leftover Wax? I’ve got DIYs for That!
- Homemade Neosporin
- 3 in 1 Beauty Balm
- Homemade Tiger Balm
- Gardener’s Hand Salve
- Beeswax Aloe Lotion
In my experience, beeswax candles can be very frustrating to make. I continue to research and experiment hoping to find the correct way to end the tunneling. You can be assured that I will circle back to this post if I find a more sure fire way to make these candles because I absolutely love burning beeswax and there is much joy in the making of candles. Beeswax candles smell wonderful and I love that these candles actually improve air quality!
Don’t forget to check out my tutorial for soy candles-those tend to be less trouble and of course don’t forget diffusing essential oils-you can achieve a nice scent by simply adding a few drops to a diffuser and skip candles all together!
If you have any advice to add or would like to share your beeswax making experience, please comment!
xx, Jenni