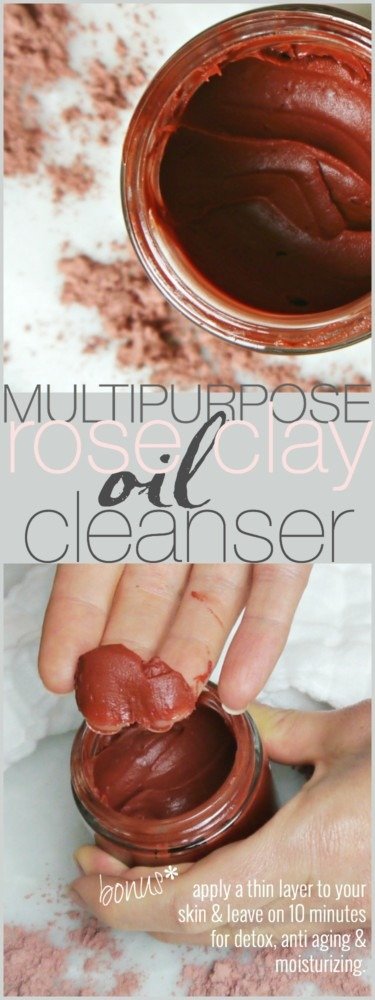
I’m all about oil cleansing as most of you probably know. I love experimenting with different oil cleansers so once I discovered the gentle, detoxing benefits of rose clay, I knew I had to incorporate it into a new oil cleanser. This DIY Rose Clay oil cleanser/Mask is geared more towards aging, dry skin types rather then THIS ONE for oily skin.
This recipe does not contain soap therefore, it does not dry your skin or mess with your pH. It is very easy to make and since it contains clay, it can actually pull impurities out of your pores! It also will remove eye makeup thoroughly.
Go HERE to read all about the amazing benefits of rose clay!
This recipe is truly a beauty balm. Not only does it act as a cleanser, it can also be used as a mask. It’s so creamy and nourishing but yet thoroughly cleansing. I’ve added a lot of anti aging ingredients to the mix that will smooth and nourish the skin. Castor oil is actually a “cleansing oil” so it’s a staple in oil cleanser. Let’s dig right in!
DIY Rose Clay Oil Cleanser/Mask:
- 1 tbsp. Rose Clay (find it HERE)
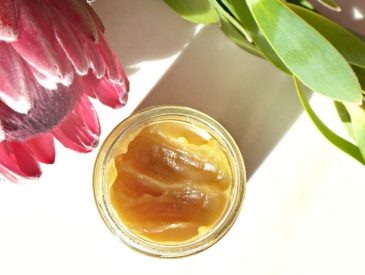
- 1 tbsp. Beeswax (find it HERE)
- 2 tbsp. Jojoba Oil (find it HERE)
- 1 tbsp. Castor Oil (find it HERE)
- 1 tbsp. Rosehip Seed (find it HERE)
- 1 tbsp. Sweet Almond Oil (find it HERE)
- 10 drops Eucalyptus Essential Oil (find it HERE)
- 15 drops Lavender Essential Oil (find it HERE)
Directions:
- Add water to a medium sized top and place a glass pyrex cup in the water.
- Add all ingredients to the cup except the essential oils.
- Mix well.
- Turn stove top to medium heat.
- Allow the beeswax to thoroughly melt.
- Remove from heat and pour into a 4 oz. glass jar.
- Because the clay will settle to the bottom, periodically stir your cleanser in order to disperse the clay.
This recipe makes 4 oz. It’s shelf life is about 6 mos.
I can’t say enough about oil cleansing. If you haven’t tried it, I highly recommend you do. It has literally changed my skin. I needed balance in my skin and was experiencing a lot of random bumps and dullness.
Soon after I started oil cleansing I did break out slightly. Once I got through that hump, my dry skin became so soft and well hydrated.
With oil cleansing, I am able to manage dryness which in turn smoothed my skin texture. Also, due to the hot cloth, your dead skin softens and is easily removed by wiping away the cleanser and makeup.
The oil cleansing method doesn’t work for everyone, but as far as I can tell-it works for most. If you have oily skin and/or experience breakouts try THIS recipe instead.
How to Oil Cleanse:
- Pour or scoop a quarter size amount of oil into your palm and begin massaging your skin. Massage gently for up to 2 minutes. I usually don’t get 2 minutes in, but 1 will work just fine. While you are massaging, turn your water on HOT.
- Wet a soft wash cloth with very hot water and lay the wash cloth over your skin. Press it into your skin until it cools down.
- Repeat step 2 1-2 more times.
I use THESE muslins cloths.
Read more on the benefits of the oil cleansing method as well as my troubleshooting oil cleansing method post.

I love this multipurpose DIY cleanser/mask. I’ve been using it for a couple weeks now and feel it is very well suited for aging/dry skin types. Rose clay is so gentle yet effective that it’s the perfect choice to help detox your skin without drying it out!

xx, Jenni
PIN IT!!!