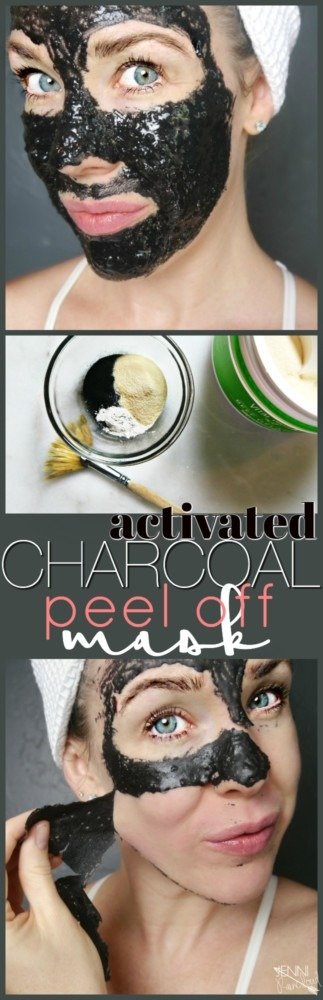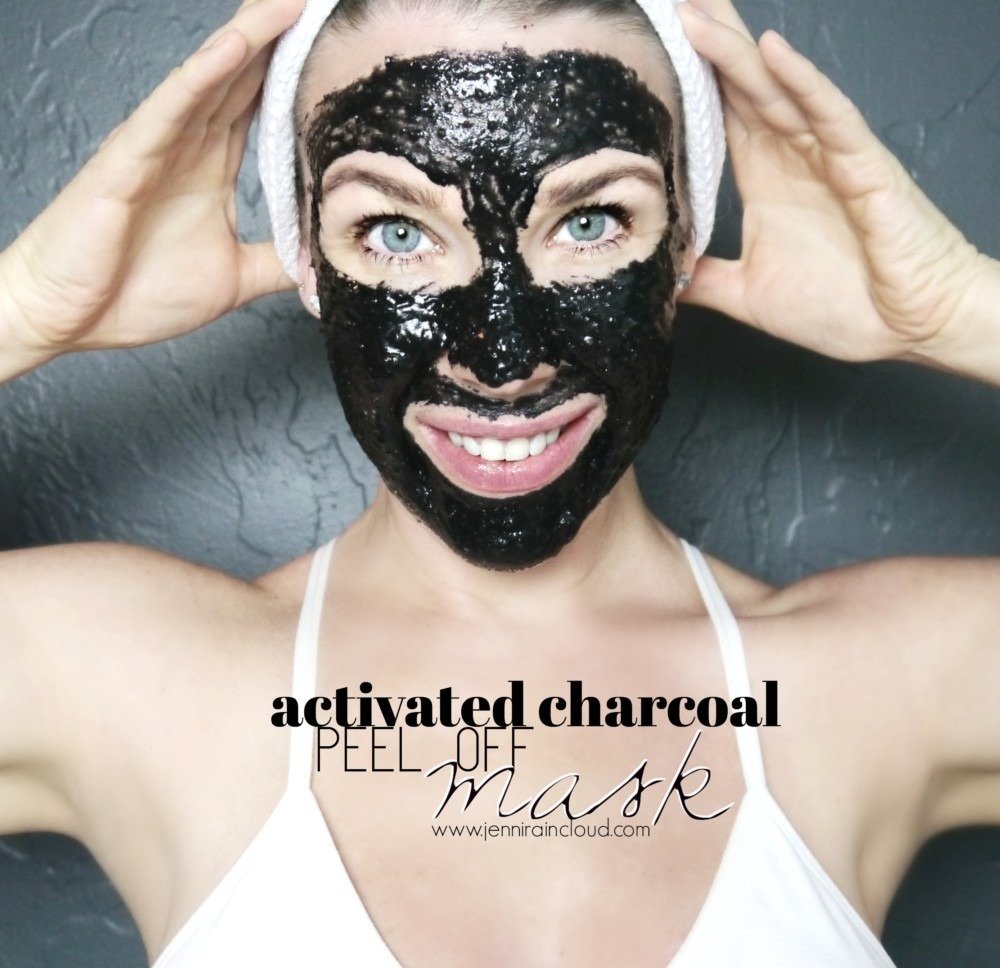
If you are looking for a product that will remove your blackheads and purge your pores, then look no further! This is the DIY version of the famous Bioré nose strips that pull gunk out of your pores, but thanks to bentonite clay and activated charcoal, this DIY peel off activated charcoal mask has even more detox power!!
As a quick side note, activated charcoal can be taken internally to possibly ward off stomach bugs.
I get so many requests to recreate a DIY peel off, activated charcoal mask so I’m super excited to deliver! Many posts ago, I did share a recipe for peel off nose strips. You might prefer that recipe if you’re looking to only target your nose. However, you can also gain the benefits of this recipe’s super detoxing ingredients and only apply to your nose instead of entire face.
I happened to run into a recipe for a peel off mask and of course I had to try it! To my excitement, it turned out amazing! It’s simple, effective and cleansed out my pores quite effectively! I had to share it with you but Chrissy from the Dear Chrissy blog gets all the credit!
Plus, this DIY activated charcoal peel off mask is safe and natural unlike the charcoal mask you get at a drug store or beauty counter.
Clay and activated charcoal work together to act as magnets, pulling dirt, blackheads and sebum out of your pores. Gelatin brings it all together and allows the “magnets” to adhere to your skin for a more effective detox.
It is imperative that you are very careful to not get this mask near your hair line or your eye brows. This mask will remove facial hair. Lip wax anyone?!
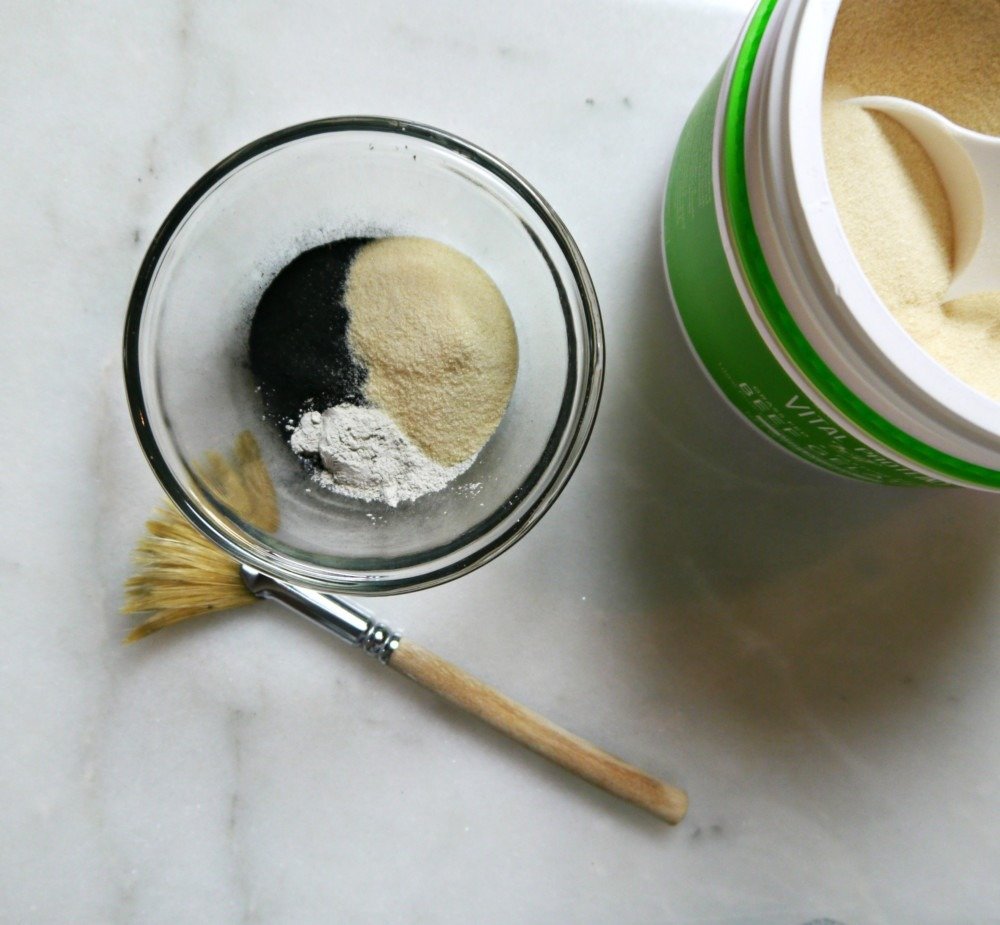
DIY Peel Off Mask Ingredients:
Activated charcoal is an amazing substance. Go HERE to read an article I happened upon while trying to convert charcoal capsules to teaspoons. I found it super interesting. It’s 19 capsules to make 1 teaspoon by the way so you might consider buying it loose like THIS instead.
The bentonite clay I use is from Mountain Rose Herbs. To read more about the benefits of bentonite clay go HERE.
I prefer to use THIS gelatin rather then the packets you get at the grocery store. The quality is so much better and I intend on using it for healthy gummy candy very soon. Gelatin is extremely good for you if you can figure out how to incorporate it on a regular basis. You can use the packets though. 1 1/2 packets equal a tablespoon.
DIY Peel Off Activated Charcoal Mask
- 1 tsp. Activated Charcoal (find it HERE)
- 1/2 tsp. Bentonite Clay (find it HERE)
- 1 TBSP. Gelatin (find it HERE)
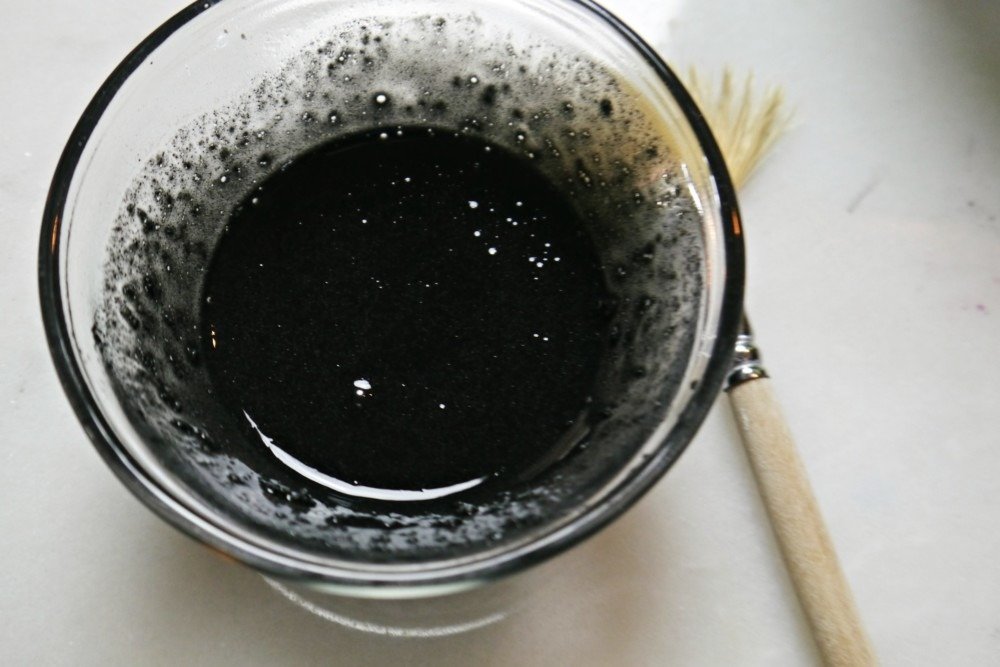
- 2 TBSP. Hot Water
Directions:
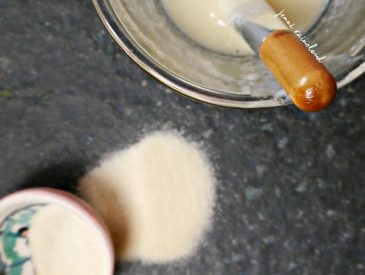
- Mix all dry ingredients in a small bowl. Do not use metal measuring spoons because they will lessen the effectiveness of your bentonite clay!!!
- Add 2 tbsp. of hot water. Be sure your water is hot when you add it to your dry ingredients or your mixture will not blend well. If you find it’s not blending, you can pop it in the microwave for 10 seconds at a time. Be aware it could bubble up if you go over 20 seconds.
- Once the mask is liquid and smooth, check the temp before applying to your skin.
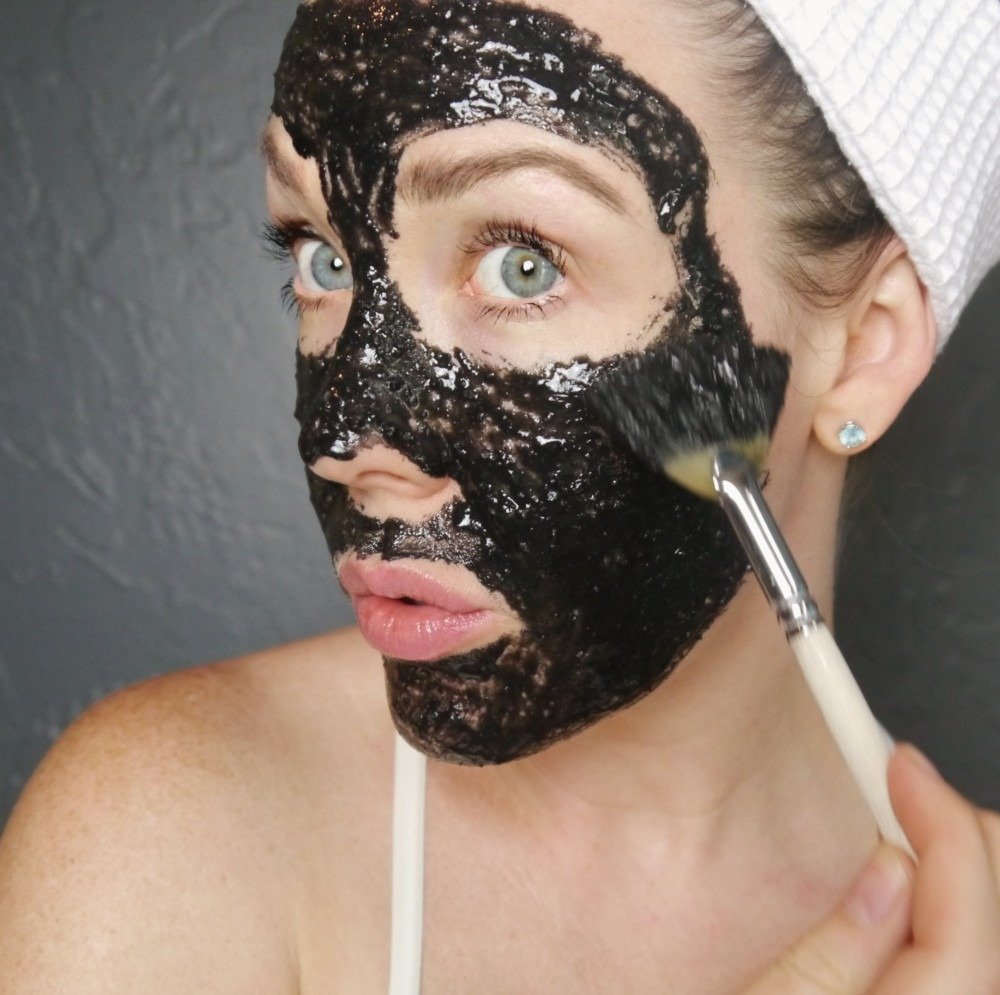
- Apply evenly over the skin. Be aware that the thicker you apply it, the longer it will take to adhere to the skin. A thick layer is not necessary and will just prolong the time the mask needs to set on the skin.
- Once the mask is dry and tight, begin peeling.
- If you have applied the mask too close to the hair line or brows or it is too painful to remove, warm water will loosen and remove it.
- Be sure to replenish your skin afterwards!
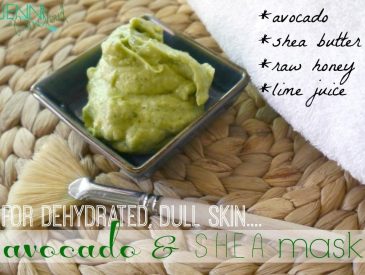
Easy Hydrating DIYs to Consider!
- Rose Hydrating Spritzer
- Winter Recovery Facial Oil
- DIY Rejuvenating Facial Oil
- Wrinkle Defense Hyaluronic Acid Mask
- All Purpose Beauty Balm
A Word of Caution!
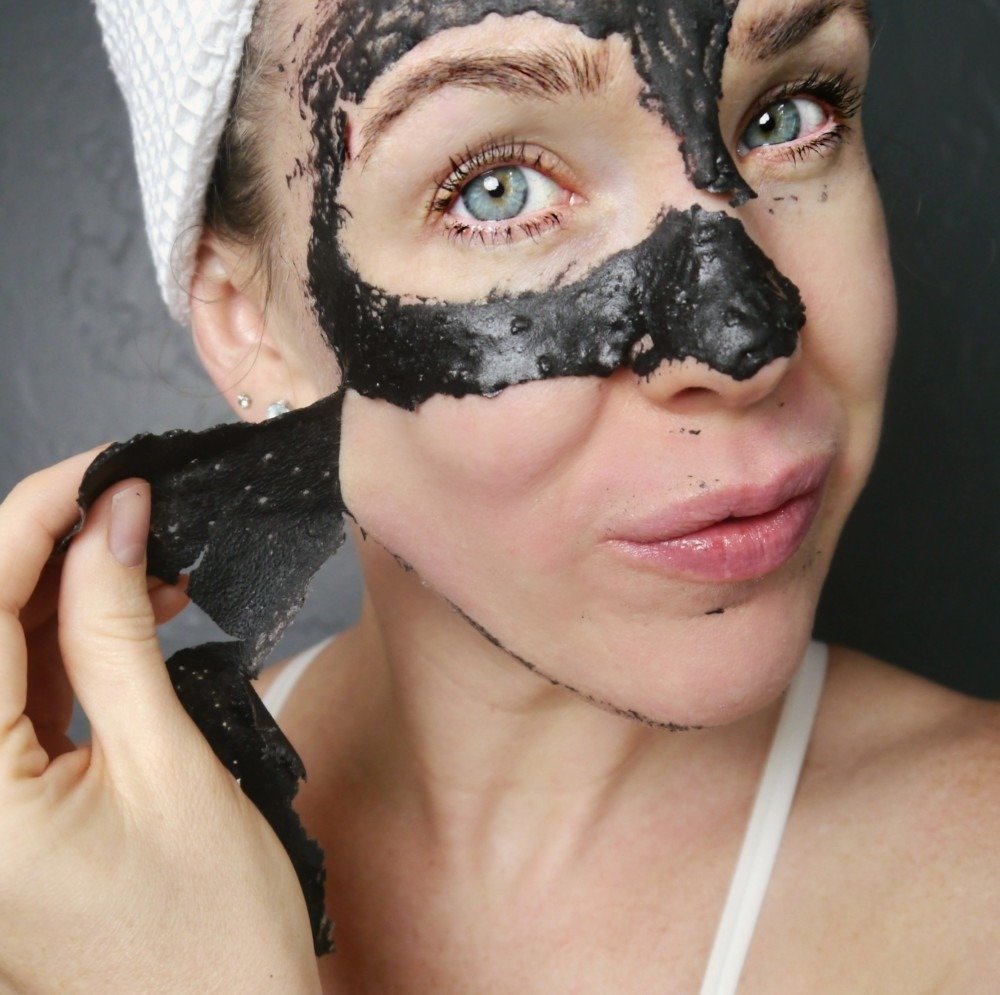
This mask adheres to your skin to the point that you won’t have much facial hair after you peel it off. It was hard to find a picture of me peeling off the mask because my eyes are watering in all of them! This is typical for peel off masks. However, they are beneficial when pores need a good purge.
Be extremely careful when applying the mask around your hair line and eyebrows.
Also, don’t apply too close to the under eye area-This skin is so delicate and sensitive and tugging around that area is not a good idea as well as painful.
**With any DIY mask that contains gelatin, it adheres quite tightly and this mask can be slightly painful to remove. However, if it is too painful, you can wash it off without pulling. You will still get many of the detox benefits!**
Your skin will be quite pink after you’ve peeled it off. This is normal. The bentonite clay will bring blood to the surface(as well as impurities!). Plus, the pulling caused from removing will cause redness. It will subside within 20 minutes or so.
This mask could be used as just a nose mask or even a T-zone mask. You don’t have to apply it to the entire face. In the future, I will only apply this mask to my jaw line and nose where I experience blackheads.
I do not recommend this mask for people that have sensitive skin, rosacea, eczema or psoriasis. If you prefer a gentler way to detox that skin try out my simple French Green Clay Mask or my Dry Mask w/ Oatmeal & Chamomile for Sensitive Skin Recipe.
I’m super excited to share this DIY peel off mask recipe with you! It’s not a mask you want to do all the time because it takes from your skin and doesn’t give back. In fact, it would be a great idea to follow this mask up with a replenishing/hydrating mask.
I hope you like this recipe! Let me know below!
xx, Jenni
P.S. If you love activated charcoal, check out my activated charcoal bar soap recipe!
PIN IT!!!