Oil Cleansing, also known as the oil cleansing method is getting rave reviews from the majority of people who have incorporated it into their skin care regime. Cleansing with oil is a gentle way to remove makeup, dirt and sebum without stripping the skin of it’s natural oils. It is also an effective way to detox the pores, eliminate breakouts and improve the texture of the skin.
I have seen a considerable amount of de-clogging from oil cleansing. It doesn’t strip my natural oils so dryness has been more bearable. This cleansing method gets a huge stamp of approval from me, so read on to find out more!
My Long Road to Good Skin:
Can I just be honest for second?? I have spent the last 20 years in the skin care industry. I have always had a lot of pressure to have perfect skin. I’ve battled my skin and often have been embarrassed to claim that I am a skin care professional. Skin has always been a struggle for me and I’ve honestly never represented my skin care business well until the last couple of years.
I had acne-prone skin in my teens and early 20’s. Dry patches, imbalance, blackheads and allergy like bumps were a common theme in my 30’s.
I have found products that boasted miracles and would improve my skin at first, but then the chemical filled product would stop working and I would be back to square one.
Now days I’m proud of my skin and I can honestly say that oil cleansing is partly responsible for that. My grain free diet, a liquid probiotic and juicing is the other half of the solution.
The picture below was taken about 4 years ago. I had not committed to any dietary restrictions or the oil cleansing method. As you can see my issue is not acne, it’s texture. My temples had been bumpy for years and nothing would fix it. I admit, in makeup tutorials, I would have to airbrush parts of my skin out at this point.
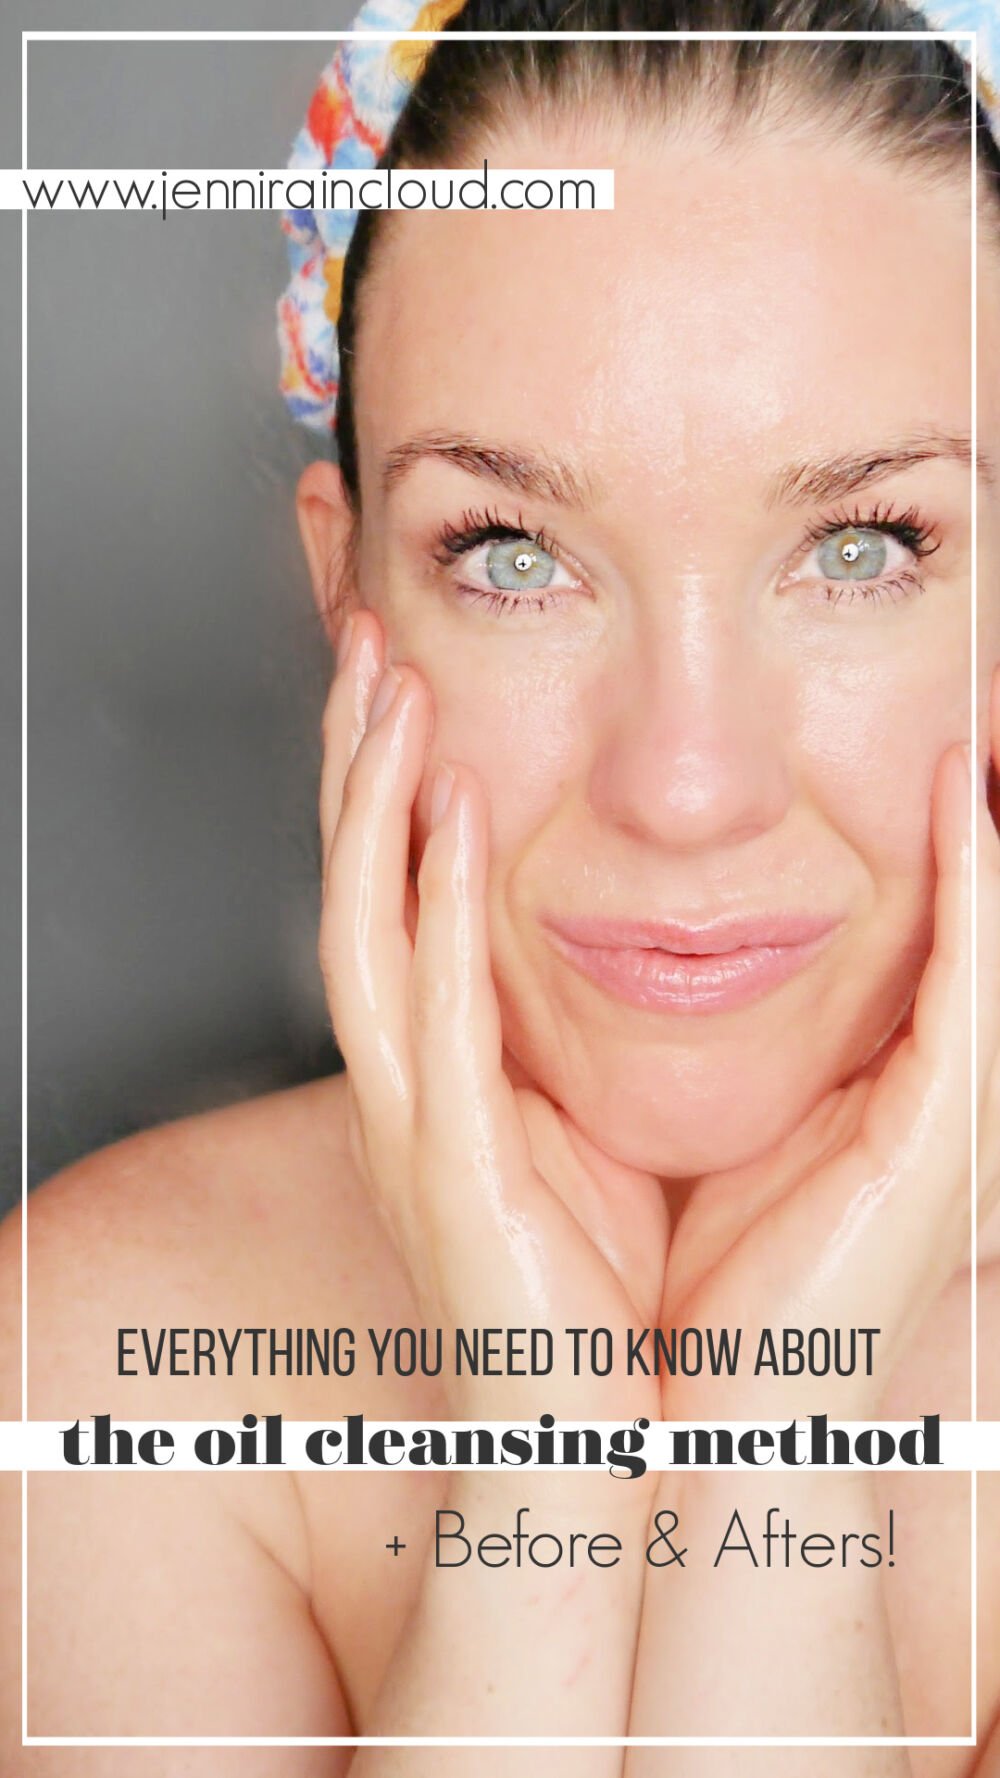
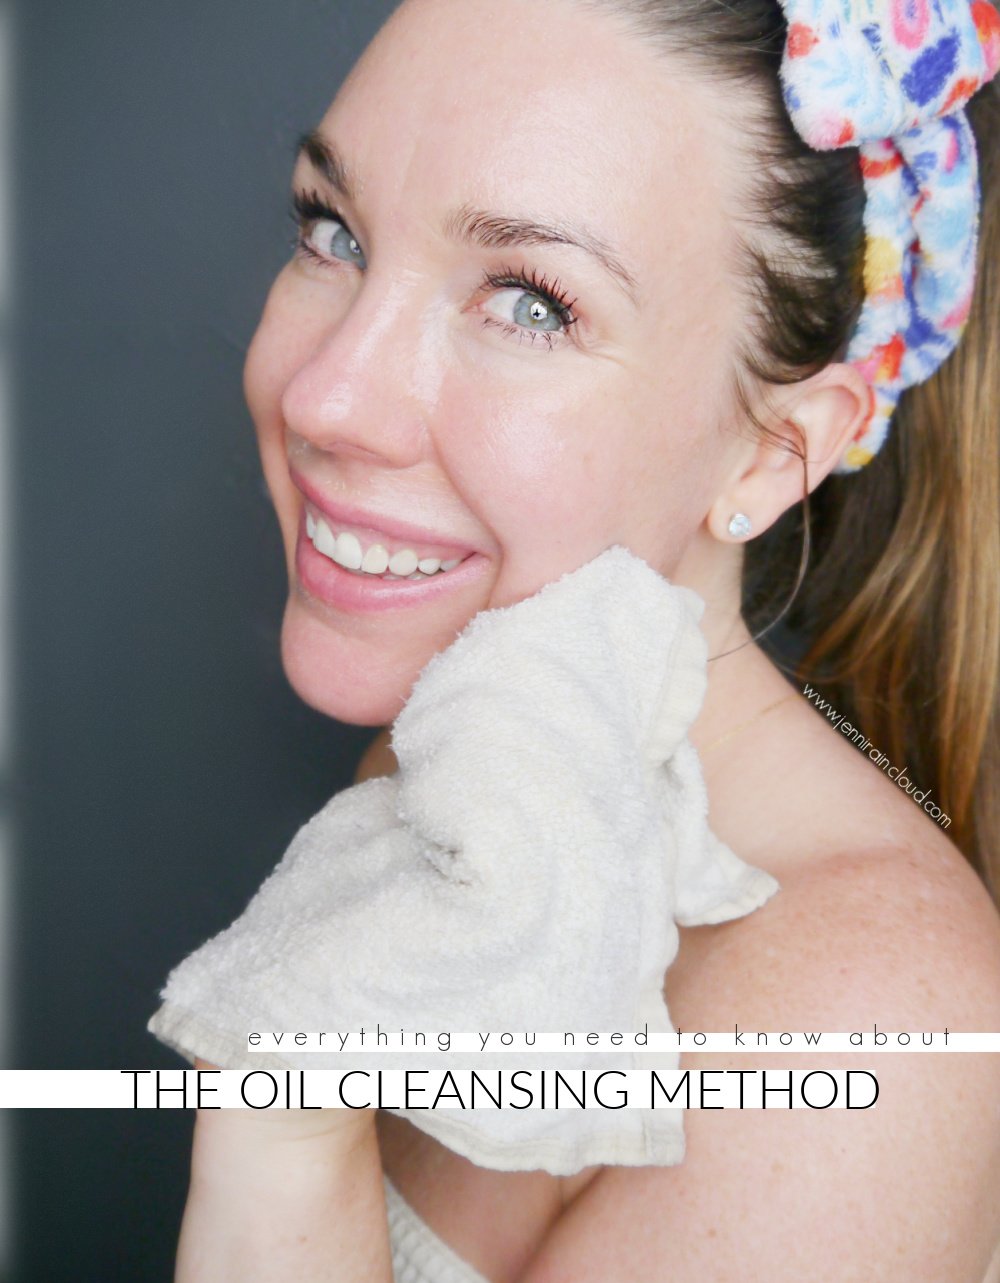
 The below picture is not photoshopped and was taken yesterday. I truly believe that the ritual of oil cleansing has been one of the most helpful tools in clearing and smoothing my skin.

Don’t Fear Oil!
Trust me, I understand that putting oil on your skin, especially if you are already oily or acne-prone, can feel terribly wrong. We have been taught that oil is bad and if you have any skin issues, you must find oil-free products. This is simply false.
Our skin produces it’s own oil. The key to healthy skin is balanced oil production. There are many factors such as hormones or age that can throw that balance out of whack. This is where skin conditions come in. Combination skin types are a great example of an out of balance facial skin.
The oil-cleansing method has an uncanny power to balance the skin’s oil production. It gives oily skin the signal to stop over producing oil and quenches dry/aging skin gently encouraging more oil production.
Oil should be a necessary part of everyone’s skin care routine.
The Dangers of Soap Based Cleansing:
We’ve all been conditioned to believe that the more we cleanse the skin, the healthier or clearer our skin will be. This very ideology could be what is keeping your skin from looking it’s best.
When you use a typical soap based facial cleanser, you are stripping the skin’s natural oils. Yes, even oily skin needs oil! Without it, the skin goes into overproduction mode and you wind up with excess oil that can cause blemishes.
Also, when overly cleansing your skin, you are ridding your skin of good bacteria. Just like the gut, our skin needs a balance of good, acne fighting bacteria. Without it, our skin is prone to blemishes and skin issues.
Did you know that cleansing with soap based cleansers can actually make acne worse according to this study?
For dry skin types, cleansing with soap based cleansers can strip the skin of much needed oil, leaving the skin dry, tight and cracked. Remember, dry skin wrinkles more easily than well lubricated skin. Not to mention, parched skin looks dull and anything but radiant!
Benefits of the Oil Cleansing Method:
- Balances the skin’s oil production
- Reduce blackheads & whiteheads
- Maintains healthy bacteria balance on the skin
- Removes hardened impurities in the pores
- Added exfoliation due to wet heat and a washcloth
- Moisturizes and nourishes while helping erase fine lines
- Leaves skin feeling healthy, not tight and sore
- Removes make up and dirt thoroughly and gently
- Nourishes the eyelashes
- Invigorates and relaxes
- Sloughs off dead skin cells
What is The Oil Cleansing Method??
Oil Cleansing is exactly what the name suggests. Basically, you massage your skin with oil, then use a hot towel to wash it off.
Cleansing with oils brings balance to the skin. As I’ve said over and over-Balance in the skin is KEY. Every aspect of life thrives on balance.
Whether you are overly oily or overly dry, cleansing with oil will balance and soothe your skin.
Many of you are cringing at the thought of using oil on your already oily skin, but LIKE DISSOLVES LIKE, OIL DISSOLVES OIL. PERIOD. It’s a scientific fact.
Having an oil based skin care regimen will do wonders for every skin type.
So what happens when you Oil Cleanse?
By massaging the oils into your skin, you are are forcing the oil into your pores. Massaging also encourages blood flow and oxygen to the cells for added detox.
Once you add a hot towel, the steam will open up the oil soaked pores so that the oil can come out-as the oil is purged from your pores, impurities will follow.
The massage and hot towel will also help soften dead skin and the washcloth will help remove it leaving your skin soft and smooth!
The oil will help balance your skin by either convincing your skin to stop over producing oil or by depositing much needed oil.
How do you do the Oil Cleansing Method?
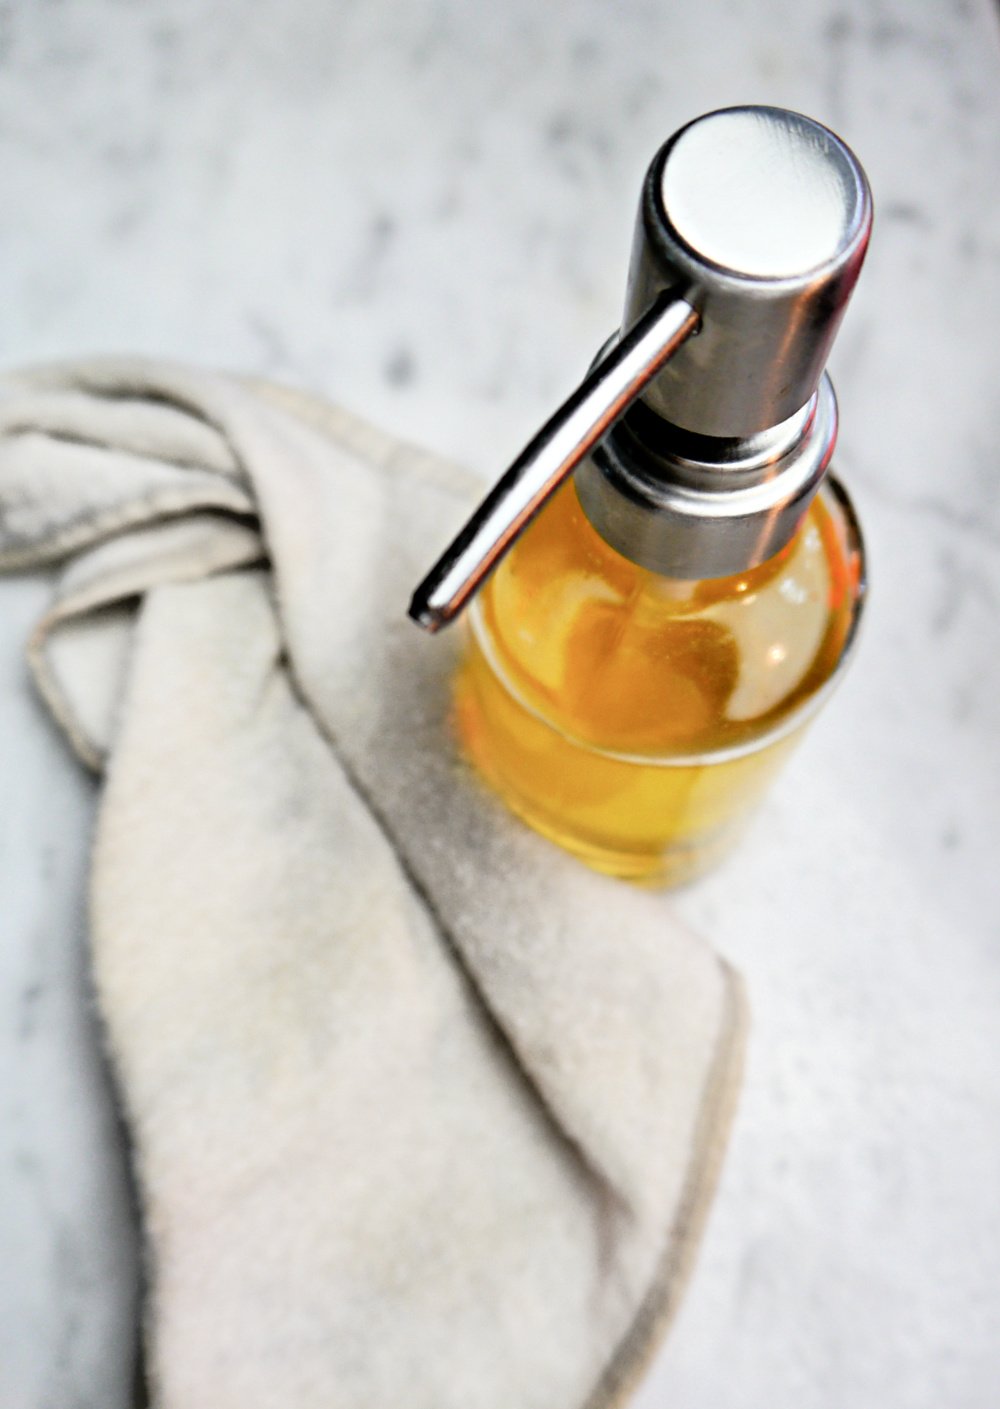
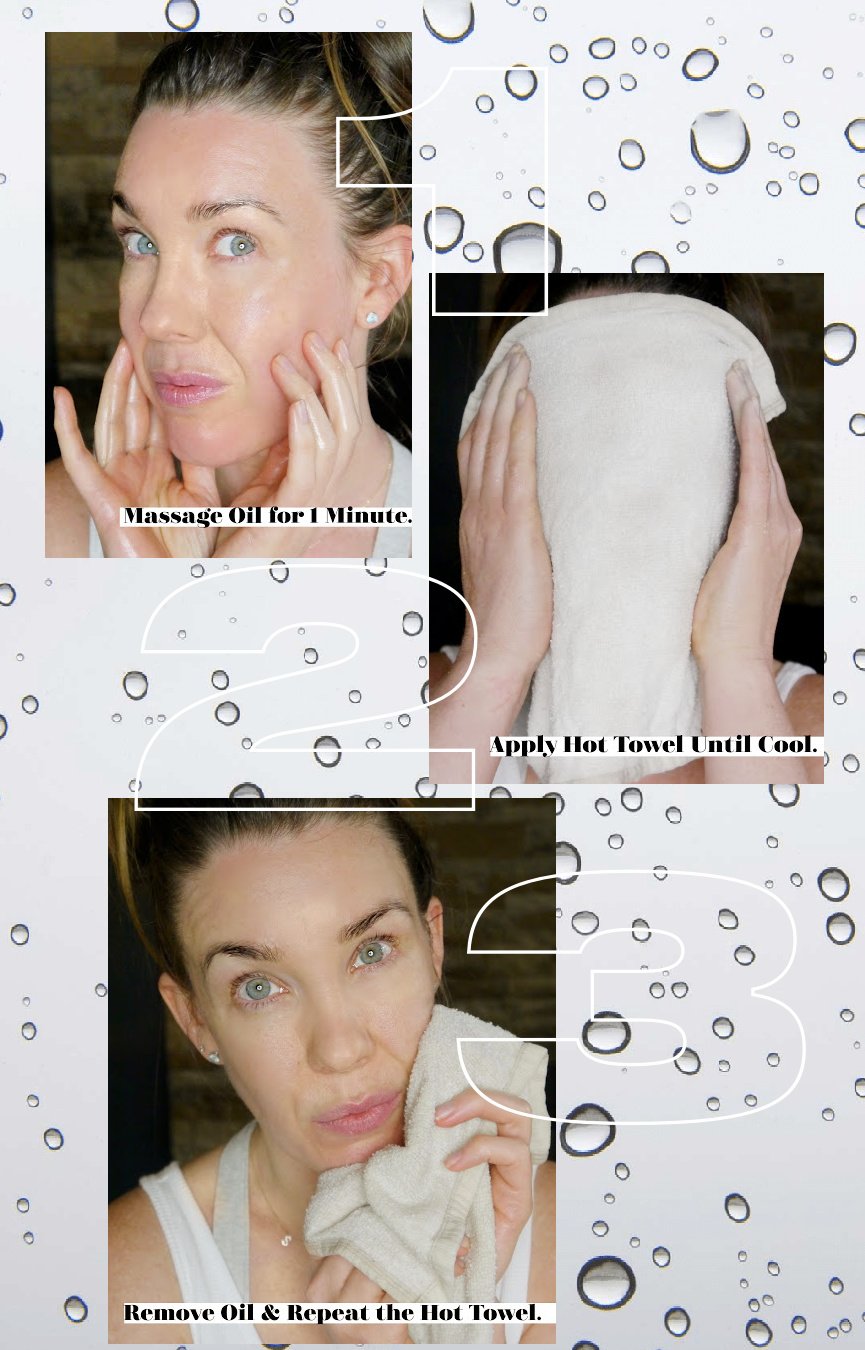
- Pour or scoop a quarter size amount of oil into the palm of your hand and begin massaging the oil into your dry face. Massage gently for up to 2 minutes. I usually don’t get 2 minutes in, but 1 will work just fine. While you are massaging the skin in circular motions, turn your water on hot.
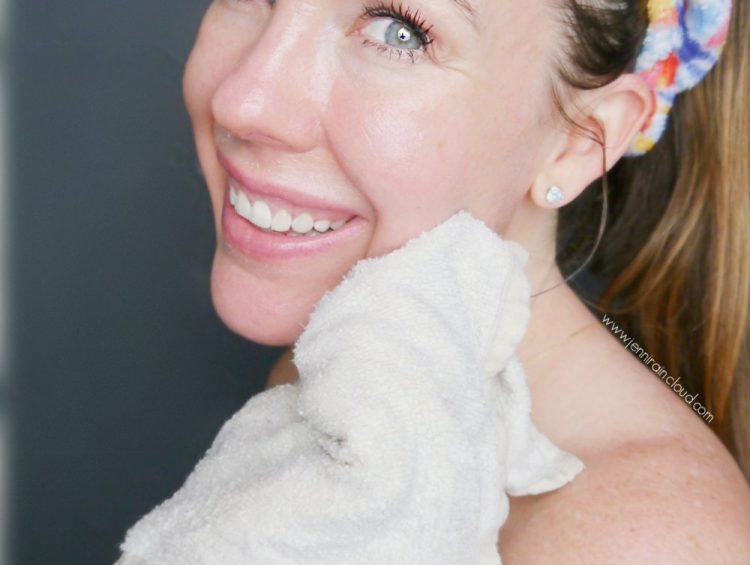
- Wet a soft wash cloth with hot water and lay the wash cloth over your skin. Press it into your skin until it cools down.
- Repeat step 2 1-2 more times.
When I say “hot” I mean to get the damp washcloth to a temp. that is comfortable to your skin. Don’t push the heat. Heat can exacerbate broken capillaries and damage sensitive skin types. Listen to your skin, you will know what temperature is right for you.
After oil cleansing you might not have to use a moisturizer. I skip toning, because after oil cleansing, my pores are open and this is a prime time to use a serum, like my wrinkle defense hyaluronic acid serum.
I like to use muslin baby washcloths. You can find them HERE. You can also just use a washcloth but be careful that it’s a soft one!
How Often Should you do the Oil Cleansing Method?
I recommend oil cleansing everyday, once a day. Oil cleansing at night is the best way to remove dirt, sebum and makeup from the day. Plus, it’s a relaxing night time ritual that I have come to love. Some people that find it very detoxing prefer to oil cleanse every other day.
The Best Oils for Cleansing:
What makes a good oil cleanser? Well, typically you need to combine a “cleansing” or astringent oil with a nourishing oil. You can play with the proportions depending on your skin type. For example, if you’re oily, you might want more of the cleansing oil than the nourishing oil.
Astringent/Cleansing Oils:
- Castor Oil
- Hemp Oil
- Hazelnut Oil
- Pumpkin Seed Oil
- Grapeseed Oil
Nourishing Oils:
- Rosehip Seed Oil
- Apricot Kernel Oil
- Argan Oil
- Avocado Oil
- Jojoba Oil
- Sweet Almond Oil
- Olive Oil
- Tamanu Oil
Basic Oil Cleanser Recipe for Oily Skin:
- 6 TBSP. Jojoba Oil (find it HERE)
- 2 TBSP. Hemp Seed Oil (find it HERE)
Basic Oil Cleanser Recipe for Dry Skin:
- 7 TBSP. Apricot Seed Oil (find it HERE)
- 1 TBSP. Castor Oil (find it HERE)
Essential Oils and Oil Cleansing:
Essential oils can enhance the effectiveness of your oil cleanser! Essential oils have antibacterial properties which can help balance excess sebum or calm and heal skin issues.
The Detox Period from Oil Cleansing
Unfortunately, detoxing is a necessary evil in all aspects of health. While detoxing can be frustrating, you want the bad to get out of your body and often times it doesn’t leave without a fight.
I experienced one break out cycle that lasted about a week. I had blemishes in a couple of uncommon places, so I knew my skin was responding well to the OCM.
The detoxing period was short and 100% worth it. Sometimes things have to get worse, before they can get better. Isn’t that true in life too? Detox is a beautiful thing but it will bring impurities to the surface of the skin and this could cause zits. Hang in there!
Detoxing should last only 1-2 weeks. If yours last longer then it means you might need to change up your oil formulation or discontinue oil cleansing all together.
To encourage further detox of the skin, be sure to drink loads of water. Exercise can also help speed up the detox process through blood flow and sweating.
The OCM doesn’t work for everyone. Everyone is different but I have had some of the most exclusive skin care products and professional treatments at my fingertips and have never seen results happen so quickly.
If you find that your skin is not responding well and you sense it’s due to the oils that might not be thoroughly removed from your skin, you can always use a gentle cleanser after oil cleansing to ensure you are removing all oil. This is a common extra step in Korean skin care.
My Experience with Oil Cleansing:
The oil cleansing method works beautifully for my skin. The feel of my skin after cleansing is like none other. My skin was so out of balance when I started OCM that it was rough, dry and patchy but with bumps. A few days into oil cleansing I could already feel the results.
When I first heard of oil cleansing I was daunted. I thought, “No way do I have time to do this “ritual”. It’s going to take too much time and effort”. I put it in my back pocket and moved on.
Then, the allergy bumps showed up again right next to the dry patches and blackheads. I knew if I was going to claim to be a “skin care guru” I had to figure out my own skin. So, I gave oil cleansing a try and I haven’t looked back since.
I whipped up a batch of coconut oil with a bit of castor oil and off I went. However, these days I like to nix the coconut oil and have acquired several different oil cleanser recipes that have anywhere from 2 ingredients to 7+ ingredients!
Oil Cleanser Recipes:
- Homemade Oil Cleanser for Oily Skin
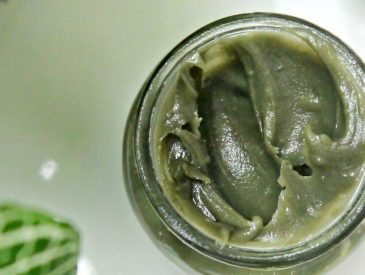
- Tamanu Green Clay Solid Oil Cleanser
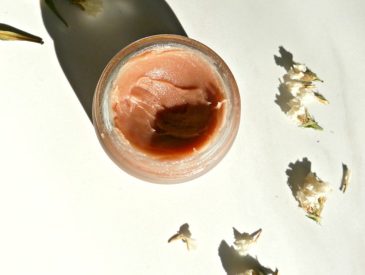
- Pink Clay Oil Cleanser
- Geranium Rosehip Anti Aging Oil Cleanser
- The Oil Cleansing Cleanser
I oil cleanse almost every night. If I have make up to remove, I for sure oil cleanse because I love how gentle it is with removing eye make up. Oil cleansing is definitely my makeup remover of choice. After oil cleansing my skin feels so soft, smooth and clean!
When I look back now, I realize that feeling overwhelmed about the process of cleansing with oil was so unnecessary. It’s a simple process that takes minutes to do. I can’t imagine my night time skincare routine without it!
Give the Oil Cleansing Method a go. I think you’ll love it as much as I do. I’m so glad I have found something to bring balance to my skin and address the unidentifiable bumps that were occurring daily.
My skin has never been smoother or happier. If you search around the internet for testimonials for the oil cleansing method, get ready to be blown away by all the success stories!!
xx, Jenni
UPDATE: Check out THIS POST for more extra troubleshooting information on oil cleansing!
PIN IT!!!
