In this post I’m going to show you how to DIY cleaning your jewelry so that it looks brand new! Whether your sterling silver looks tarnished, your gold looks dull or gemstones have lost their sparkle, there is a DIY jewelry cleaning method for each! There’s absolutely no need for expensive jewelry cleaners or a professional cleaning. Both containing harsh chemicals. With a few household ingredients, your favorite jewelry pieces will shine just like they did when your first opened that coveted box! 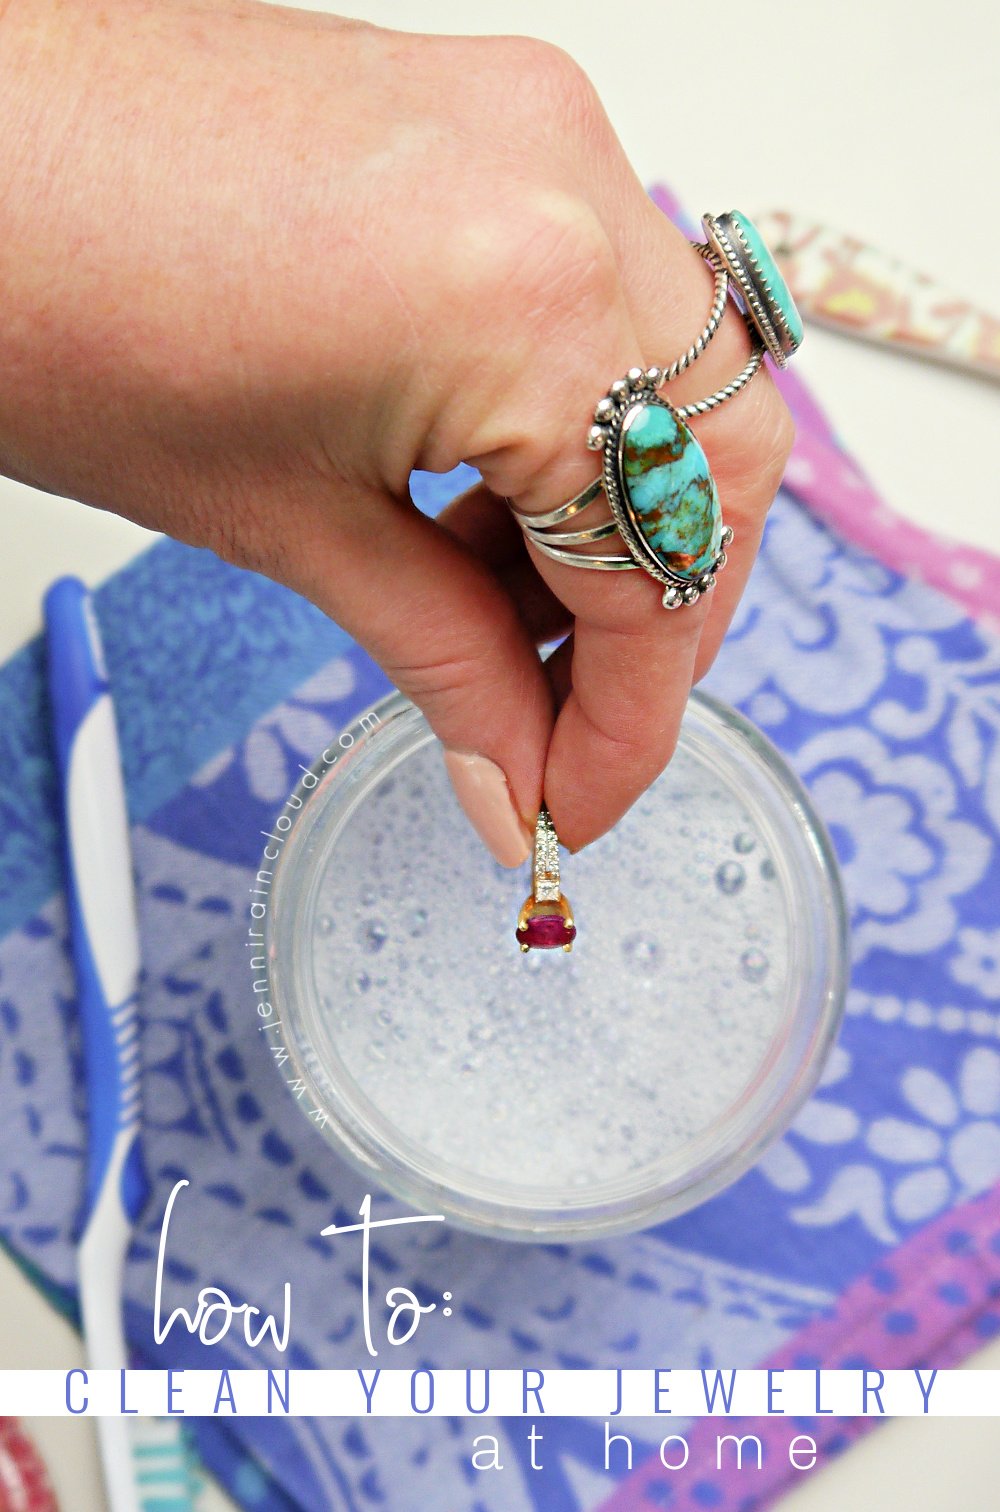
I bet you remember when you first laid eyes on your favorite piece of jewelry?! Oh that first sparkle was like none other. It’s as if it’s shine was battery powered! After a few months of wearing it, the shine faded and the newness split. Stubborn dirt and body oils have built up stealing your jewelry’s natural beauty. Or, you have several sterling silver pieces that sit in a jewelry box and when you finally decide to wear them you can’t because they have become so tarnished they look dirty.
I’ve got exciting news for you-I have a super simple way to clean tarnished silver and have found the BEST way to clean those gorgeous gemstones!
Why DIY Jewelry Cleaner?
First off, cleaning jewelry at home involves ingredients and tools you have at home already. None of which are toxic.
By buying a jewelry cleaner solution you actually aren’t saving any time and you for sure aren’t saving any money. A typical solution involves a 30 minute soak and then a buffing with a cloth. You’ll see from my methods, you’ll actually save time. Also, on the back of several products I found on Amazon there is an eye Irritant warning as well as a warning to keep away from children.
As for sterling silver, you would need to buy a special cloth or wipes or a $16 bath solution! This easy DIY method is cheap and effective. No need to take to Amazon! Lord knows most of us need to limit the “needs” to take to Amazon!
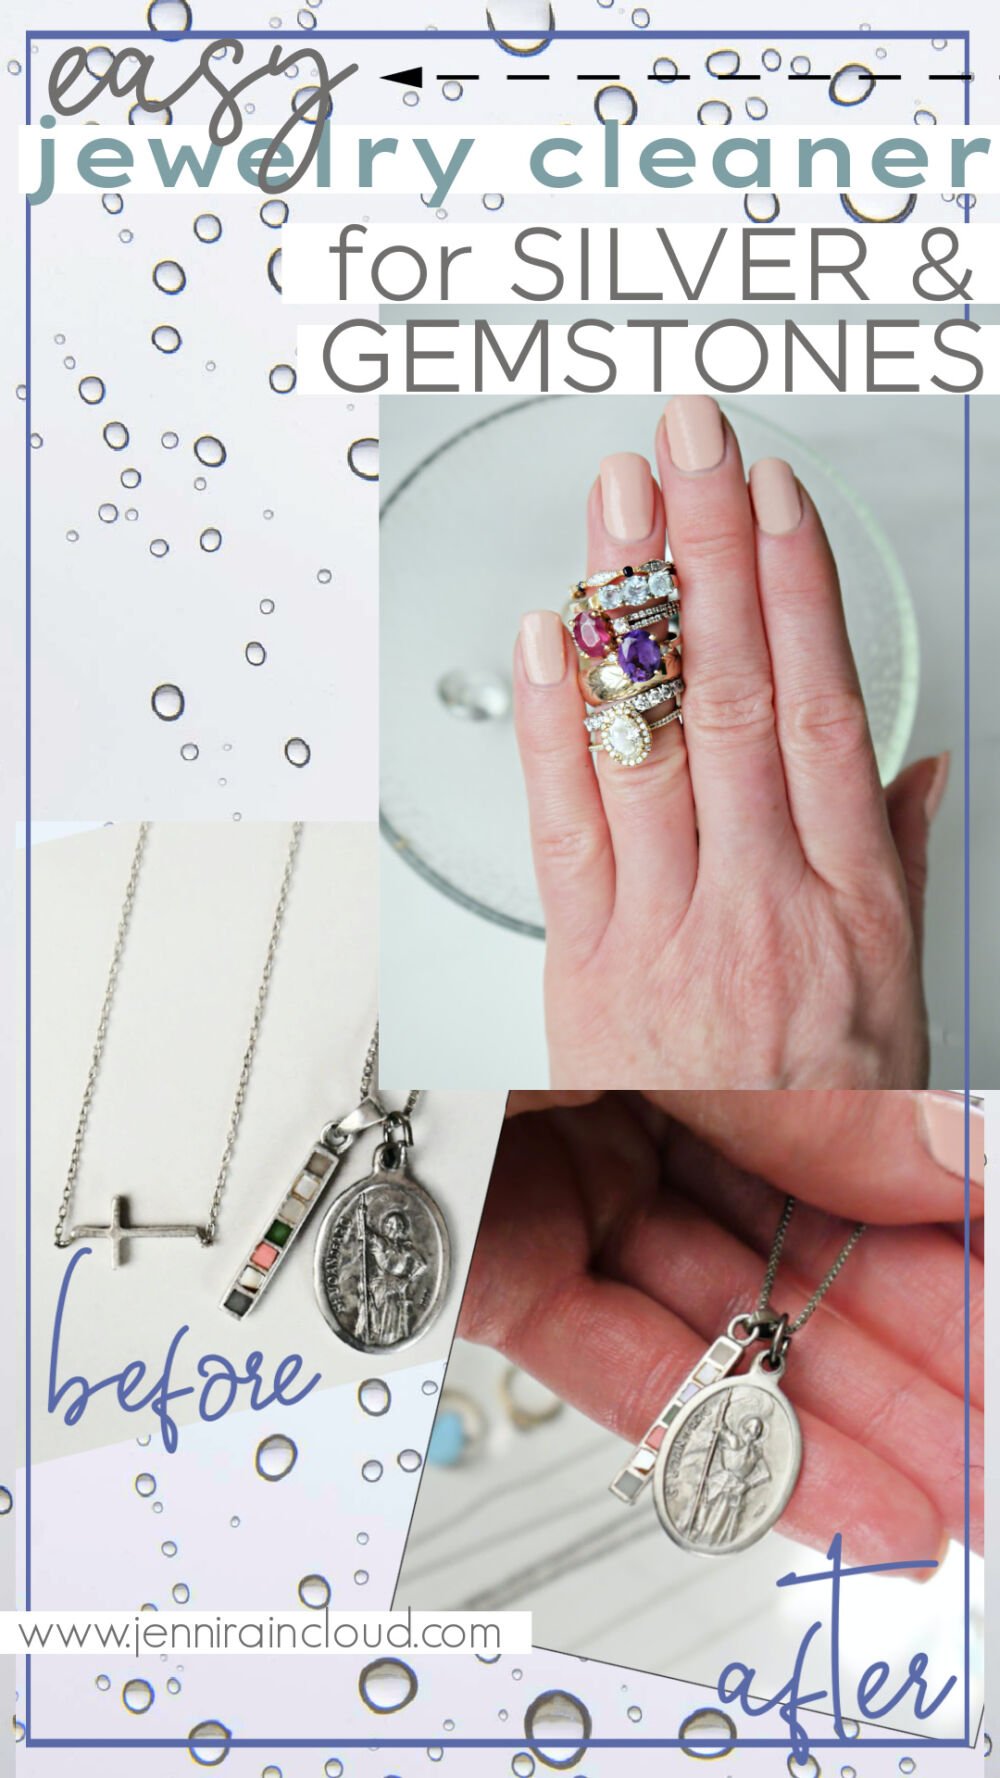
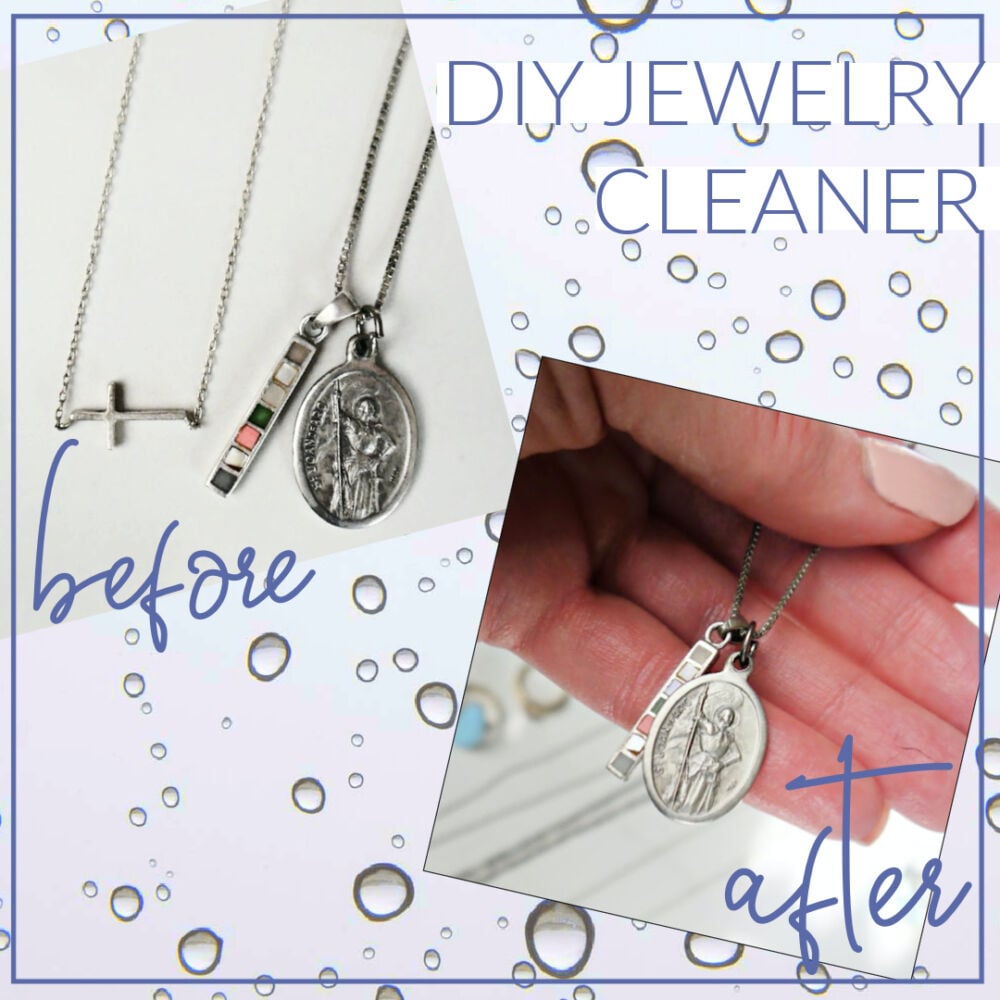
My methods are quick and easy and your jewelry will be looking brand new once again! Read on to make your jewelry shine once again! Just look at my before and after!
How to Restore Sterling Silver Jewelry:
Bringing sterling silver pieces back to life is actually a very simple process. It involves items you most likely already have in your home and takes no time at all. You’ll be amazed at how well this method works so let’s get started!
What You’ll Need for a DIY Jewelry Cleaner:
- Piece of aluminum foil
- 1 TPSB. baking soda
- Small bowl or baking dish
- Soft bristle toothbrush
- Tea kettle to boil water
- Tongs
- Clean cloth or paper towel
Directions:
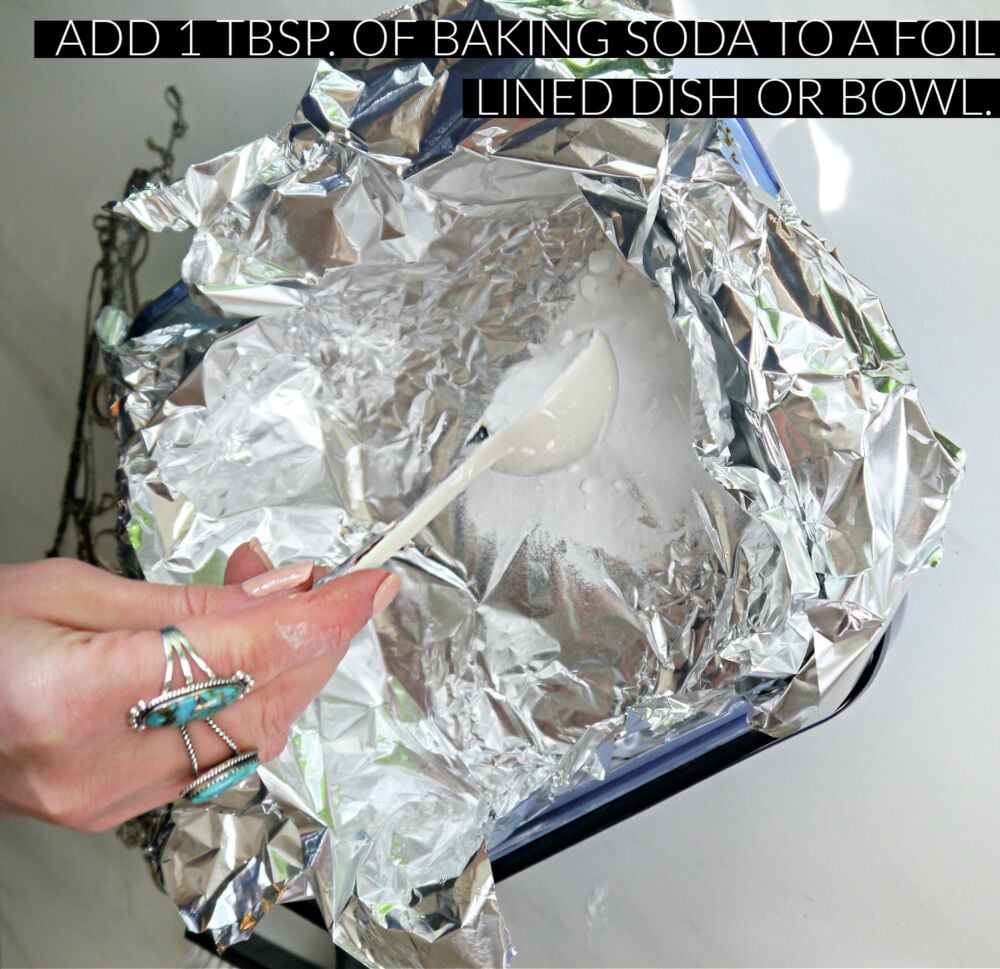
- Line a bowl (I used a small baking dish) with aluminum foil.
- Add 1 TBSP. of baking soda.
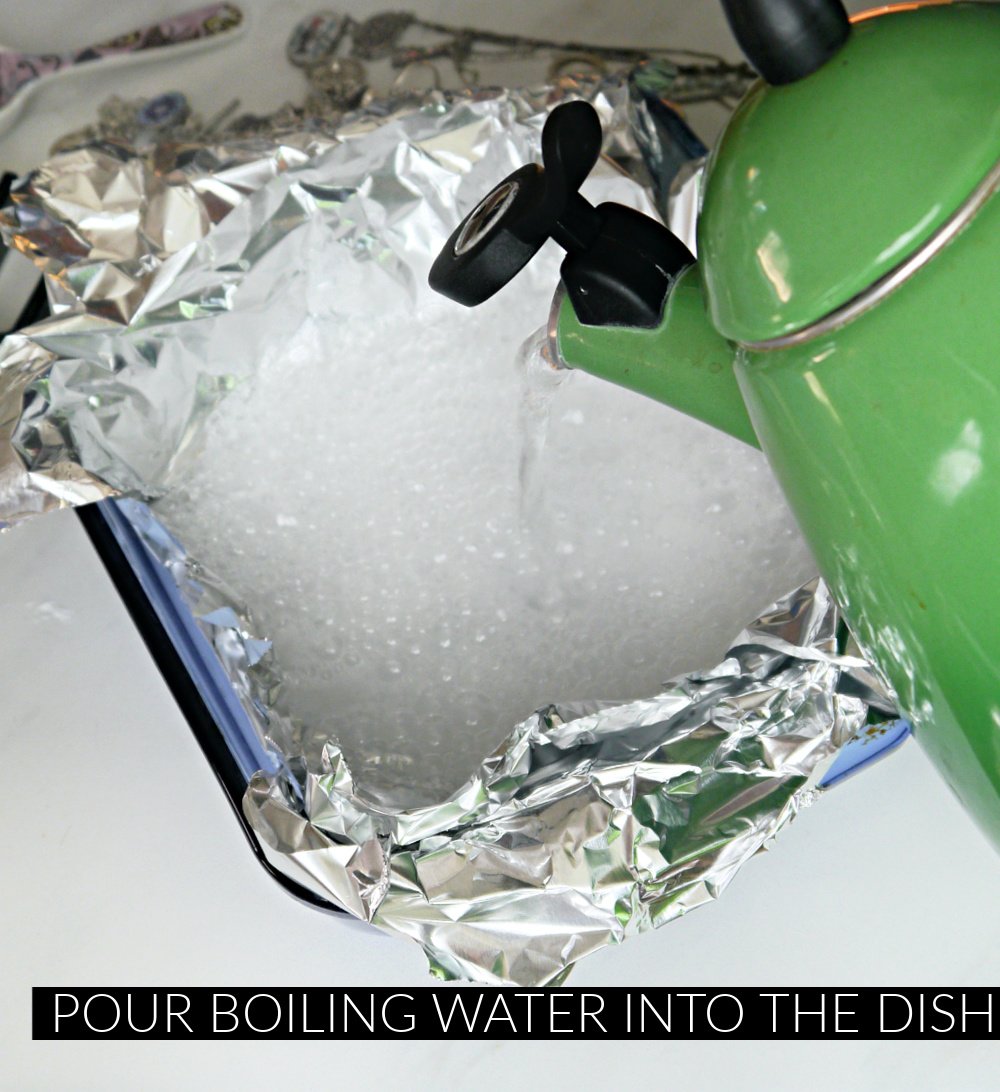
- Pour extremely hot or even boiling water over the baking soda. I use about 1 cup of water.
- One by one add each piece of jewelry to the water.
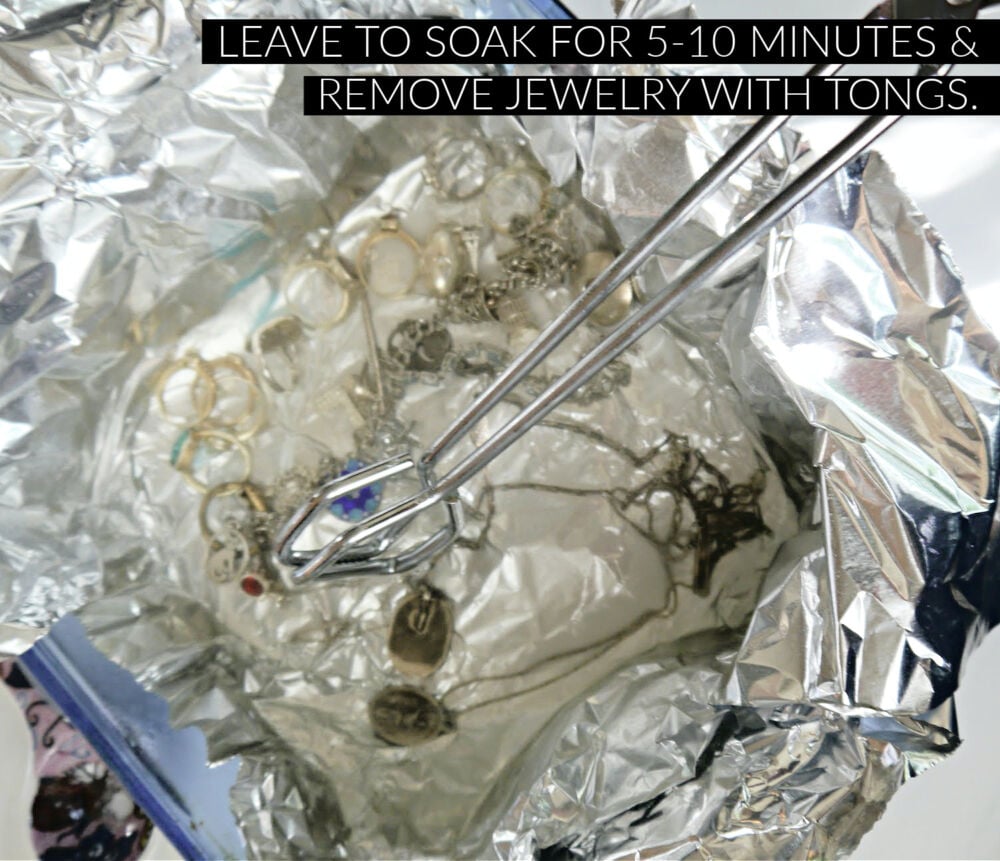
- Let jewelry soak for 5 minutes.
- Using tongs, carefully remove jewelry.
- Allow pieces to dry on a clean cloth.
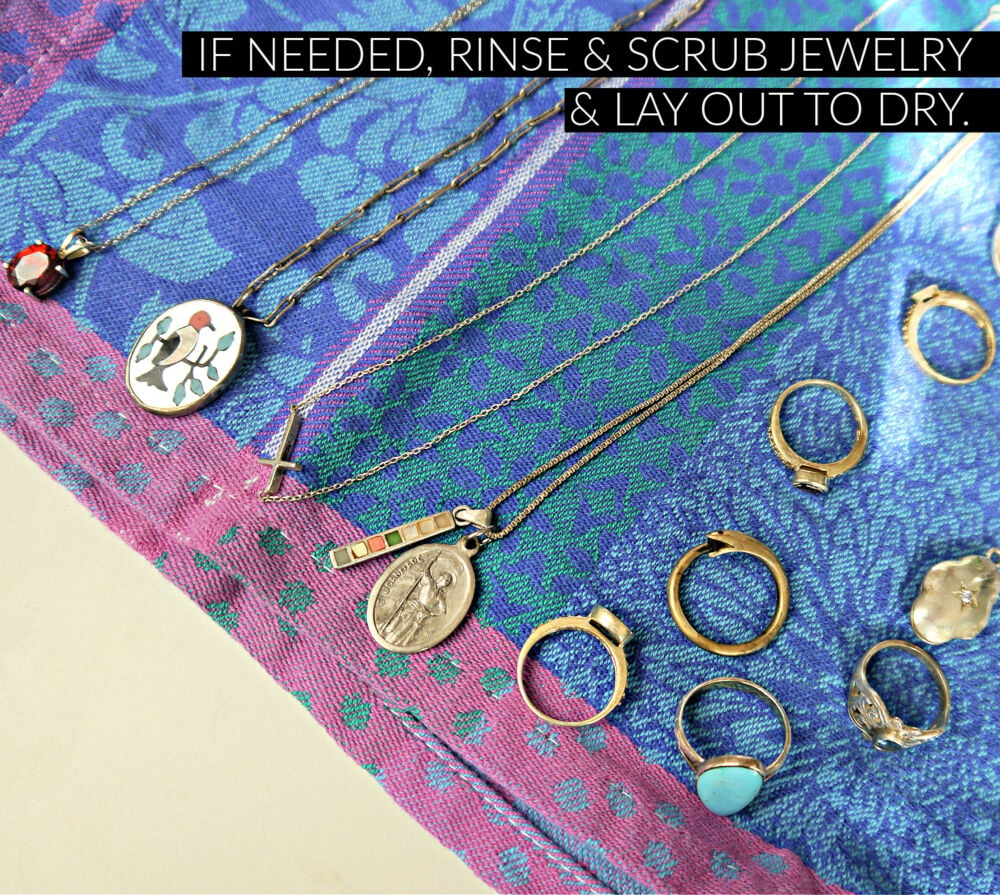
- Once pieces are cooled, rinse with water.
- If needed, use a wet soft-bristle toothbrush and brush pieces.
What kind of witch craft is this might you ask? Being non-science savvy all i can tell you is that it is indeed magic and also a chemical reaction. What more do you need to know? It works!

Notes:
- This DIY method of jewelry cleaning is not recommended for gold, gemstones or cheap costume jewelry. However, before I researched I did use it on a couple of gold, gold filled and gemstone rings and had no issues. I don’t recommend taking a chance on fine jewelry though.
- HOT water is the key. It doesn’t work well if your water isn’t HOT even boiling.
- For best results, don’t overlap your jewelry.
- Some very tarnished silver might need a repeat clean.
- You can use this method on a large scale for silver utensils or other household items but I would use caution and do a test try first. I explain more on this below.
- Some DIY recipes around the web call for a tablespoon of salt. I never have used salt and have perfect results without it. If you want to add it, feel free.
What About Larger Silver Items?
I don’t have silver platters or utensils so it’s hard to speak on the most effective method for cleaning those larger items but if I did, before buying anything, I would line a 32 quart plastic storage tub with foil, add 6-8 cups of baking soda and fill with very hot water then slowly test one utensil to make sure it’s working. If the results are good, lay your items side by side (don’t overlap) and soak for 1-5 minutes. You can read more about it HERE.
How to Clean Gemstone Jewelry:
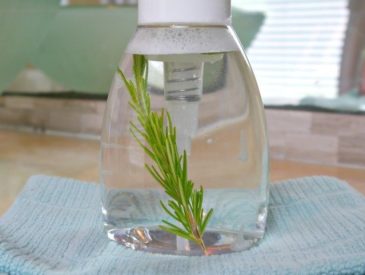
This next method is a bit of a no-brainer but I wanted to include exactly how I clean my gemstone jewelry. The key to my DIY jewelry cleaning solution is using a cup of HOT water-I’m talking almost boiling. I find the heat loosens the dirt and oils more thoroughly. Adding in a soap like Dawn or even Castile soap will further rid your jewelry of gunk.
This method can be used on most types of jewelry including costume jewelry, diamond jewelry, precious metals and semi-precious stones. The only exception are opals and pear
ls.These are more porous stones and should be handled with great care. I would use a cup of warm water with a very mild dish soap and use extreme caution even when using a soft brush.
What You’ll Need:
- Small Jar
- 1 Cup of HOT water
- 1 tsp. of mild soap (I used castile soap)
- Clean cloth or paper towel
- Soft bristled toothbrush
Directions:
- Add 1 teaspoon of soap to a jar.
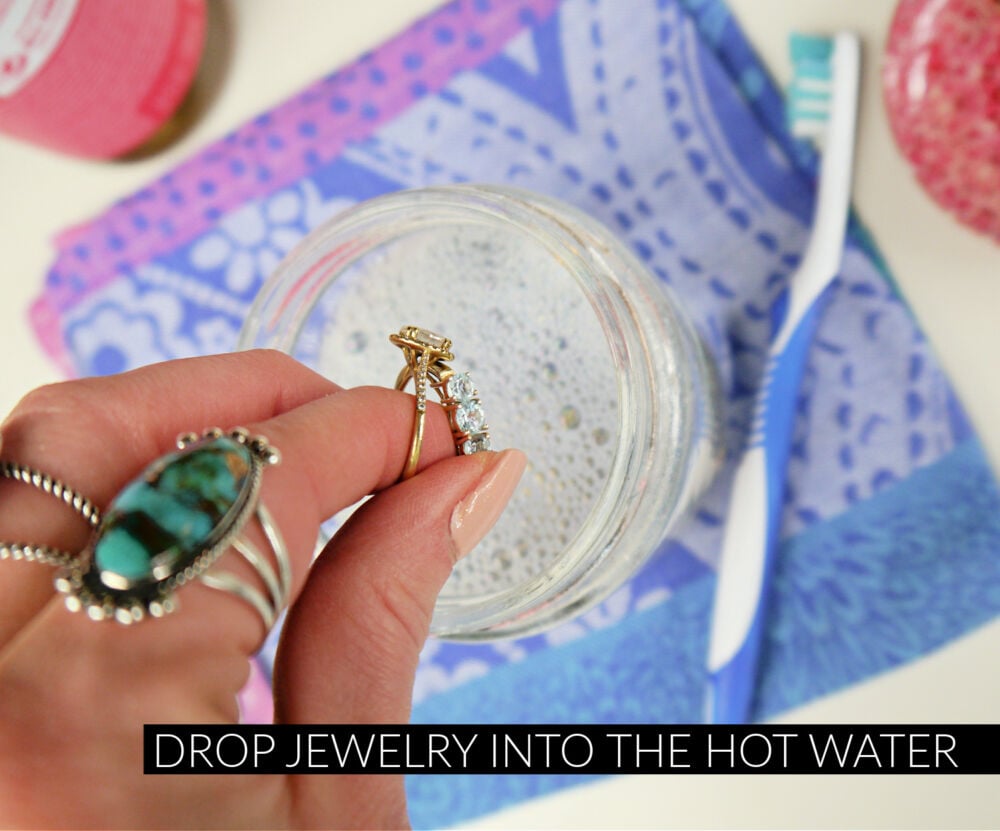
- Add VERY HOT water to jar.
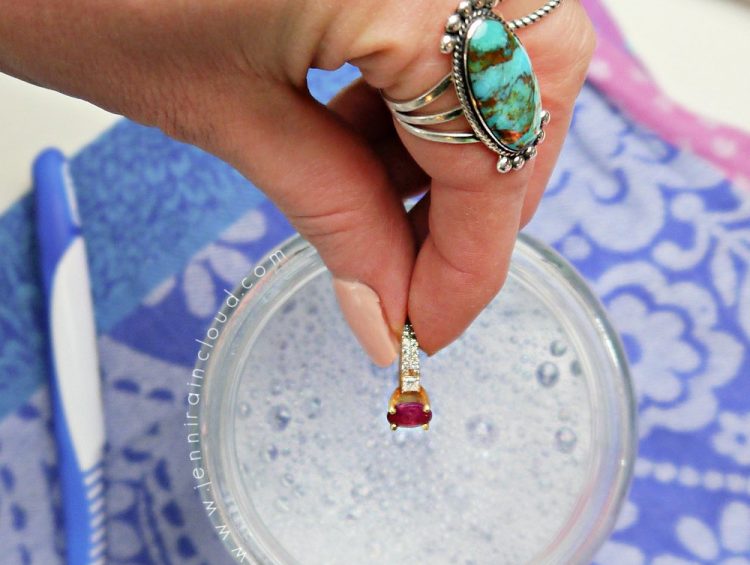
- Add jewelry piece by piece.
- Allow jewelry to sit in the jar for 5-10 minutes
- Carefully remove each piece and and scrub thoroughly with a toothbrush, dipping the brush into the soapy water as you scrub.
- Air dry jewelry or dry with a soft cloth.
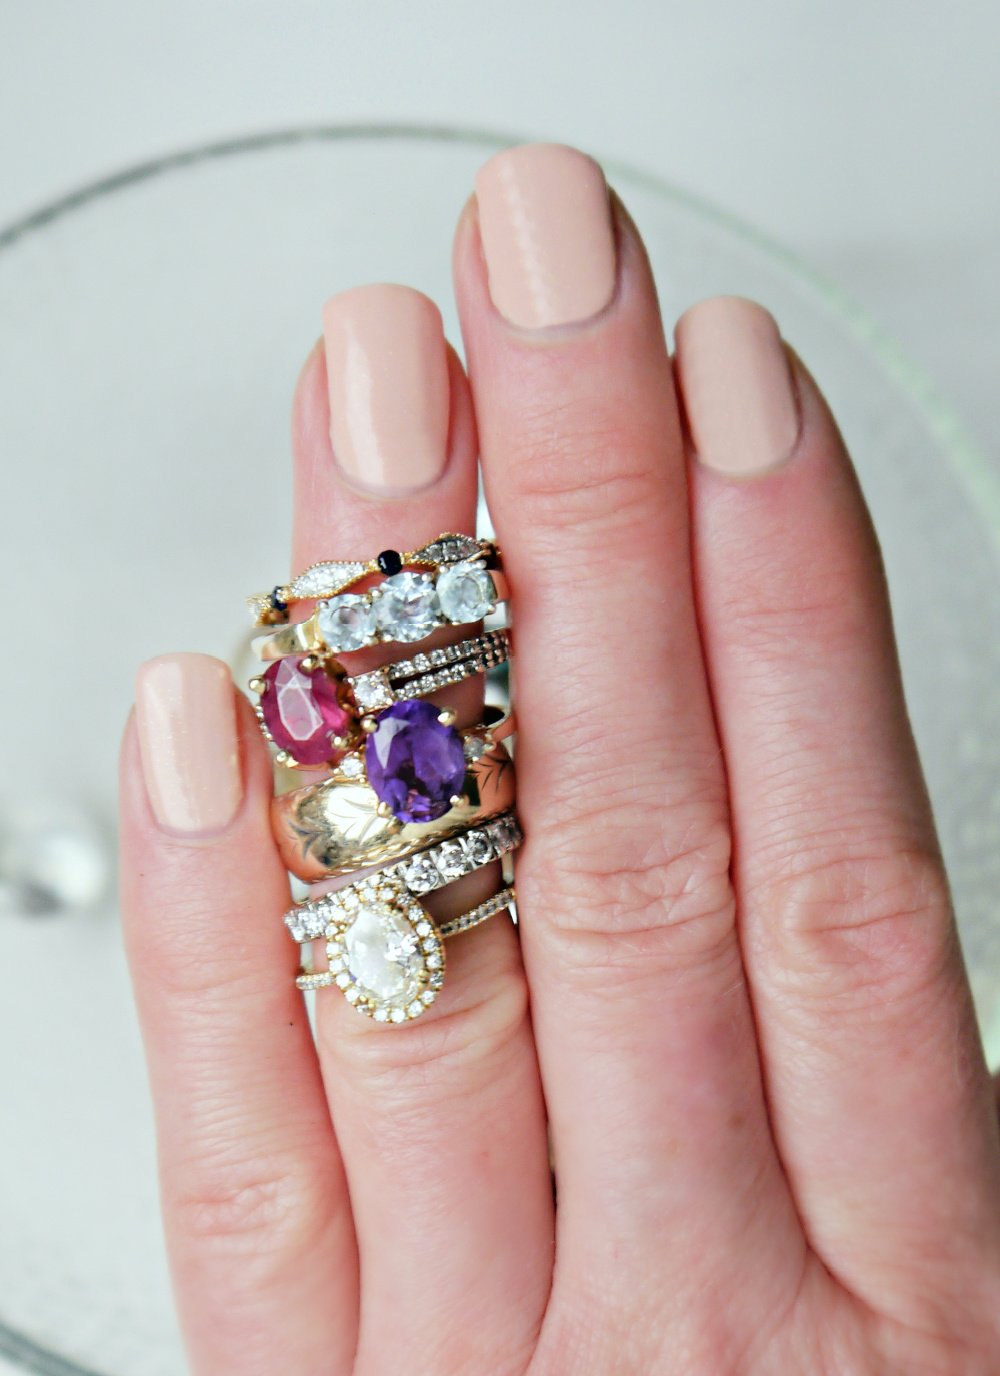
I use this method on my engagement ring, wedding band, gemstones, turquoise jewelry, chains and bracelets including my charm bracelets. I love how it makes my jewels look brand new! Daily wear can really do a number on your jewelry. I find the heat of the water is key to loosening up any build up. A soap and an old toothbrush furthers and enhances the cleaning. This simple chore is an effective way to restore your favorite pieces of jewelry.


Variations on DIY Jewelry Cleaner:
I did some research while writing this post and stumbled upon a few other methods of how to effectively clean fine jewelry. One that I thought was particularly interesting was instead of using a cup of plain hot water, carbonated water was suggested. Not sure the science behind it but many swore it worked well. I also saw that a lot of recipes call for vinegar, witch hazel or hydrogen peroxide in the water. I didn’t try those either. I’ve used my method for years and like to say, “if it ain’t Baroque, don’t fix it!”. That’s from Beauty and the Beast-lol!
Be sure to clean your jewelry on a regular basis so that dirt and oil don’t build up! A regular cleaning at home can keep your jewels sparkling for a lifetime!
I hope you’ve found this post helpful! I’ve been wanting to share a few non skin care recipe lately. After all, it’s not just our beauty routines that need detoxing!
xx, Jenni
PIN IT!!