 Who doesn’t need a little convenience in their life?? I know I do! You all know, one of my favorite things is making balms and salves! It’s easy and rewarding!
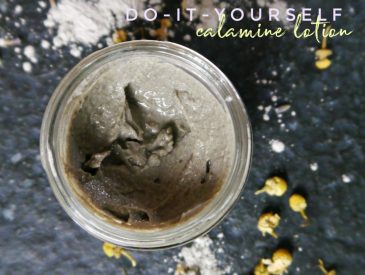
The wonderful thing about balms and salves is that they hold their shape. You can add any beneficial essential oil for whatever skin need you have and have an easy to apply treatment. But wait-What if you put it in one of those cheapo plastic lip balm tubes?? So perfect.
Little ones get boo boos at the zoo? Have no fear-Super Mom is here with the healing stick! Need something to cover up the fact that you slipped in a gym sesh before running errands? Solid perfume in a lip balm stick won’t spill-perfect for those busy days that turn into busy nights! How about vapor rub? This little tube got used constantly this winter-Great to keep in your purse or the car for quick relief from congestion and a sore nose! Oh and allergy balm? Yeah, that’s beyond necessary right about now. I apply it under my eyes to combat itchy, puffy sinuses. 100% necessary for when you need some relief in the spring!
First off, let’s talk recipes. You can make a basic salve/balm very easily. Add in essential oils to customize your balm for your personal needs. Need a little inspo? I make a balm for those times the kiddos just. won’t. stop. Lavender takes me to a happy place-I make my little “brat eraser” with so much lavender it would probably knock your socks off!
Basic Balm Recipe:
- 1/4 cup Olive Oil (find it HERE)
- 1/4 cup Coconut Oil (find HERE)
- 2 TBSP. Beeswax (find HERE)
Directions:
- Fill a pot half way full with water.
- Place on the stove turned to medium heat.
- Place a glass pyrex bowl with a spout into the pot.
- Add your 3 ingredients to the glass bowl.
- Once all ingredients are melted pour into a glass container.
- Add essential oils and let cool.
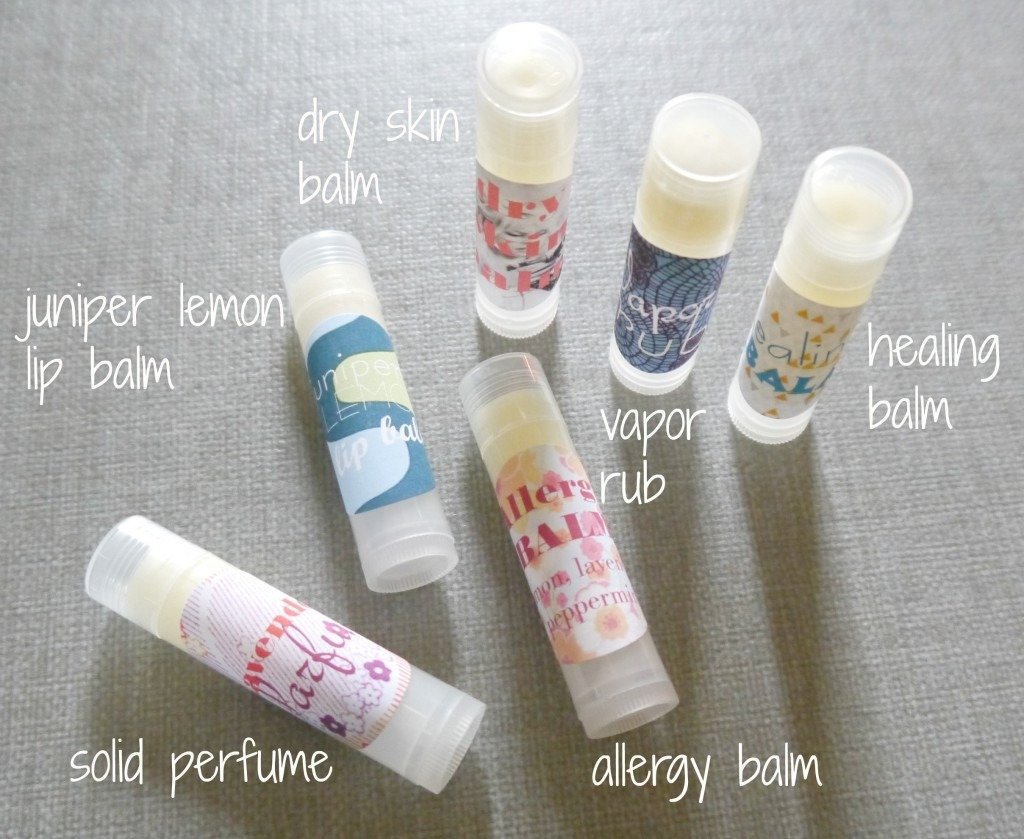
Follow these links to make your own batch of balms!
- Vapor Rub
- Dry Skin Balm and HERE
- Healing Balm
- Lip Balm
- Solid Perfume
- Allergy Balm
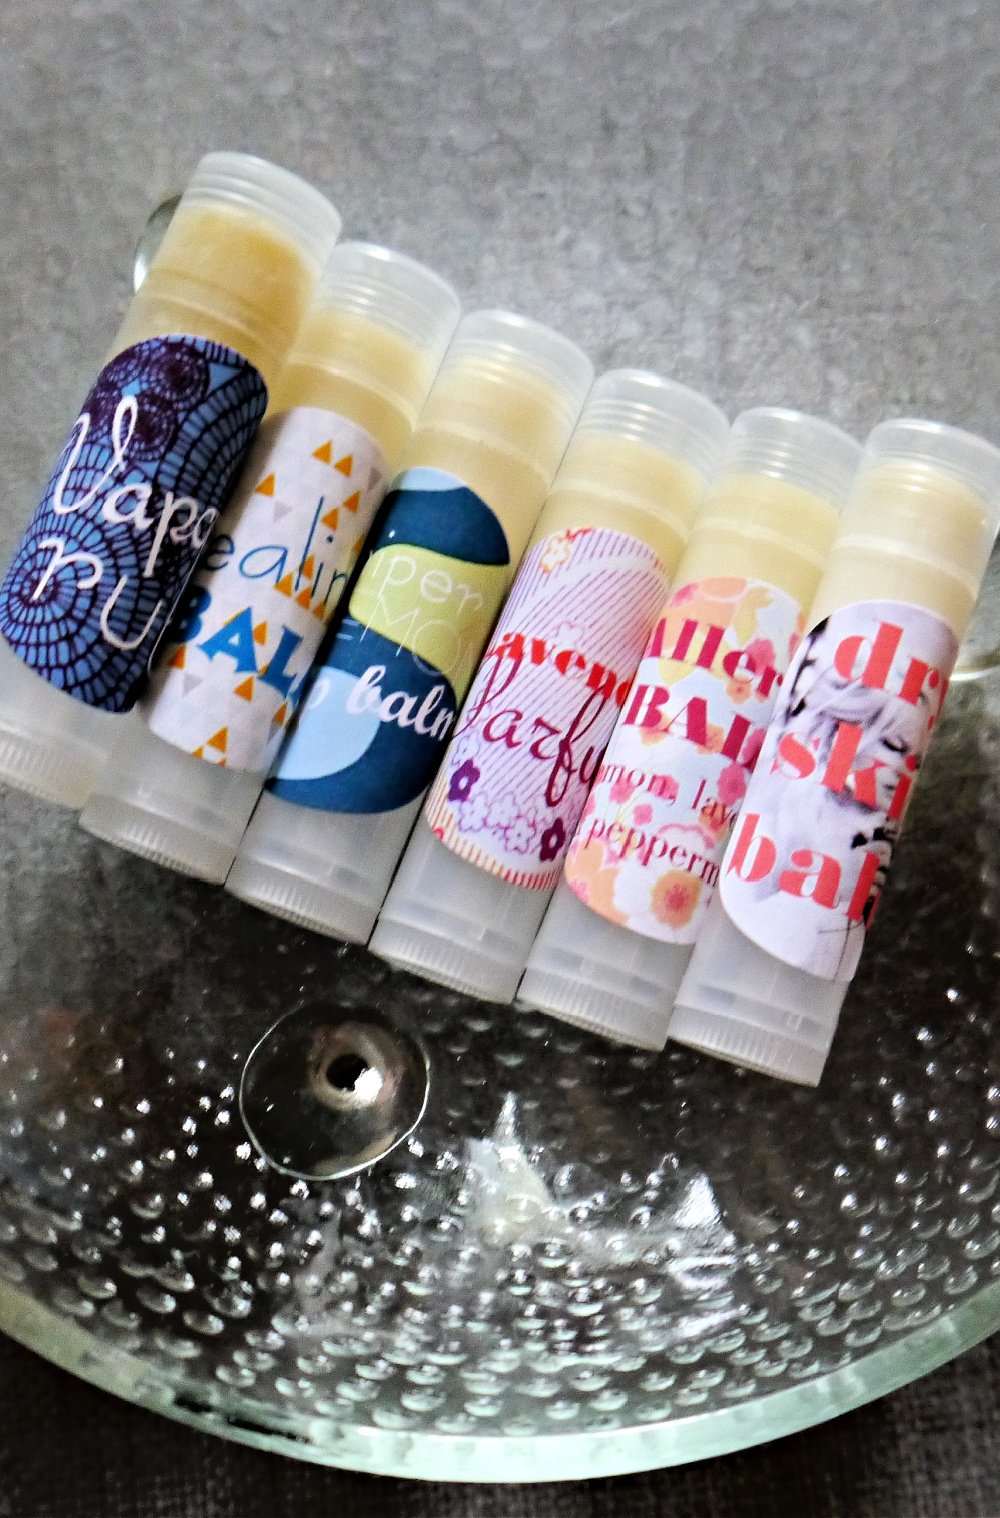
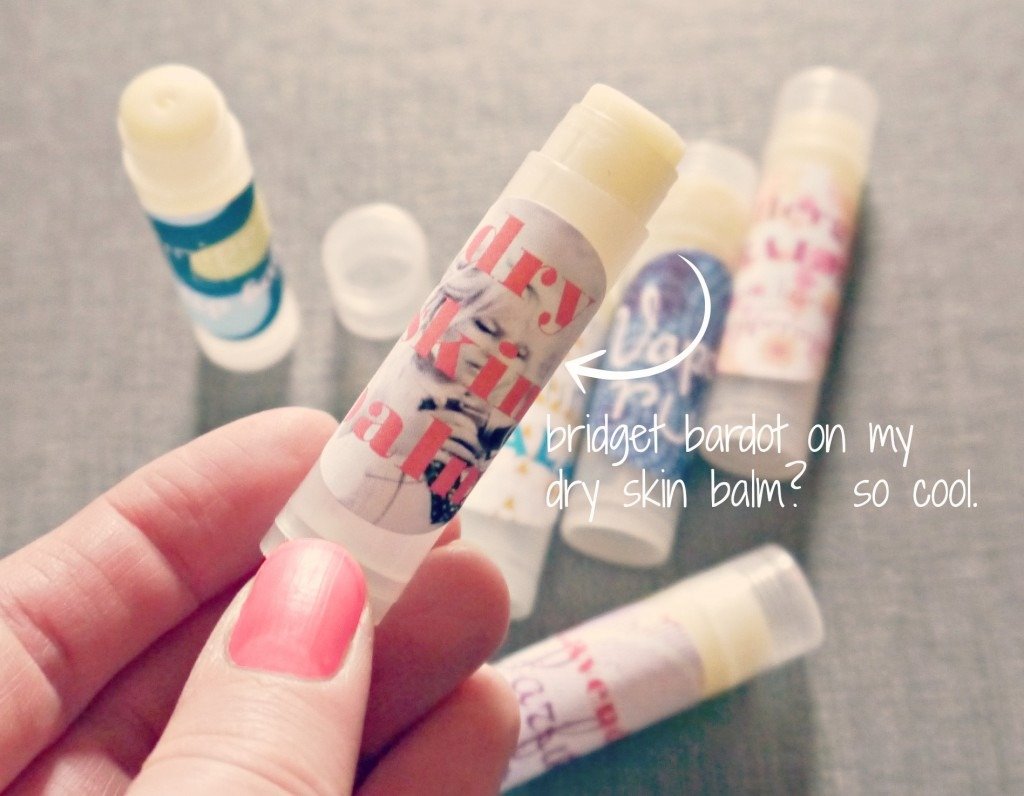
Here’s the deal. DIY skin care is super effective and healthy, but many of us not only enjoy a product that is going to work, we also would like it to look pretty sitting on the bathroom counter, right? I love making cute labels for all my products. Not only do I love that I’ve custom made something specifically for my needs, I also love to put my personal stamp on it.
Labels are fun and so simple. I buy Avery 1.5 round labels. You can use any colored printer, select the blank template and decorate a label, customizing background and font! It’s super simple!
I google image “retro fabric” or “vintage 60’s”. Sometimes I google “Scandinavian fabric”. Honestly, google whatever floats your boat. I think my Dry skin balm looks pretty hip with Ms. Bridget Bardot in the background!

Hope you enjoyed this hot little post and I hope it makes your life a bit easier! You can thank me later! 😉
xx, Jenni