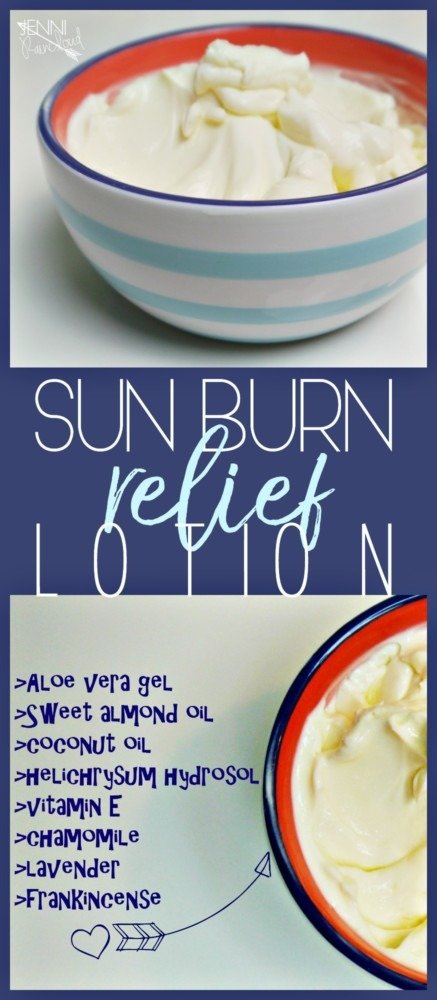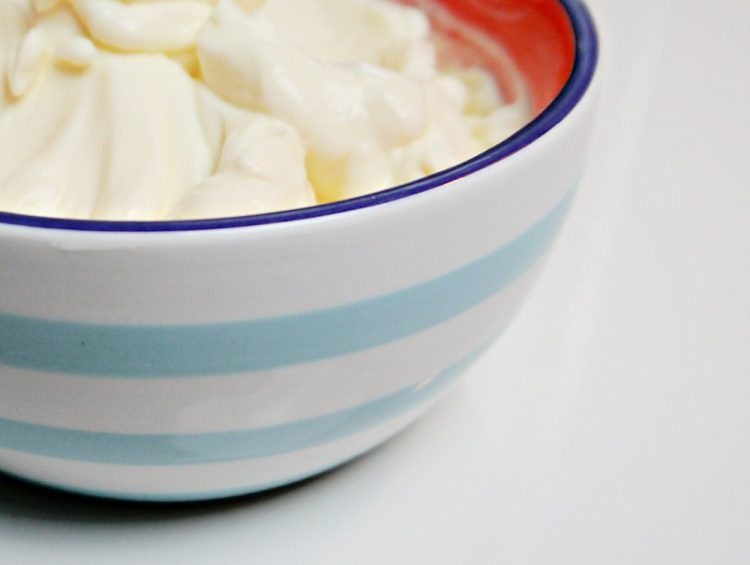
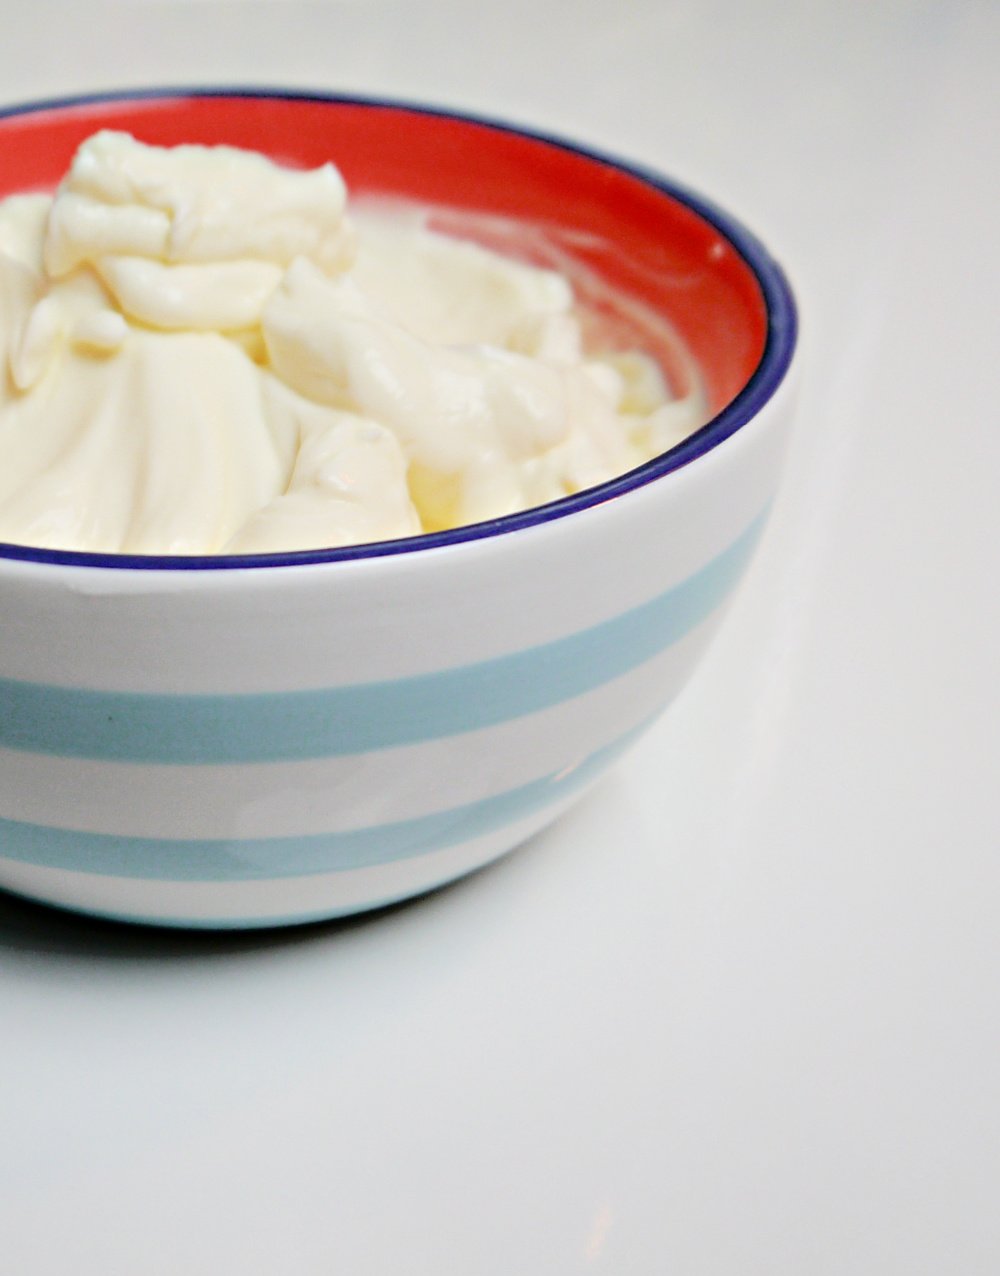
Lately I have been a lotion makin’ fool! It’s just so rewarding to create a rich, creamy moisturizer that your skin literally drinks up! Being aware of each and every ingredient is a rare thing in the skin care world. Did you know that the skin care industry isn’t regulated like the food industry? There is no guarantee that what is printed on the ingredient list is actually every ingredient that is in your product! I find that kind of scary! So, if you were on the fence about making your own lotion, that might have been the tipper! Let’s make a DIY sunburn relief lotion to soothe damaged skin that needs some TLC.
Summer is a time for my skin to really suffer. So many factors go into the demise of my skin during this season. Swimming and sun take such a toll on skin. Keeping up with hydrating is literally a job in itself but it’s such an important one! Summer activities can literally suck the moisture out of you causing dry skin, constipation and wrinkles, just to name a few! It’s so important to drink loads of water when spending time in the sun. It’s also so important to amp up your lotion routine especially if you’ve spent a day in the water and sunshine.
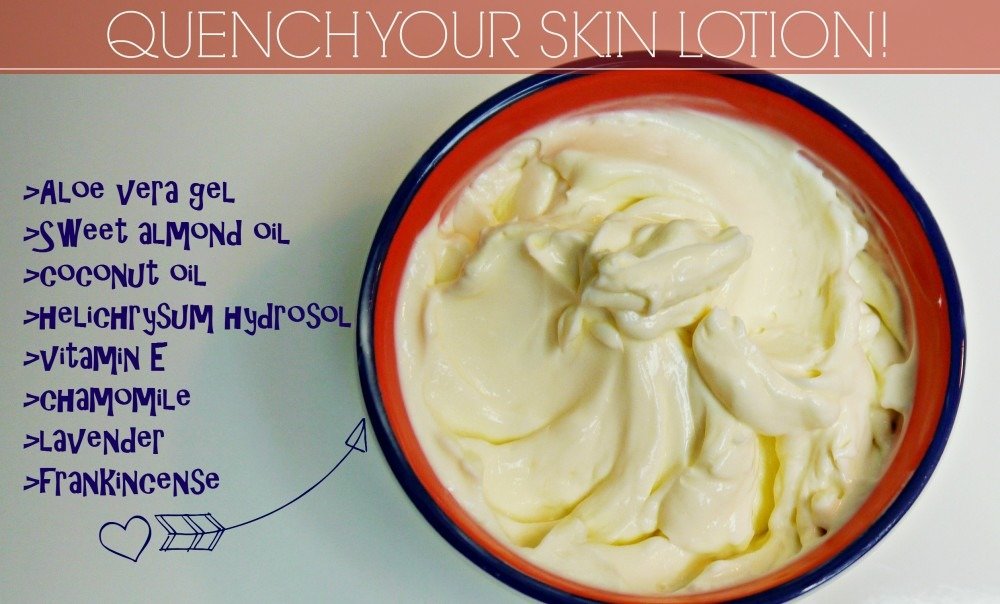
For this lotion, I’ve chosen Sweet Almond Oil-It’s benefits are vast for the skin and it’s easily accessible. It’s the perfect body hydrator. It’s high in vitamin E and been known to be the closest oil to a baby’s natural skin oils. I also have added unrefined coconut oil. It’s so healing to dry, sun burnt skin. It is an absolute must in this cream! Pure Vitamin E is very beneficial when replenishing the skin as well.
As far as essential oils, I love Myrrh for extremely dry skin. Chamomile is great for healing and Frankincense is helpful when trying to regenerate damaged skin. Plus it is actually more gentle then even Lavender. I ran out of Mryhh so I just stuck to lavender, frankincense and chamomile for my lotion. You can choose whichever oils you like, I would just stick to around 30 drops for this recipe.
I went out on a limb with the water portion of this lotion and added Helichrysum Hydrosol. Helichrysum is an extremely healing but expensive essential oil. Mountain Rose Herb offers it in a hydrosol at a much more affordable price so I decided to incorporate it in this skin healing lotion. Helichrysum is so helpful when it comes to skin trauma. It reduces inflammation and redness. What’s amazing is that it can actually heal scar tissue which is why it is so often used in stretch mark oils and creams.
I probably don’t need to explain why I chose Aloe Vera Gel for this lotion. Aloe is so healing and hydrating and is commonly known to relieve and replenish skin that is sun burnt!
DIY Sunburn Relief Lotion
Oil Mixture:
- 2 TBSP. Sweet Almond Oil (find it HERE)
- 2 TBSP. Coconut Oil (find it HERE)
- 1 (heaping) TBSP. Emulsifying Wax (find it HERE)
Water Mixture:
- 1/2 cup Helichyrsum Hydrosol (find it HERE) or Lavender Hydrosol (find it HERE)
- 1/2 cup Aloe Vera Gel (find it HERE)
- 1/4 tsp. Neodefend (find it HERE)
After mixed:
- 10 drops Chamomile essential oil (find it HERE)
- 10 drops Frankincense essential oil (find it HERE)
- 15 drops Lavender essential oil (find it HERE)
- 1 tsp. Vitamin E (find it HERE)
Directions
- Create 2 double boilers using 2 medium sized pots filled 1/2 way full with water. Place a glass pyrex bowl in each pot.
- In one pot add your oil ingredients: sweet almond oil, coconut oil, and emulsifying wax.
- In the other pot add helichrysum hydrosol, aloe vera gel and neodefend.
- Heat both mixtures until the oil mixture is completely melted.
- Now your mixtures will be too hot to mix together so you will need to cool each mixture down by removing them from the pot and monitoring your mixtures with a thermometer. This is the tricky part! Both mixtures need to be around 130-140 degrees Fahrenheit. You might have to place 1 or both pots back in the double boiler if you end up with too low a temp. Pay close attention!!
- Once your water and oil mixture are near the same temp., pour your water mixture into your oil mixture.
- Using a hand held blender, blend your mixtures for at least 1 minute.
- Keep returning to your lotion every 10 minutes or so to mix for 30-60 seconds each time.
- I continue to blend my lotion for at least an hour just to make sure it is totally mixed. **If you end up thinking you are done and the next day you find your lotion has separated you can always throw it back in a bowl and mix it more!
- Once your lotion has been mixed and cooled, add your essential oils and vitamin E and mix. (if you’ve already put away your hand held blender, mixing with a spoon is sufficient)
- Transfer to containers. I use THESE pipettes-they make life much easier. Glass is preferable and pumps are best to avoid contamination. I found my 8 ounce glass pumps HERE. >>This recipe makes a little over 12 ounces of cream. I suggest storing the rest of your cream in the fridge in a glass jar until you are ready to use it.<< (it is possible, using a funnel, to transfer refrigerated cream into a bottle)

To Use:
- Apply this lotion all over the body and face after being in the sun.
- Also apply before bed.
- Continue to use for healing dry skin due to over exposure to the sun.
It really will make all the difference to put your cream in a pump bottle. Your cream will thicken up after 24 hours. You really want to transfer to your pumps within 4 hours of mixing. After a week it will thicken up a bit more. Emulsifying wax is what thickens up a cream and I really prefer to use as little as possible. I want it to be as potent as it can be!
I get most of my ingredients from Mountain Rose Herbs. They have high quality ingredients that I trust. Your DIY is only as good as the quality of your ingredients. You don’t want to put in all this effort then come up with a crappy product because you skimped on ingredients. I have personally used each of these ingredients that I have linked and I have used cheap brands from Amazon. There really is a huge difference!
The moral of this post? Replenish skin after it’s been exposed to the sun. The sun is a wonderful tool to boost vitamin D, relieve depression and up the fun factor, BUT it wreaks havoc on the skin! Not only does it cause long term aging, the short term consequences are dry, leathery skin. Take extra care of parched skin by drinking EXTRA water and religiously applying a natural body cream!
xx, Jenni
[convertkit form=2502210]
PIN IT!!!