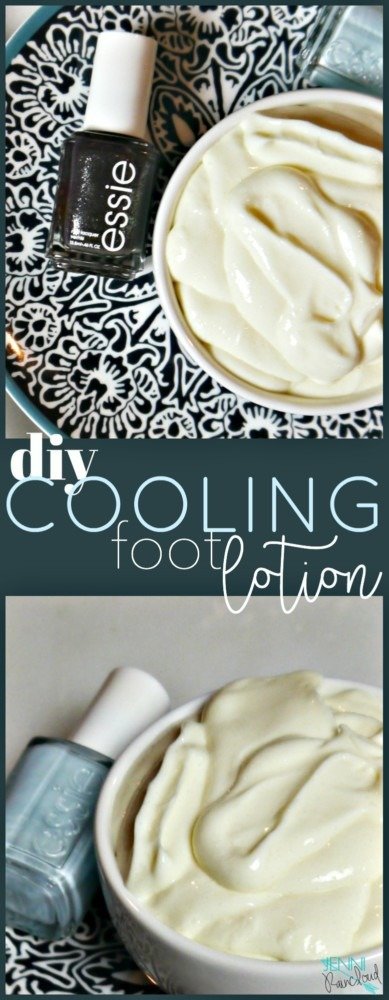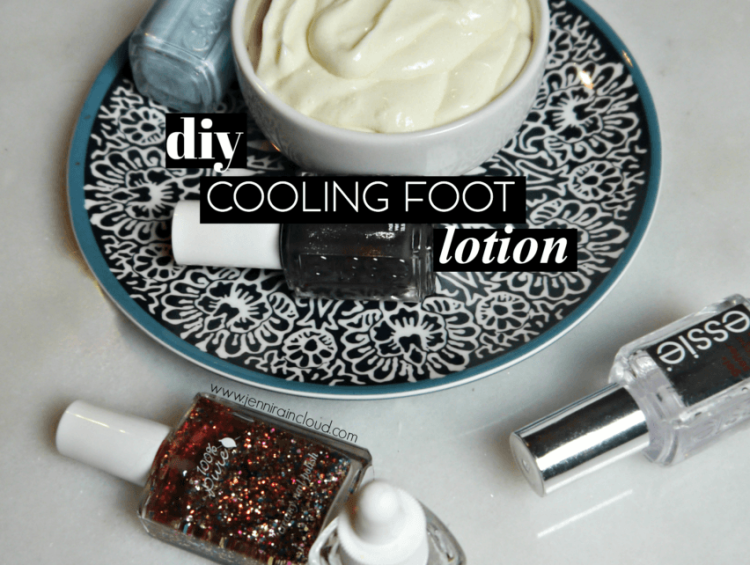
Barefoot all summer too? Going barefoot or even wearing sandals can wreak havoc on your heels. Not to mention the effects of swimming and being in the sun can dry moisture from your skin. I made a DIY Heel Balm a while ago but sometimes I like a cream that will soak in more quickly. With balms, wearing socks overnight is a must and that just doesn’t work for most of us in the summer. So today, get ready because we are making a DIY cooling foot lotion that will moisturize, sooth and even cool your feet!
With lotions, there are more steps and ingredients involved. I enjoy making lotions despite the extra effort because the reward is great!
However, I only use Emulsifying Wax from Mountain Rose Herbs and have heard other brands don’t work well.
Also, because a lotion contains water, bacteria and mold will form within a week so a preservative is a must. Unless you plan to use your cream in 1 week and keep it in the fridge, don’t skip the preservative. I use a preservative that is as natural as I can find, plus it only makes up about 1% of the whole product.
Be sure to check out my thorough lotion making tutorial with pictures.
I chose shea butter and avocado oil because they are both extremely hydrating and help repair damaged, dry skin.
DIY Cooling Foot Lotion:
- 1/4 cup Avocado Oil (find it HERE)
- 2 TBSP. Shea Butter (find it HERE)
- 2 heaping TBSP. Emulsifying Wax (find it HERE)
- 1 cup of distilled water
- 1/2 tsp. NeoDefend (find it HERE)
- 30 drops Peppermint Essential Oil (find it HERE)
- 15 drops Rosemary Essential Oil (find it HERE)

Directions:
- Fill a medium sized pot 1/2 way full with water and place a glass measuring cup in the water. I call this a “double boiler”.
- Add distilled water and Neodefend into the glass cup.
- Place on stove and turn heat to medium. *water takes longer to heat then oils*
- In another double boiler, add shea butter, avocado oil and emulsifying wax.
- Heat on stove on medium heat.
- Monitor both double boilers with a food thermometer. Our ideal temp for BOTH double boilers is 160F.
- Once you hit the right temperature in both glass cups, pour your water mixture into your oil/butter/wax mixture.
- Use a stick blender to blend the mixtures. Blend for 1 minute.
- Continue to periodically use your mixer until you see that the water is no longer separating from the oil/butter/wax mixture.
- Add essential oils once your mixture has cooled a bit.
- Before your mixture gets too thick, transfer to a bottle with a pump or spout (buy it HERE) with a funnel (buy it HERE).
It can take up to 24 hours for the cream to thicken up.
A pump bottle helps keep your cream fresh longer but if you plan to use up in a month, you could use a glass jar. The shelf life of this recipe is about 2 mos. and with the preservative, does not need to be stored in the fridge.
This recipe makes about 12 ounces.
For more tips on making lotion read my troubleshooting homemade lotion guide.
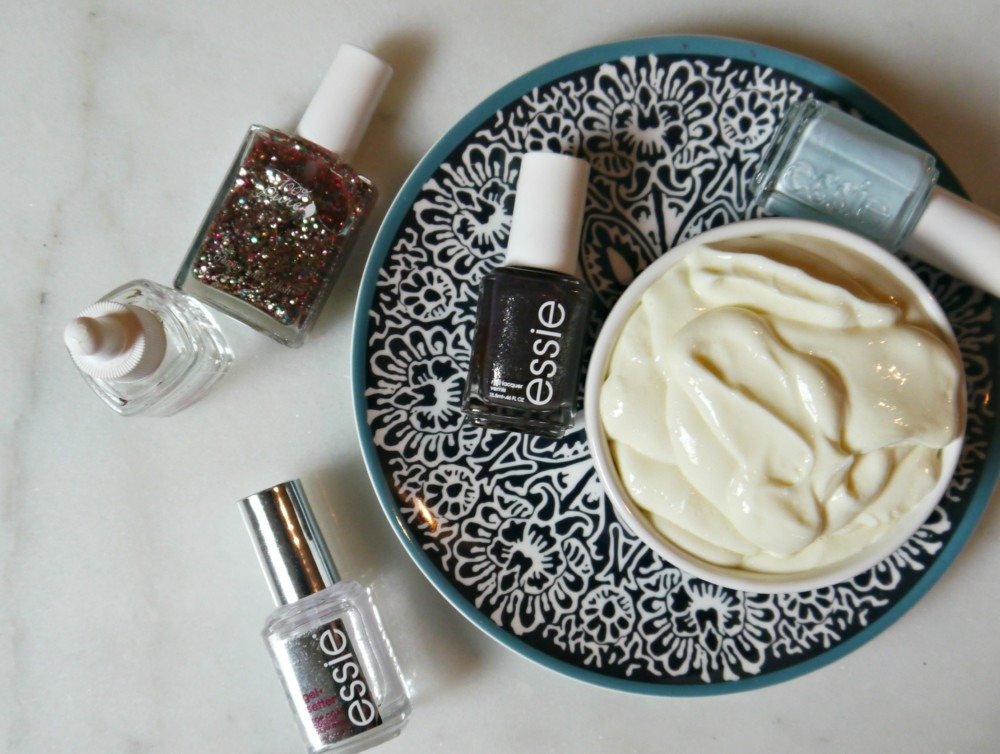
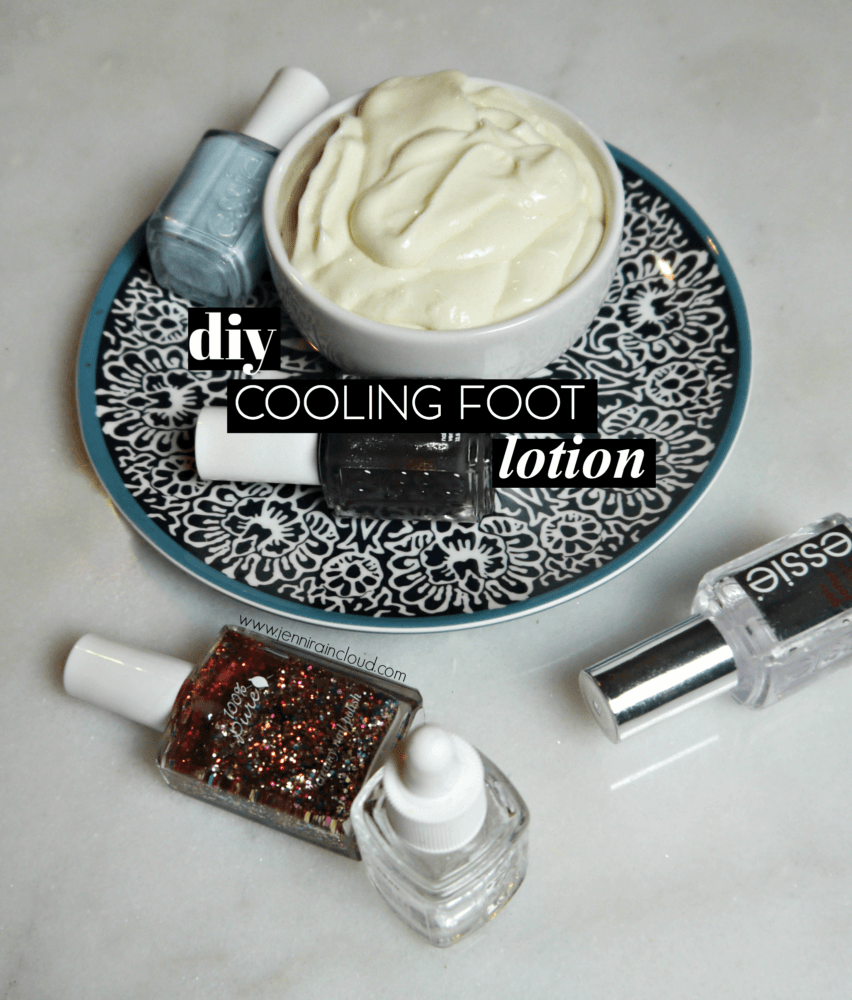
As you can tell from the pictures, this lotion is incredibly creamy and thick! This is only possible thanks to emulsifying wax. Beeswax will not give you creamy, fluffy lotion.
I’ve tried several times and while I can get somewhat of a “cream”, it’s not soft and light. However, it is a much easier recipe that is greatly nourishing for the skin. Try out my DIY beeswax lotion recipe if you don’t have emulsifying wax.
Here’s to soft heels!
xx, Jenni
PIN IT!!!