Jump to Recipe
In this post I’m going to give you step by step instructions on how to make your own diy bath bombs! This homemade bath bomb recipe is super easy to make and so fun to use! Create a spa-like experience with a nice warm bath, a glass of wine and homemade fizzy bath bombs! This fun bath bomb project contains easy to find, natural ingredients that come together for a luxurious bath time experience.
Disclosure: This post contains affiliate links, meaning, at no additional cost to you, I will earn a small commission if you click through and make a purchase. Learn more
Ever had one of those DIY attempts where everything went wrong and what was supposed to be easy turned into a 2 day long ordeal? This is how it went with learning to make my own bath bombs. First I was unprepared with ingredients and didn’t have enough citric acid. Then I didn’t have enough corn starch. Next, I quickly discovered I bought the worst molds! I re-made and re-worked my DIY bath bombs 3 times! Let’s just say, I learned a lot of what do to do and what not to do! I employed my daughters helps since they’re home for the summer as well so between the 3 of us, we got bath bombs figured out and have all the tips and tricks so you can make the perfect bath bomb without the trial and error!
The Science Behind Bath Bombs:
The 2 ingredients you must have in order to make your own bath bombs are citric acid and baking soda. A chemical reaction occurs between these 2 ingredients and you must have them both. All other ingredients are not 100% necessary.
According to Live Science–
The fizziness of bath bombs comes from the chemical reactions that happen when the baking soda and citric acid come into contact with water, Wood-Black told Live Science. Baking soda, or sodium bicarbonate, has the chemical formula NaHCO3. In water, baking soda quickly dissolves, and the positively charged sodium (Na+) breaks apart from negatively charged bicarbonate (HCO3-). [Goopy Science: How to Make Slime with Glue]
Meanwhile, the citric acid also dissolves, with a single hydrogen ion (H+) separating from the rest of the molecule, Wood-Black said. Then, that positively charged hydrogen from the citric acid and the negatively charged bicarbonate from the baking soda mingle, very quickly undergoing a series of reactions. One of the end products is carbon dioxide (CO2). Because carbon dioxide is a gas, it forms small bubbles in the bath water, creating a delightful fizz.
To make bath bombs, you must use 1 part citric acid to 2 parts baking soda. For example, if you use 1 cup of baking soda, you’ll need 1/2 cup citric acid.
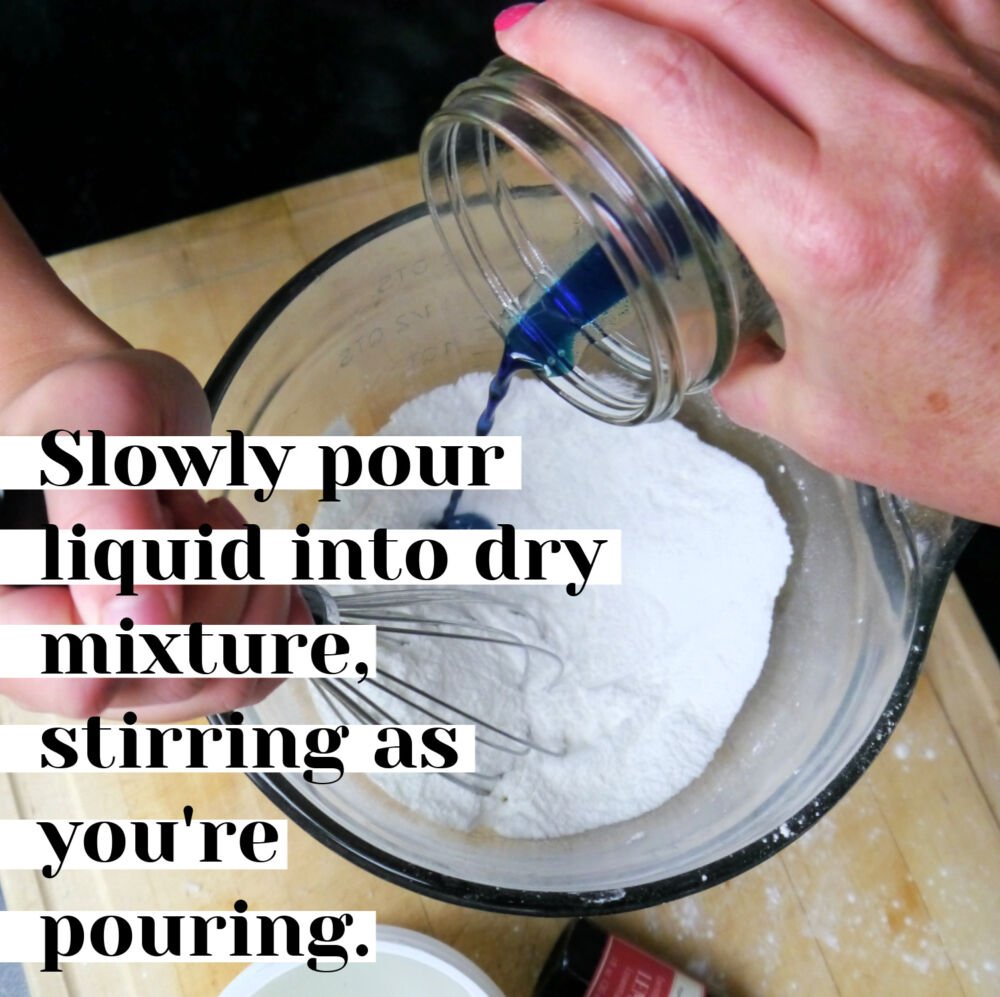
Also, per 2 cup of dry ingredients add about 1-2 teaspoons of liquid. In this bath bomb recipe, you must add the liquid slowly checking to get the right consistency. You want to barely moisten the mixture so that the powder sticks together. However, don’t fret if you get too much liquid-just add more baking soda!
Other DIY Bath Bomb Ingredients:
Epsom Salt is a natural ingredient to add to your bath for mineral absorption and detox.
Cornstarch in a bath bomb simply slows down the reaction between the baking soda and citric acid. By binding to the baking soda as well as the citric acid, the cornstarch slows down the rate at which both of them dissolve. The cornstarch prolongs the bath bomb action. The fizziness could end up lasting 2-4 minutes rather than a few seconds!

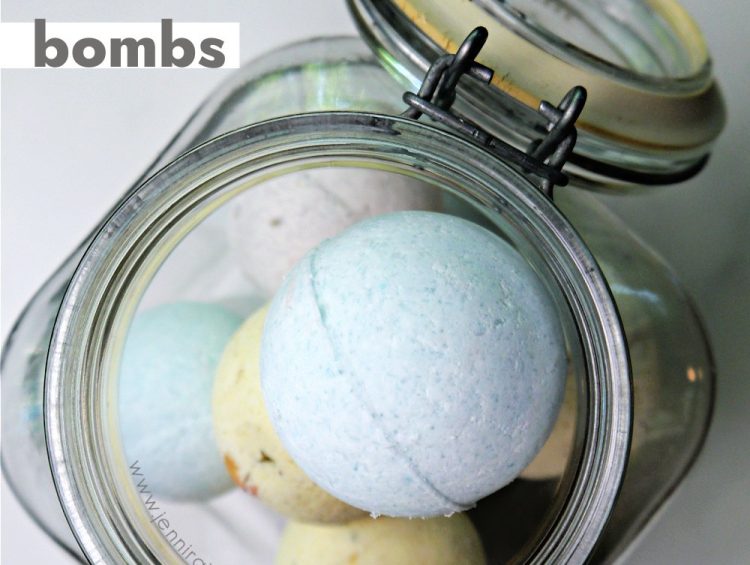
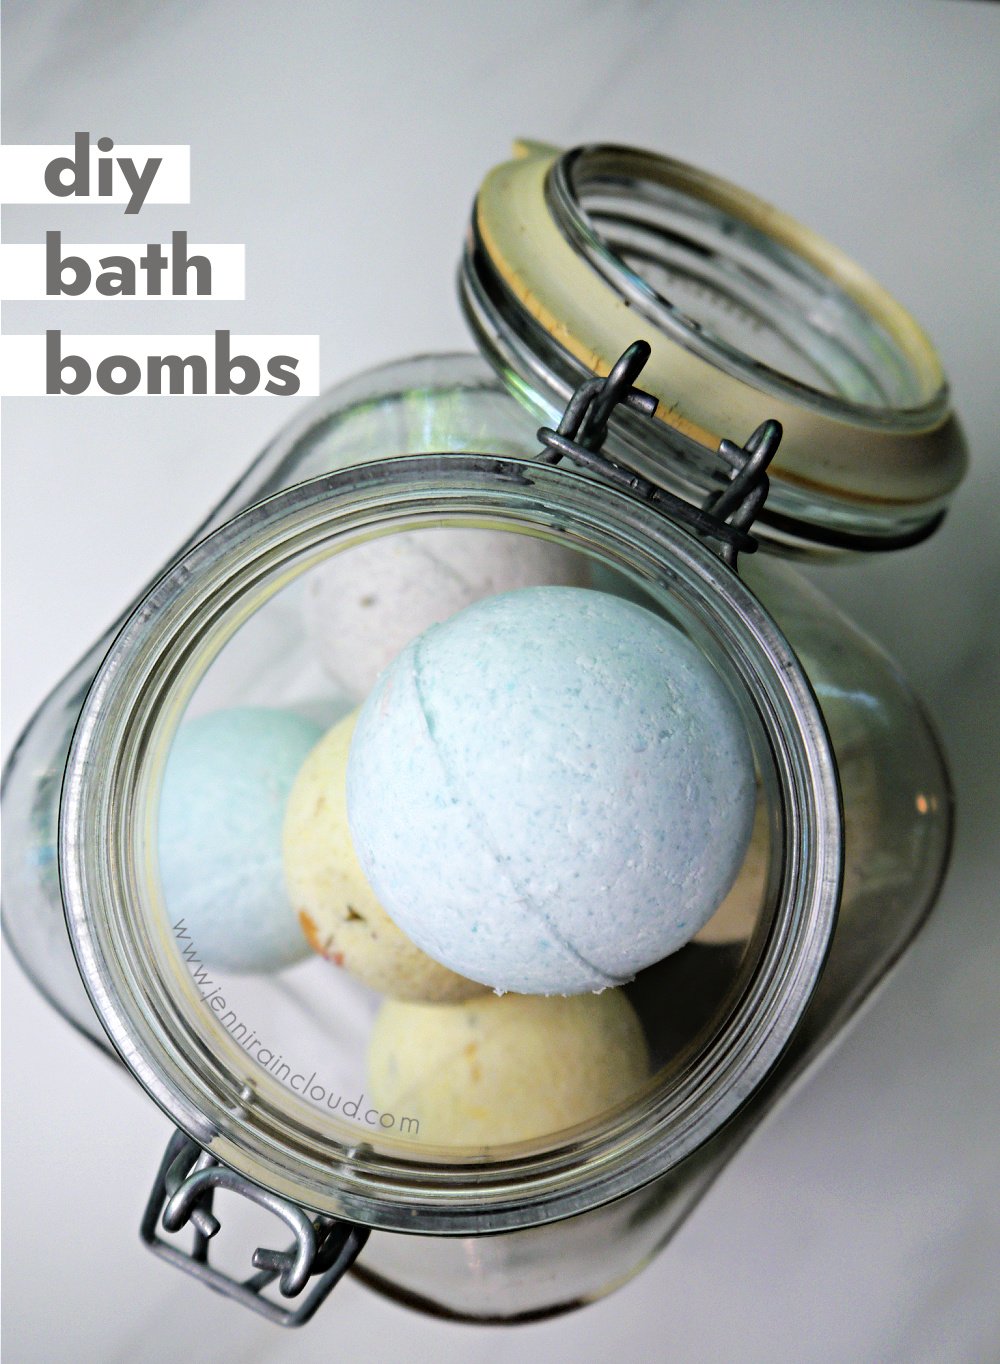
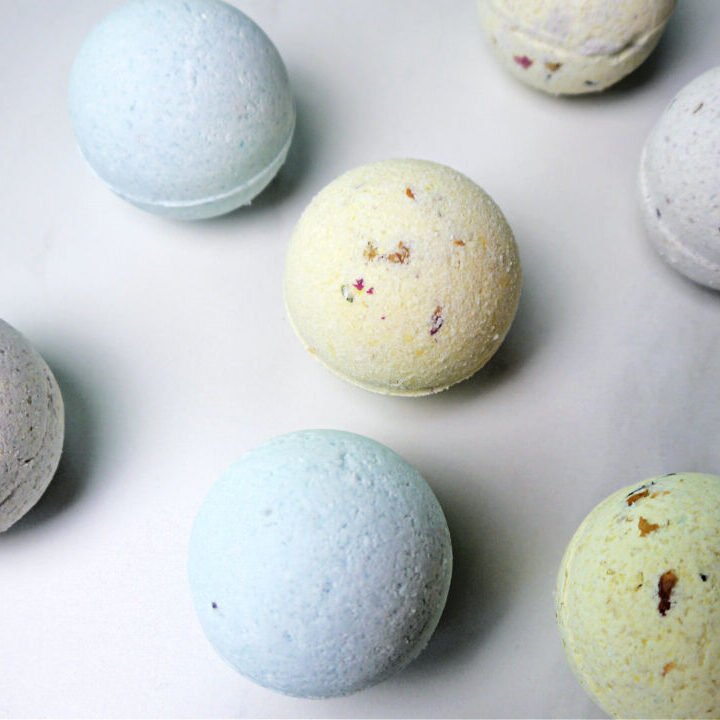
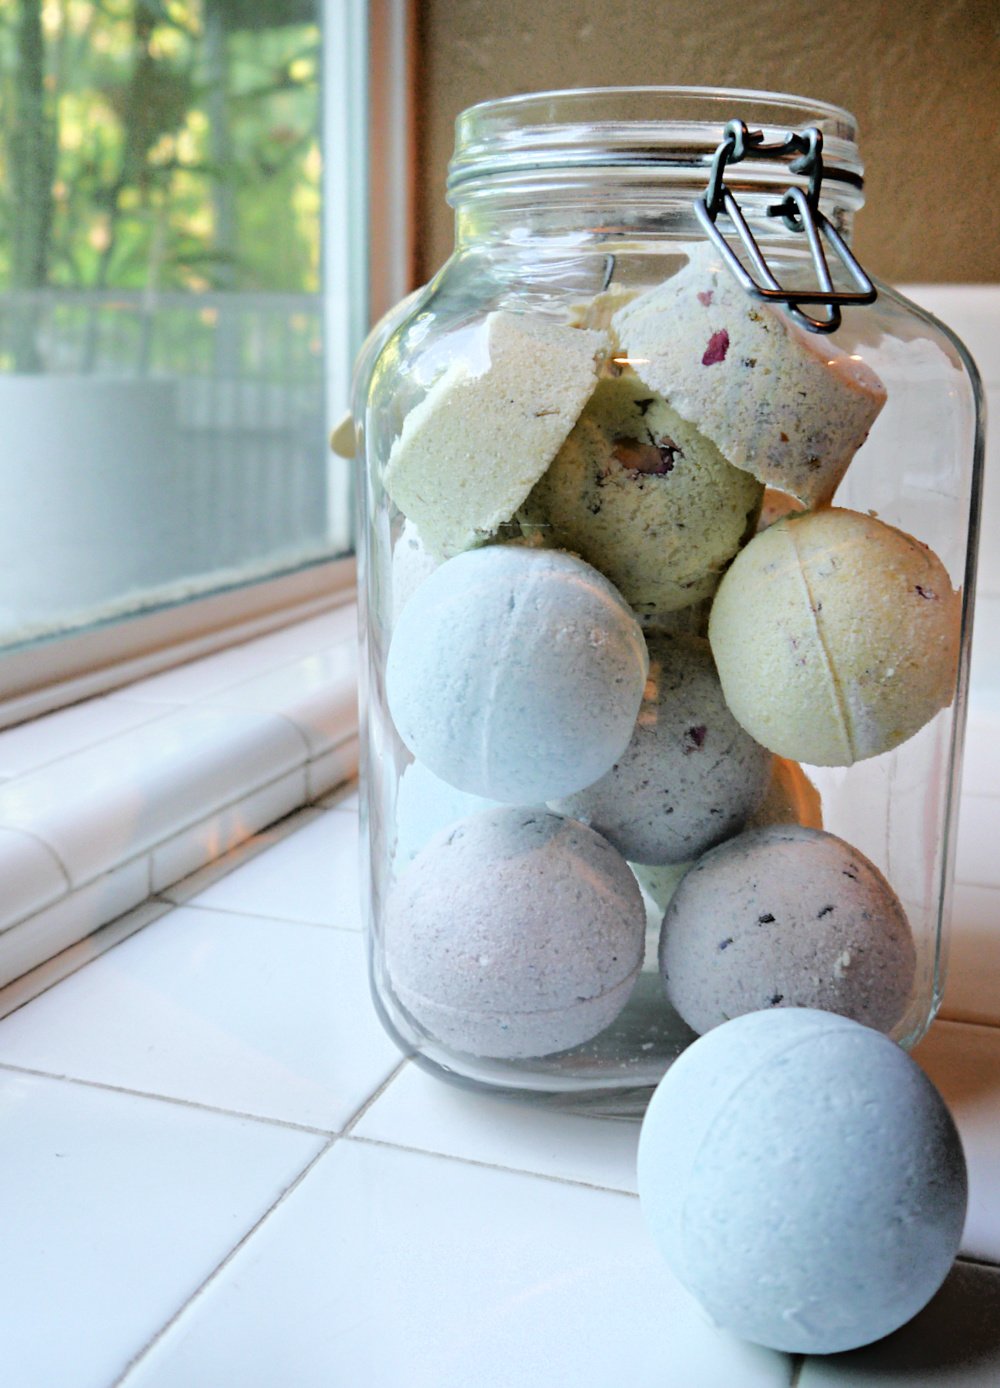
I made 3 different batches with different essential oil combinations, different colors and different dried herbs. I added lavender buds to the purple bombs and chamomile flowers and rose petals to the yellow bombs. You can sprinkle herbs on the bottom of your mold so they are visible on the finished bomb or you can mix them into your mixture so they are a surprise once they hit a warm bath!
Just remember whatever you put in your bath bomb has to go down the drain!
Get creative and add your own personal touch! This simple bath bomb recipe would make a great gift!!
You might be interested in my DIY Firming Body Oil recipe. It’s the perfect body moisturizer for after the bath!
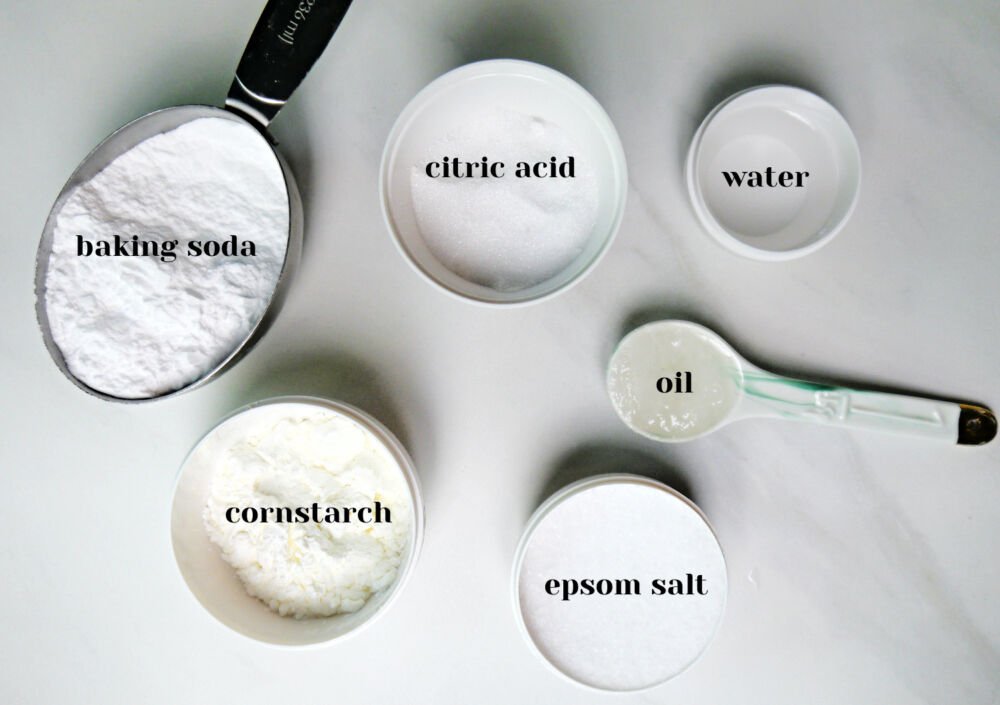
What You’ll Need to Make DIY Bath Bombs
- Metal Bath Bomb Molds
- Large Bowl
- Small Bowl, cup or jar
- Whisk
- Baking Soda
- Citric Acid
- Epsom Salt
- Cornstarch
Continue to Content
DIY Bath Bombs Recipe
Yield: 4 Bombs
This homemade bath bomb recipe is super easy to make and so fun to use! Create a spa-like experience with a nice warm bath, a glass of wine and homemade fizzy bath bombs! This fun project contains easy to find, natural ingredients that come together for a luxurious bath time experience.
Materials
- 1 cup Baking Soda
- 1/2 cup Citric Acid
- 1/2 cup Epsom Salt
- 1/2 cup Cornstarch
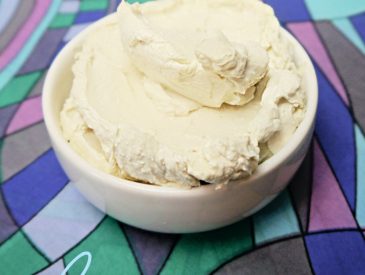
- 1-1 1/2 teaspoon coconut oil
- 1-1 1/2 teaspoons water
- 10 drops essential oil of your choice *optional
- 2-4 drops food coloring *optional
- Dried herbs or petals *optional
Tools
- Metal Bath Bomb Molds
- Large Bowl
- Small Bowl, cup or jar
- Whisk
Instructions
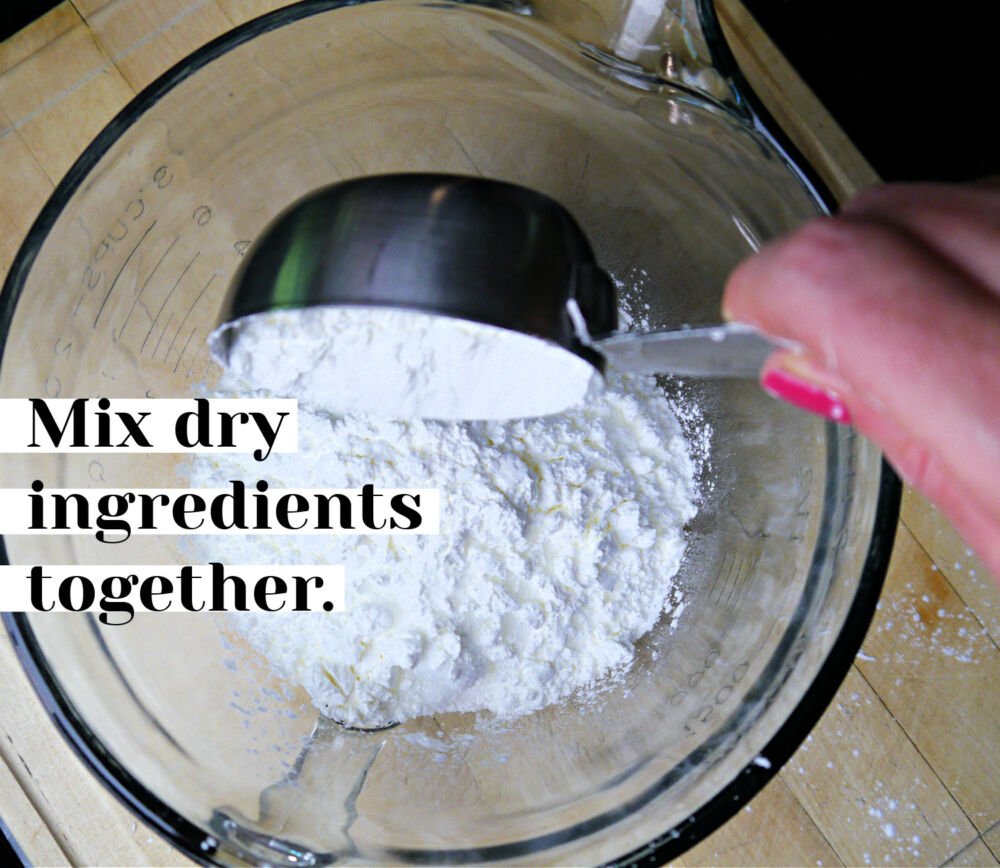
- Add baking soda, citric acid, Epsom salt and cornstarch in a large bowl.
- Mix dry ingredients well.
- Melt coconut oil in a double boiler (fill a medium sized pot half way full with water and gently heat your coconut oil on medium heat)
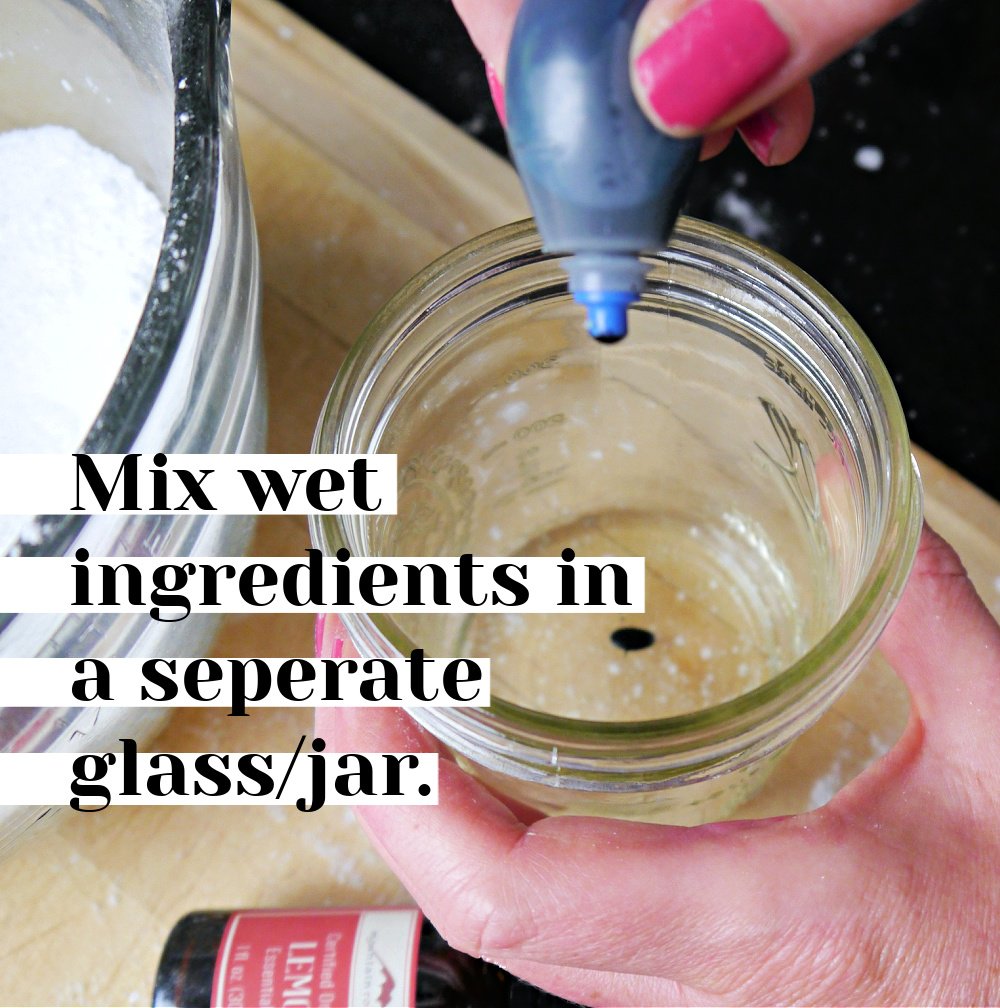
- In a separate small bowl or jar, add wet ingredients including food coloring and essential oil.
- Mix your liquid ingredients well until the color and essential oils are evenly dispersed.
- SLOWLY add the liquid mixture into the dry mixture stirring the entire time. We don’t want the citric acid to get activated by the liquid.
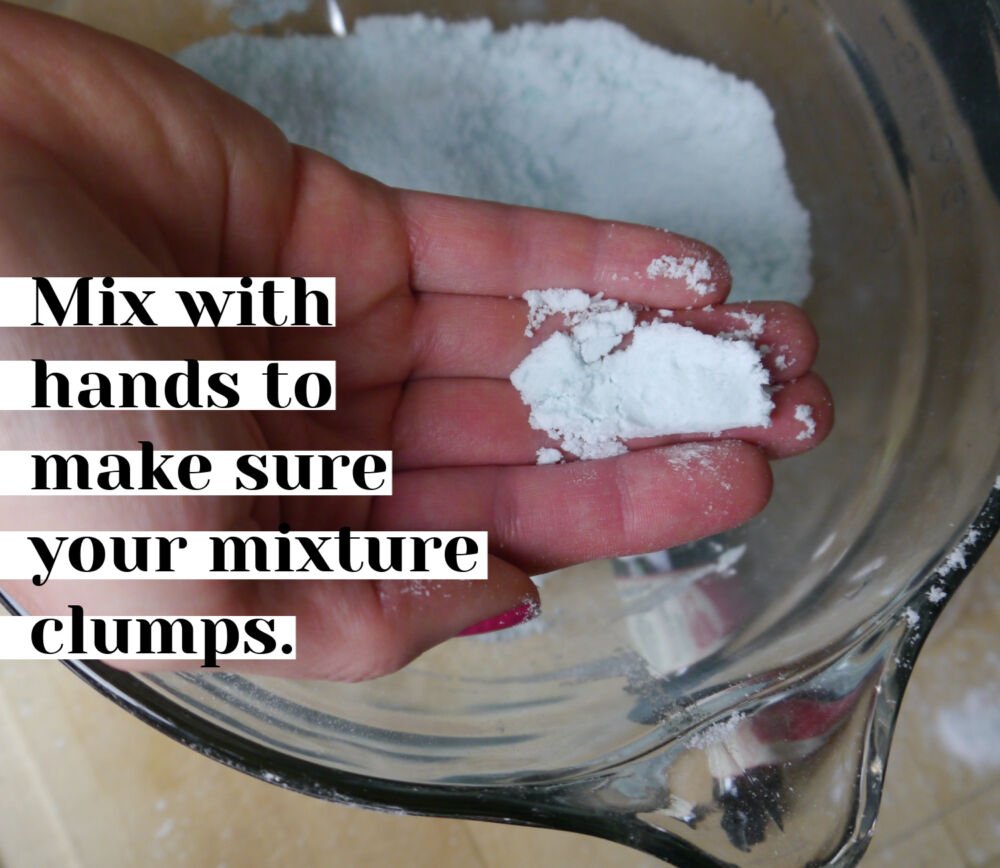
- Check that your final mixture clumps together. Think-wet sand. But don’t get too wet! We just want to be able to clump the mixture together when compacted.
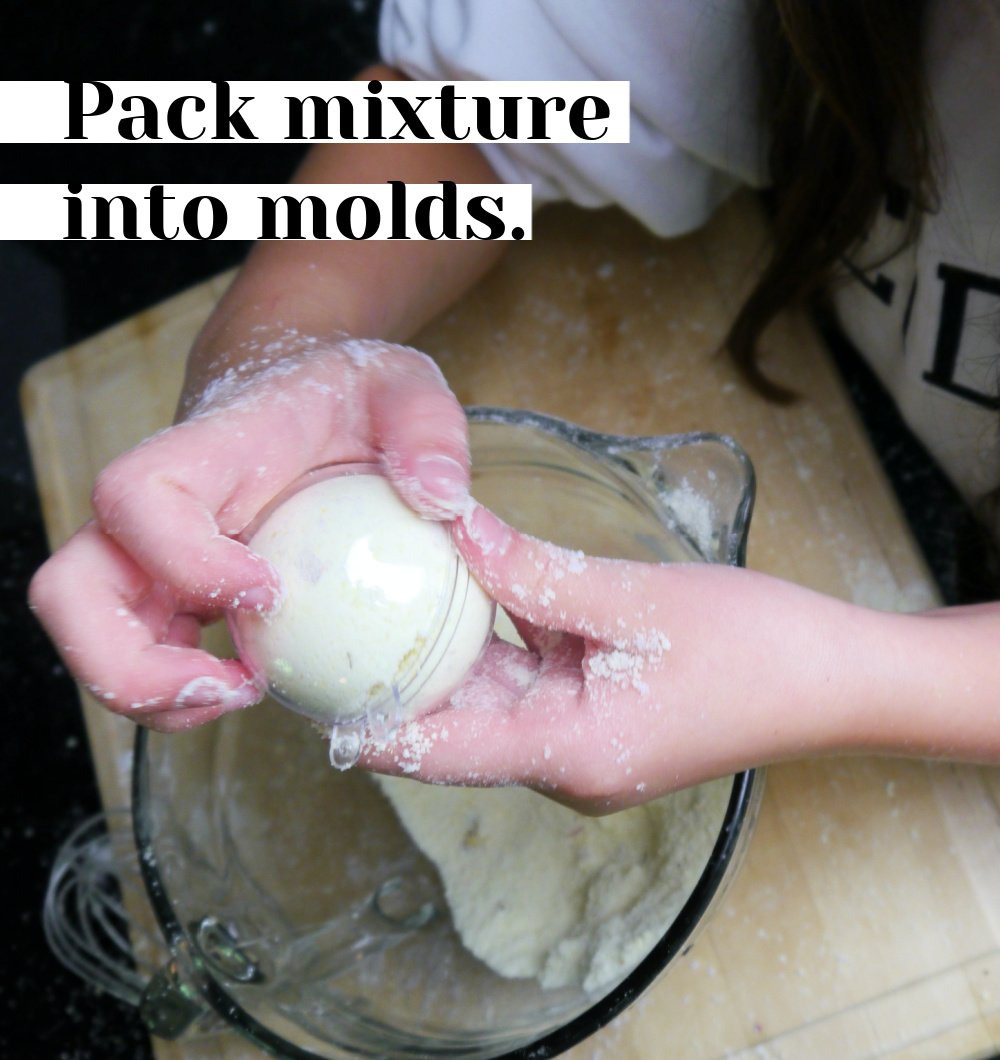
- Using stainless steel molds, pack in the mixture into each mold half.
- Sprinkle extra bath bomb mixture loosely on top of the molds and press mixture in the molds together.
- Twist and remove molds. Tap the mold to loosen the bath bomb for easier removal.
- Place bombs on parchment paper and allow to dry for 24-48 hours.
Notes
- It is important to note that bath bomb making should not be done in a humid environment. This project is not the perfect rainy day activity.
- The shelf life of bath bombs is 6 months. Citric acid will start to lose it's fizzy power after too long.
Did you make this product?
Mold Options:
- I advise not to get the plastic “Christmas ornament/bath bomb mold” molds. It was highly frustrating to remove the bath bomb and mine easily cracked.
- Metal molds-These seem to work for everyone and are the same expense as the plastic kind.
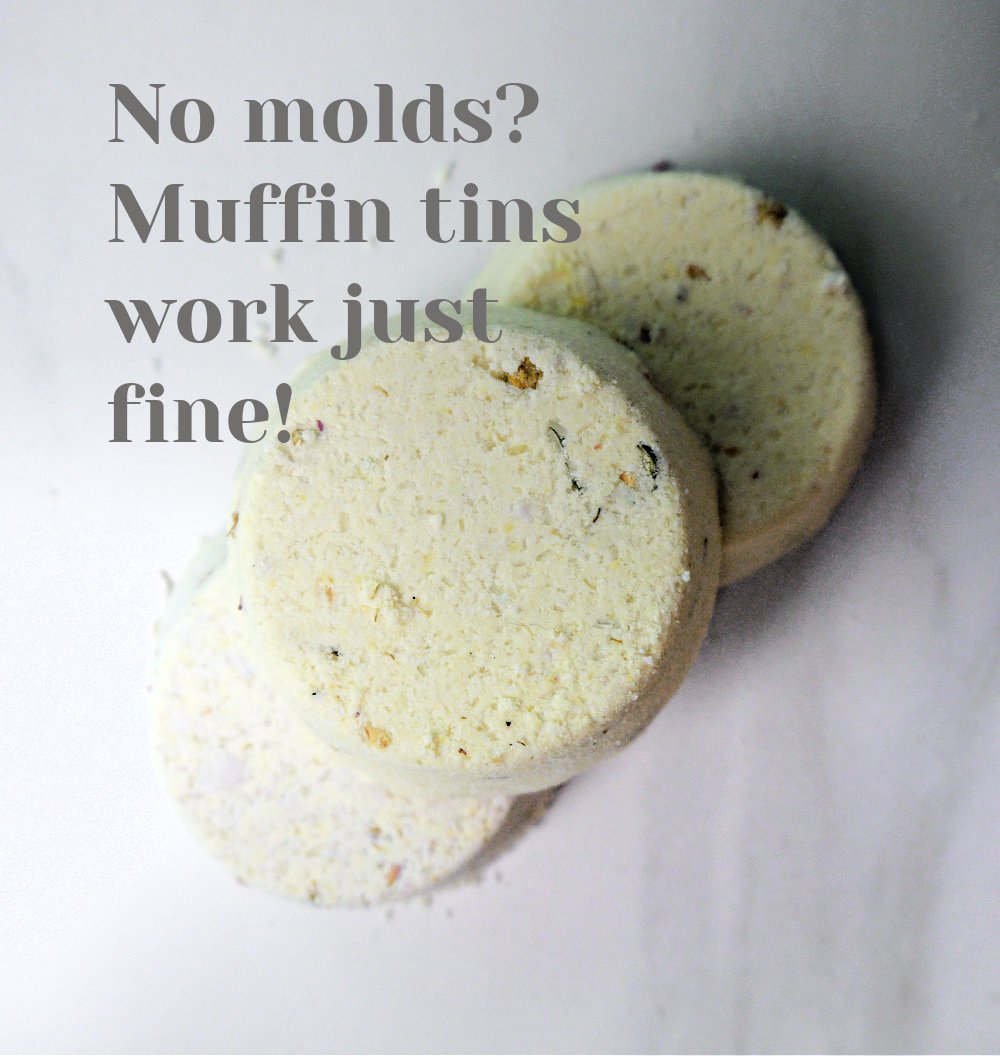
- Muffin Sheet
- Silicone mold for soap
- Ice cube trays
- Plastic fillable Easter eggs
- Silicone bath bomb molds
Color Ideas:
- Cosmetic Grade Mica Powder-Next time I make my own bath bombs, I’m definitely using mica powder! After all, it works so well for homemade lip gloss and lip balms!
- Food coloring is what I used-it worked great and almost everyone has it on hand!
- Edible Glitter
- Soap coloring
- Beetroot Powder-Full of Antioxidants!
- Seaweed or Spirulina Powder like my Mermaid Bath Soak Recipe!
- Food Color Powder
*Always add mica powder into your liquid since inhaling mica can be hazardous.
Scent Options:
- Feel free to use your favorite essential oils but 10 drops goes a long way so I would recommend you keep with that proportion.
- I used lavender essential oil in my homemade bath bomb recipe. I also used lemon essential oil and ylang ylang. They are great alone or even combined!
- Vanilla Extract
- Candy Flavoring (I also used candy flavoring in my Bubblegum flavored DIY Lip Oil recipe!)
Troubleshooting DIY Bath Bombs:
- If your bombs are too wet you can add more baking soda.
- If your bomb is crumbling and not staying together, add more wet ingredients. Do this carefully. You can fill a spray bottle with water, witch hazel or alcohol and spray your mixture to ensure you don’t add too much water.
- If the bomb fluffs up you’ve added too much liquid or added liquid too fast.
- If the bomb is soft, it wasn’t packed down enough or it was too wet.
- If the bomb has bumps the wet and dry ingredients weren’t mixed well enough.
- If the bomb cracks down the middle, it was not molded properly. I heard that if you shrink wrap it and wait 24 hours, it will come back together.
- If the bomb sticks to the mold the mix was too wet.
- If the bomb doesn’t float, it’s most likely not dry enough. Bombs can sometimes take several weeks before they’ll float.
Most of the time you can crumble up the bomb into a bowl and tweak the mixture. Not all is typically lost if you make a mistake with bath bombs! Don’t throw it out just yet!
Substitutions:
Instead of coconut oil, feel free to use olive oil, almond oil, avocado oil, castor oil etc.
I would like to omit cornstarch in my next batch and am thinking of using coconut milk powder instead. From all that I’ve researched I’m sure it will work however, I haven’t tried it yet.
As long as you keep the proportions of liquid to powder and don’t omit baking soda or citric acid, you can play around with ingredients in order to achieve different benefits and reactions from your bombs.
A Few Bath Bomb Tricks!
- Try using castile soap as your liquid for lots of foamy bubbles!
- For more nourishment, use all oil for your liquid proportion.
- Take about 1/4 cup of a hard butter like cocoa or kokum (dry, not melted). Cover the butter with baking soda and finely chop the butter making sure it is coated in powder. Add it to your dry mixture. Butter will melt in a hot bath and give extra nourishment for dry skin!
- You can separate a batch into several smaller batches, add different color to each batch and layer the different colors to make a gorgeous bath bomb!
- Using a tablespoon to indent insides of both halves of the mold then fill the indention with another colored batch of bath bomb mix so that when you use it, a surprise color is inside.
While I had a rough go of making bath bombs thanks to the flimsy plastic molds, I am planning to buy the proper metal molds and experiment more. I found a Youtube channel called Creative Bath Lab and she is the queen of all things bath-especially bath bombs. She makes the most creative perfect bath bomb every time!
Like I said, what I thought was going to be an easy homemade bath bombs project turned out to be tricky and cumbersome so I took to the internet in search of answers. This posts compiles all that I have learned. Overall, my daughters and I enjoyed this DIY and can’t wait to make more!
Take to the comments if you have your tips or questions!!
xx, Jenni