French Green Clay…….I had no idea this easy to find and affordable ingredient would do so much for my complexion. I could not believe the difference in my skin with just one 10 minute DIY clay mask! My pores were non existent, my skin tone was more even and my skin looked smoother and clearer. So, if you’re intrigued, read on for new refreshed skin!
There are a lot of skin care rituals that are recommended for radiant skin. Steaming your skin often does so much for dehydrated skin. While I don’t condone extractions, sometimes you have to manually remove blackheads and whiteheads. You should exfoliate weekly and replenishing masks should be applied weekly as well. Serums and eye creams are a GOOD THING and should be used nightly. BUT-if you want to see immediate results, a clay mask is a cheap and easy solution! Clay masks are so helpful in removing impurities from your skin. It is definitely a worthwhile habit to add to your skin care regime!
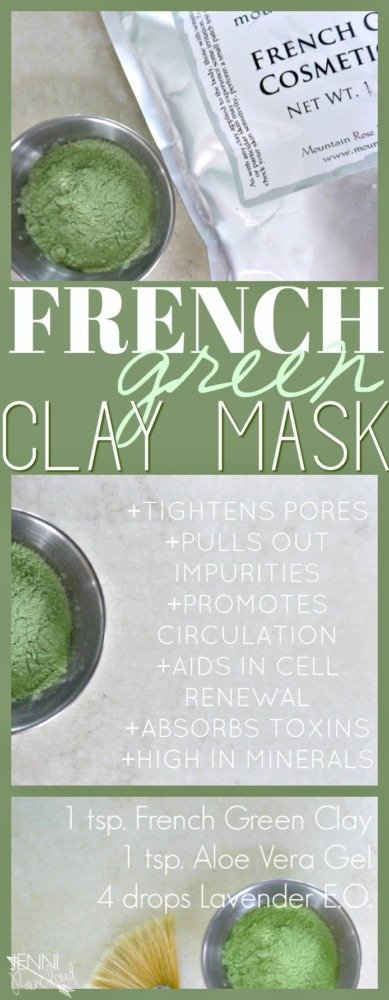
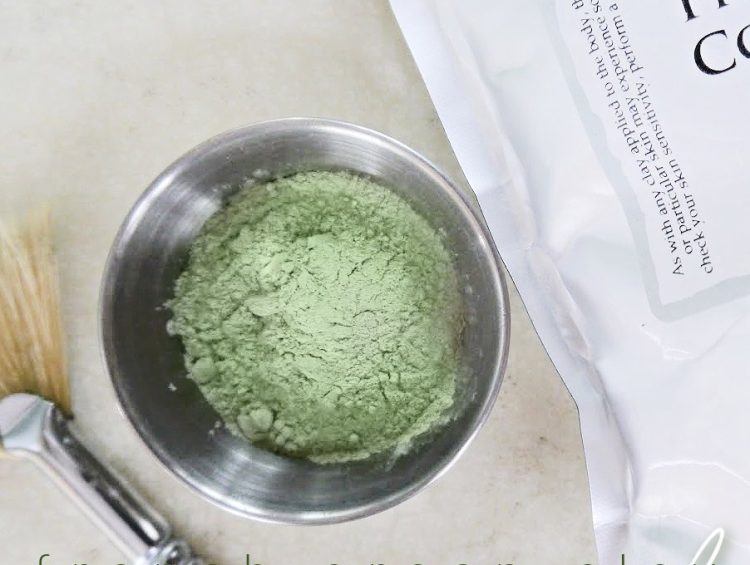
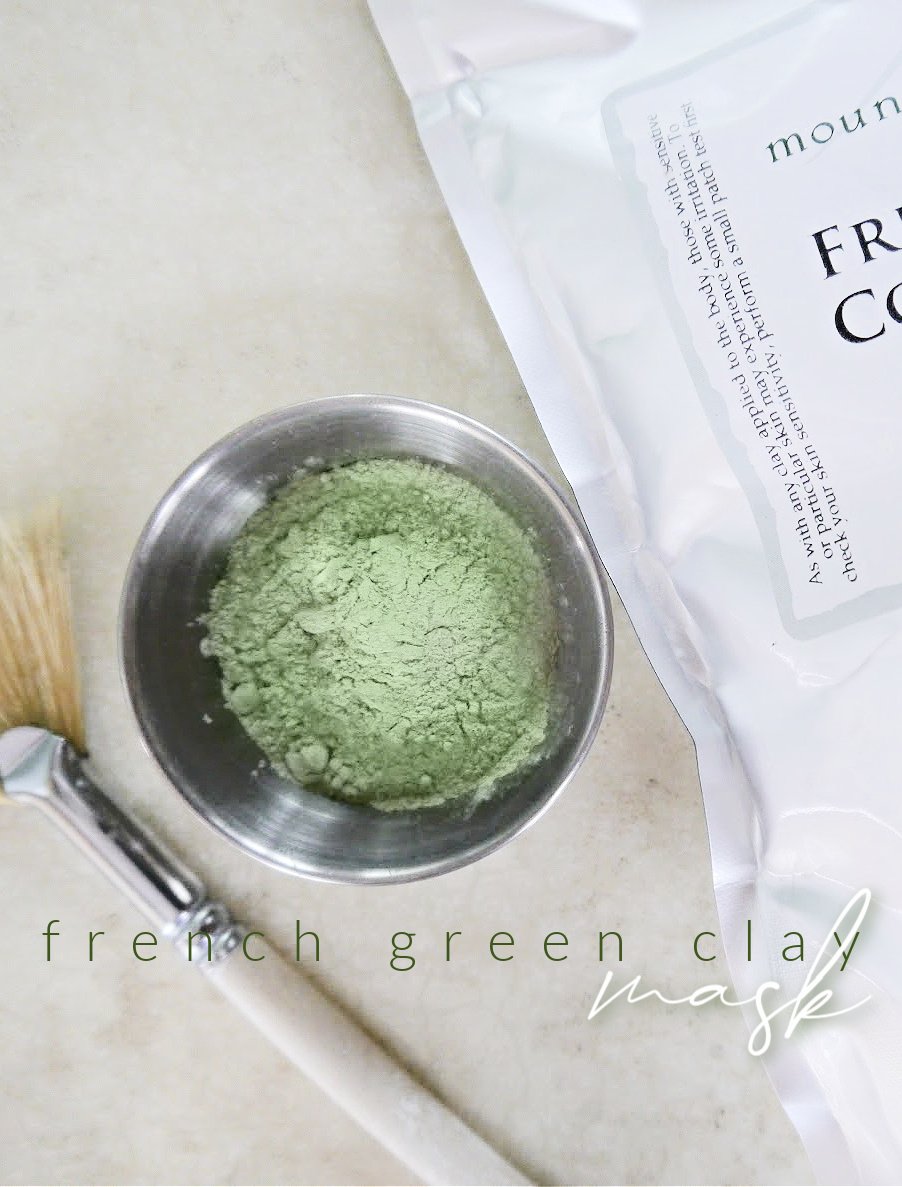
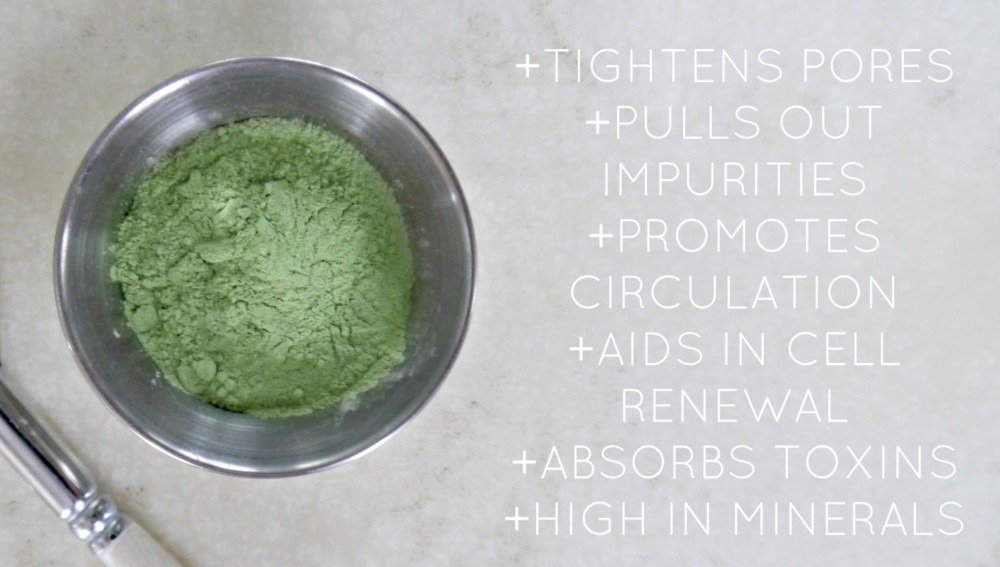
French Green clay is a natural material that is made up of essential minerals of decomposed kelp and seaweed. It absorbs toxins in your skin. It promotes circulation which in turn helps with healthy cell turnover. Green Clay comes in powder form so in order to make a mask you will have to add a liquid.
The best thing about french green clay is that it acts as a magnet to dirt and impurities! It’s like a spring cleaning for the pores! After applying this mask, my skin feels awake. I can actually feel blood flow and tingling. Skin is much smoother and supple.
French green clay can be beneficial for all skin types but it truly is a life saver for oily/blemished skin.
I added Aloe Vera Gel to mine plus Lavender. I knew the clay would pull impurities from my skin, but along with the impurities it will pull moisture as well. Be sure to drink lots of water afterwards and use a moisturizer once you washed the mask off your face. If you don’t have Aloe you can just add water. You can also use Apple Cider Vinegar or Witch Hazel as well. Just use equal parts of liquid to powder.
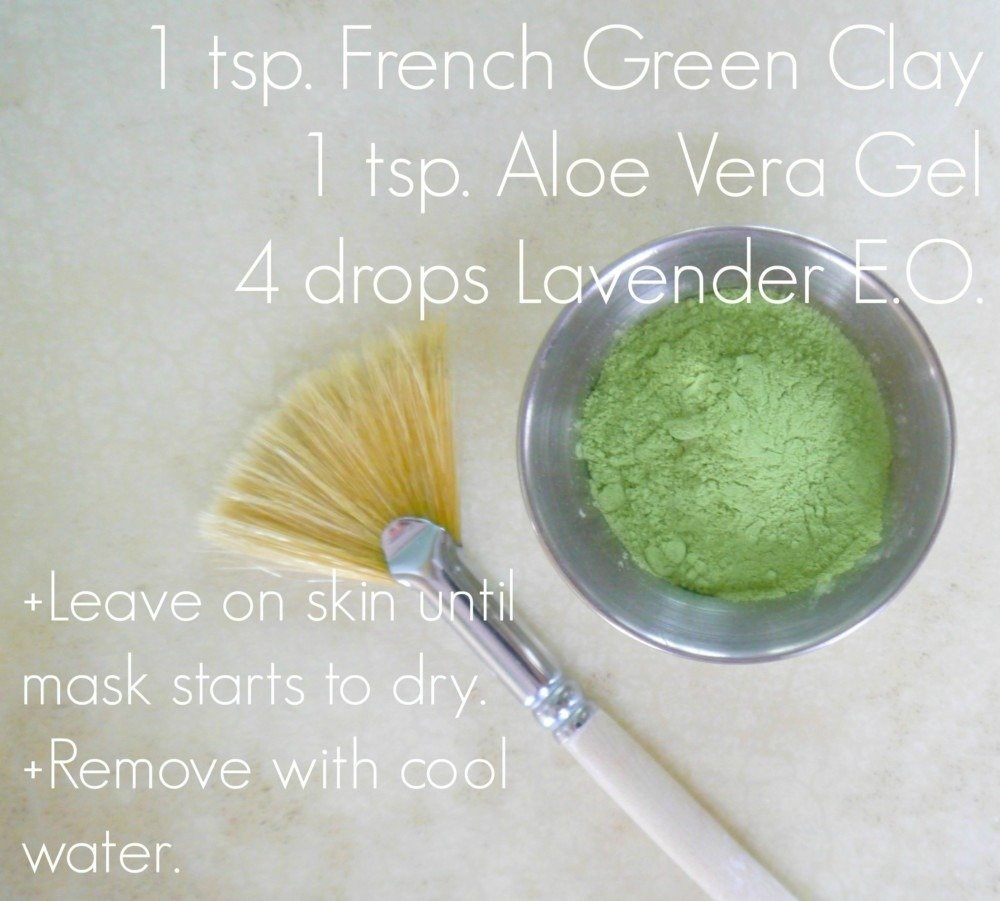
DIY French Green Clay Mask
- 1 tsp. French Green Clay (find it HERE)
- 1 tsp. Aloe Vera Gel (find it HERE)
- 4 drops Lavender Essential Oil (optional)
Mix ingredients into a paste and apply to your skin. Leave the mask on until the masks starts to harden and then remove. Leave on no longer than 10 minutes. If you are sensitive, remove after 5-10 minutes.
It is tempting to let a clay mask completely harden after applying it to your skin, but this is a mistake. The clay will suck the moisture right out of your skin and you will be left with tight, dehydrated skin that is way out of balance. DO NOT LET THIS MASK HARDEN! Read more on the proper way to clay mask HERE.
I did feel some tingling while the mask was on. The uncomfortable feeling subsided quickly. Once you rinse your skin it will be very pink. You will be alarmed. Don’t worry-this is blood flow-it’s a really good thing! It will go away after about 20 minutes.
Warning–Your kids will make fun of you while you are wearing this mask. I was known as the Wicked Witch of the East!
**You can use this clay as a spot treatment as well! Add water to make a thick paste, apply to blemish and leave overnight. Tea Tree essential oil can also be added for more of a boost. I applied this mask after doing some extractions and the inflammation and redness was greatly reduced.**
I prefer to get my clay from Mountain Rose Herb. I trust their quality-they have the best. Find it HERE.
For one of my favorite recipes that includes french green clay go HERE.
xx, Jenni
PIN IT!!!
